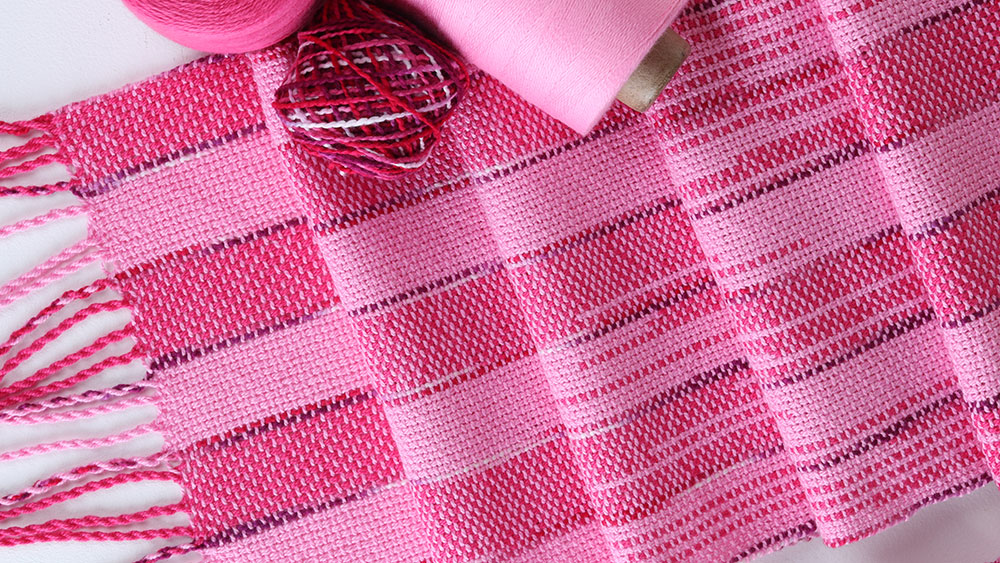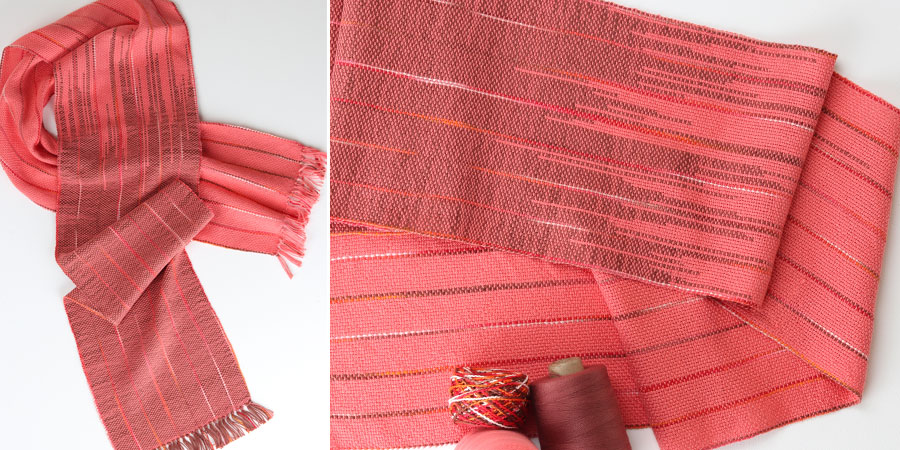
Linked Warp Scarf
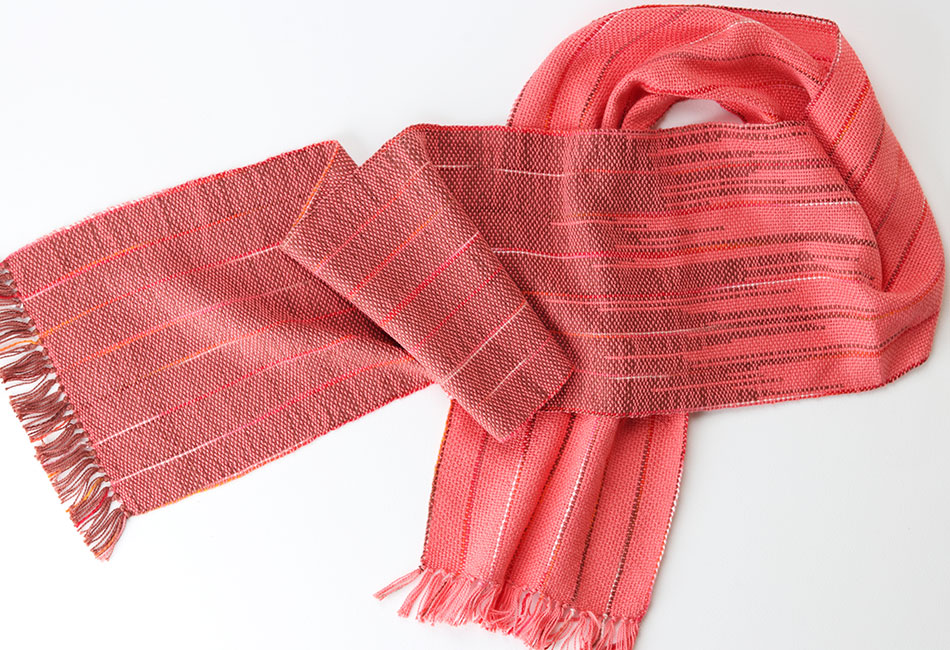
This is another effective and easy technique you can try on the rigid heddle loom. A linked warp adds visual interest and will draw attention when you wear the finished piece. Why not give it a go today!
Happy weaving,

Weaving Instructions
These instructions are designed to be used alongside the Learn to Weave booklet supplied with your loom, or the video tutorial Simple Warping on a Rigid Heddle Loom.
This project can be woven using the Ashford Weaving Kit 2 – Cotton Scarf kit
You will need:
Loom: 40cm (16″) or wider rigid heddle loom
Reed: 7.5dpi (30/10cm)
Warp yarns:
- Ashford Unmercerised Cotton 5/2 – doubled for the main warp
- Ashford Caterpillar Cotton – single threads for accent stripes
Warp length: 240cm (94½”) – allows 10cm (4″) at each end for fringes
Number of ends: 86 (43 slots, 43 eyes) → 70 doubled ends + 16 single ends
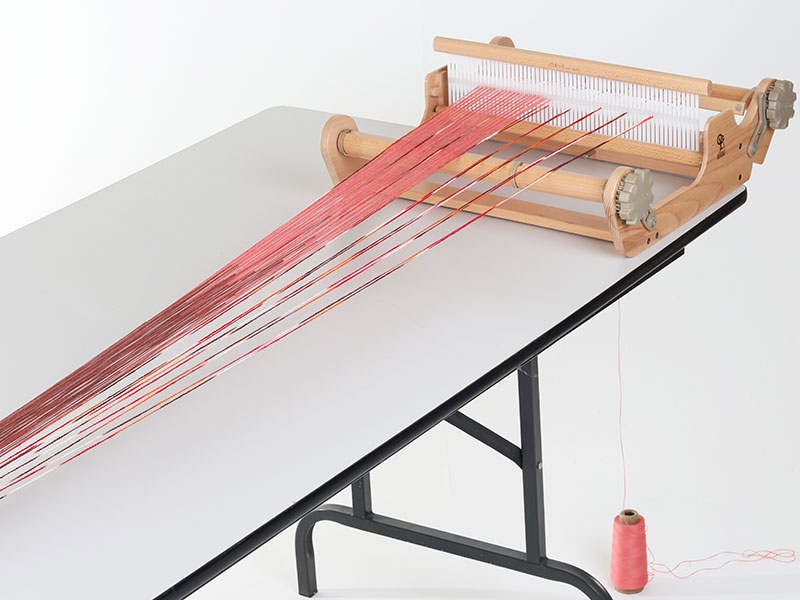
Warping the Loom
Step 1: Prepare the Accents
The Caterpillar Cotton will be used as single accent threads. Spaced evenly or as you prefer.
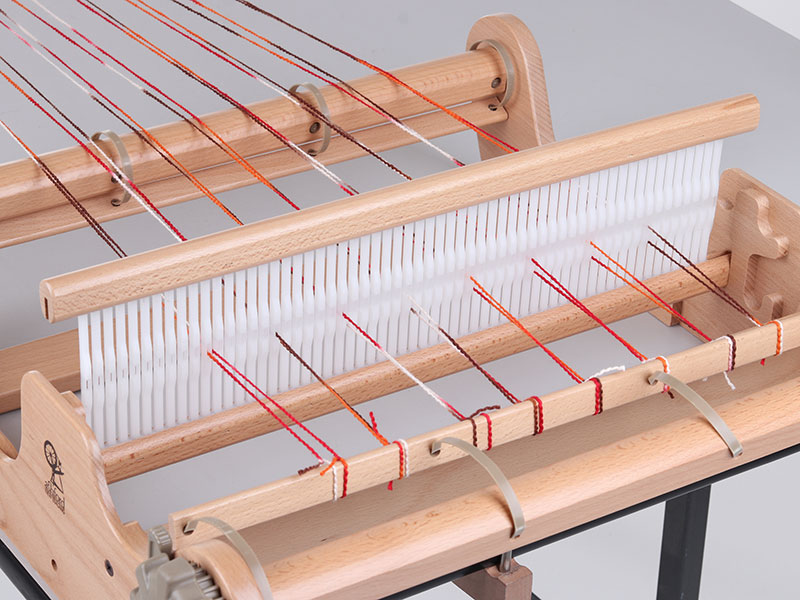
- Tie one end of the Caterpillar Cotton to the back warp stick.
- Take a loop of yarn through a slot, up to the warping peg, and back.
- Leave a tail long enough to tie to the back warp stick.
- Separate the loop:
- Remove one thread from the slot.
- Thread it through the eye directly beside the slot.
- Tie the end to the back warp stick.
- Repeat for all accent threads.
Once the accent threads are in place, you are ready to set up the linked warp for the rest of the project.
Step 2: Linked Warp Setup
Hint: When doing a linked warp project it will always have two threads per slot and eye, so choose a reed that will accommodate the double thickness.
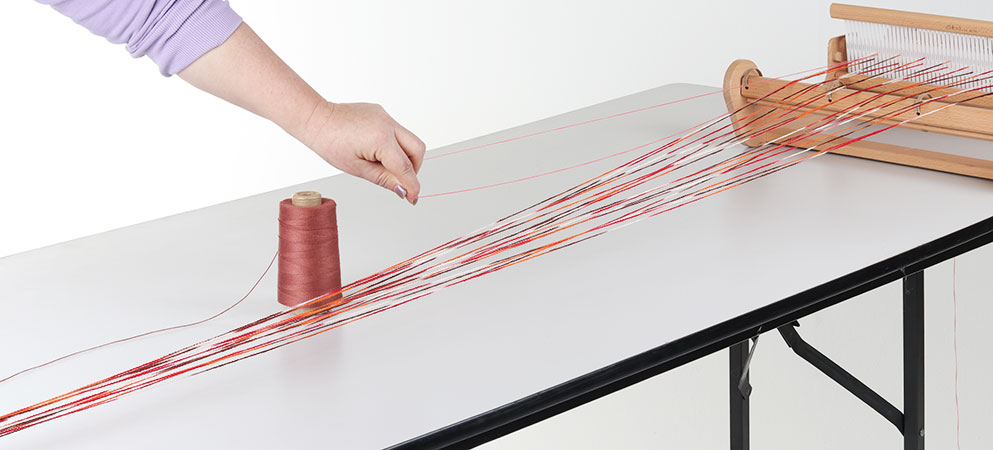
- Place Cone A (Coral) on the floor behind the loom as usual.
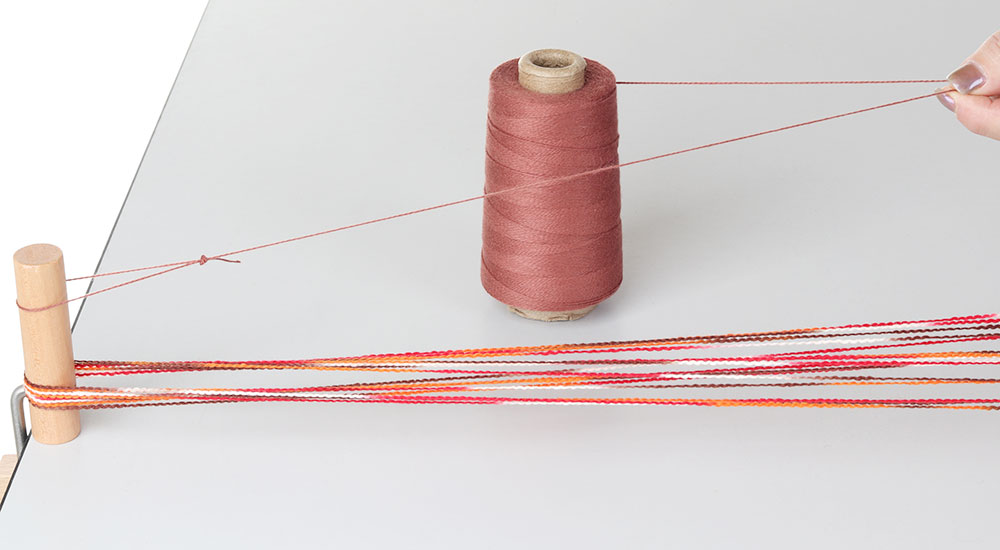
- Place Cone B (Brown) near the warping peg. Tie a loose loop at the end and place this loop over the peg.
To create the link:
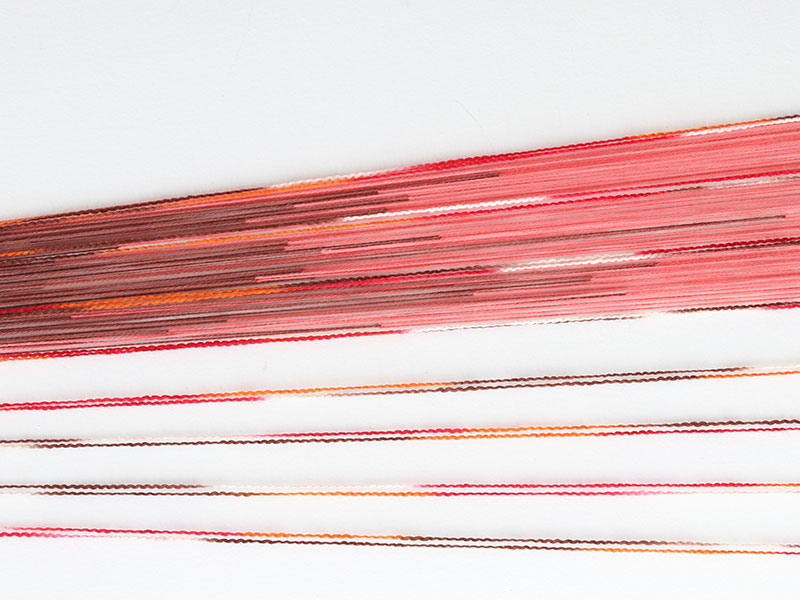
- Take a loop of Coral yarn through the first slot as you normally would, but stop halfway along the warp length.
- Bring the Brown yarn from the peg to meet the Coral loop in the middle.
- Pass the Brown through the Coral loop, then take it back to the warping peg and wrap it around.
- This action “links” the two colours.
- Continue across the loom:
- Thread Coral through every slot and eye, linking with Brown each time.
- Adjust tension by gently pulling either yarn.
- After completing each link, take the next Coral loop around the back warp stick and through the next eye, then repeat the linking step.
You can vary the distance between links to create different visual effects.
-
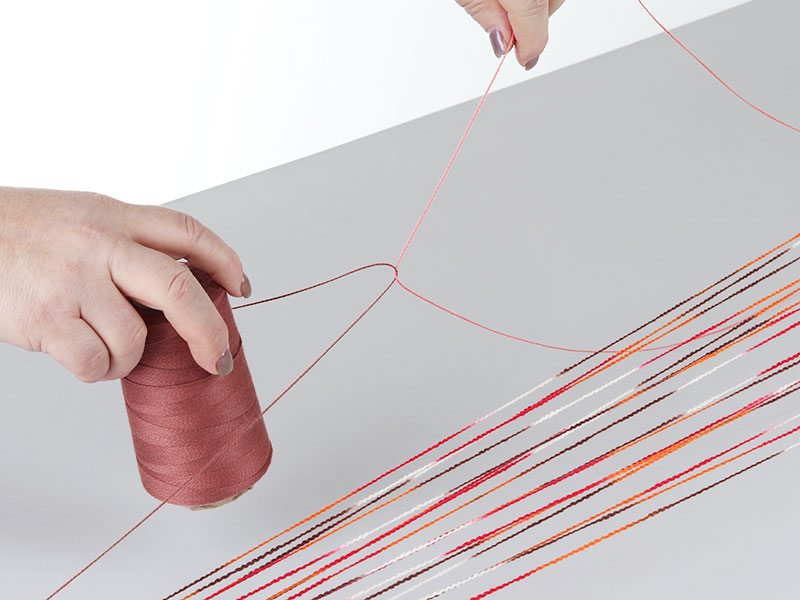
- Bring the cone of Brown towards the loom and take it through the Coral loop and back to the warping peg. Adjust tension by pulling either colour.
-
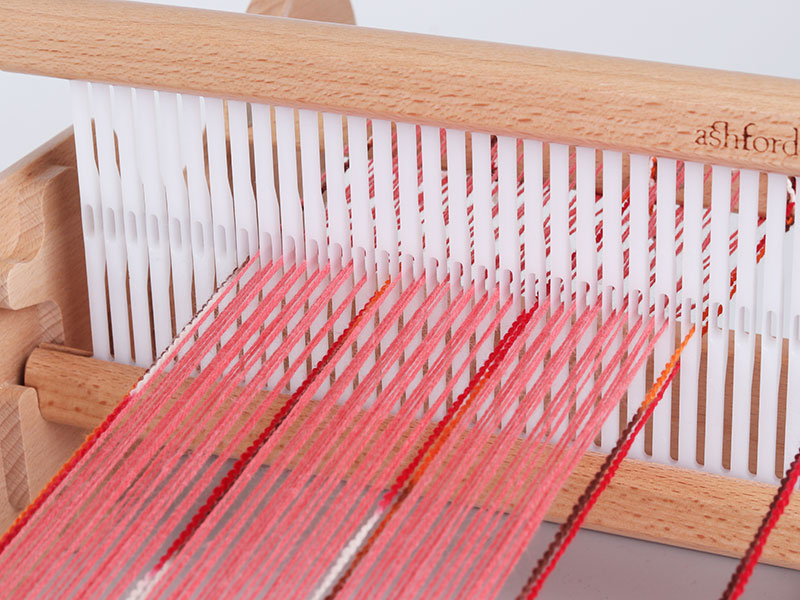
- Take the second loop of Coral around the back warp stick and through the next eye in the reed. Bring the Brown from the warping peg and through the Coral loop again.
Step 3: Finish Warping
- When all ends are threaded, wind on to the back roller as usual.
- Tie the warp threads into small groups and leash on (see tutorial: How to Leash On).
- Spread the warp using scrap yarn (see tutorial: How to Spread the Warp).
Weaving
- Use a single thread of 5/2 Cotton for the weft (do not double).
- Beat gently – the scarf should be light and drapey.
- Aim for 7.5 rows per inch (3 rows per cm).
Once washed, the fabric will full, and the threads will close the gaps.
Weave until you are 10cm (4″) from the end, leaving space for fringes.
Finishing
Remove the scarf from the loom.
Finish the fringes:
- Twist with a fringe twister or
- Tie in small groups using overhand knots.
Wash and relax the fabric:
- Soak in warm–hot water with a drop of detergent for 30 minutes.
- Lightly agitate, then rinse in clean warm water.
- Squeeze out excess water.
- Lay flat to dry, then press with a hot iron.
Enjoy Your New Scarf!
