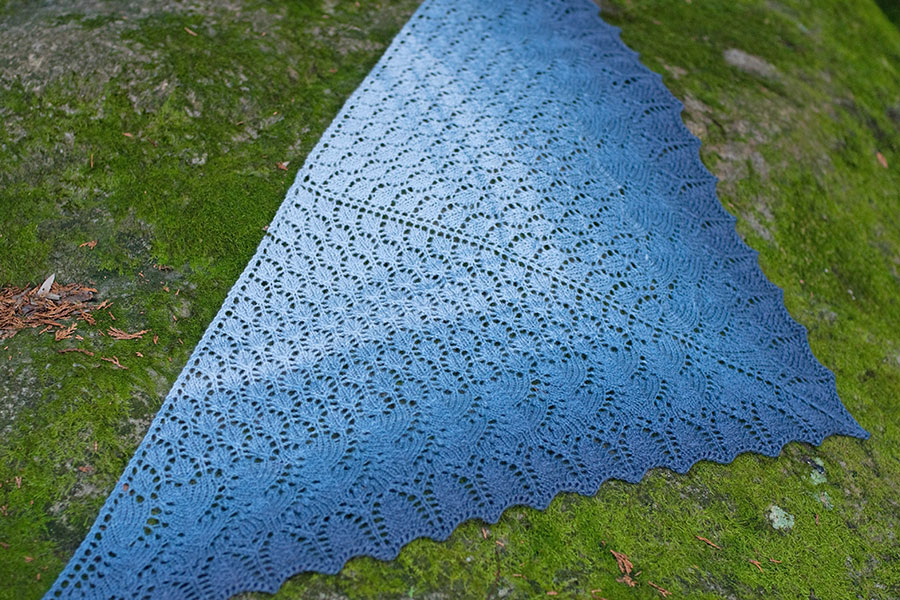
Pukaki Swallowtail Shawl
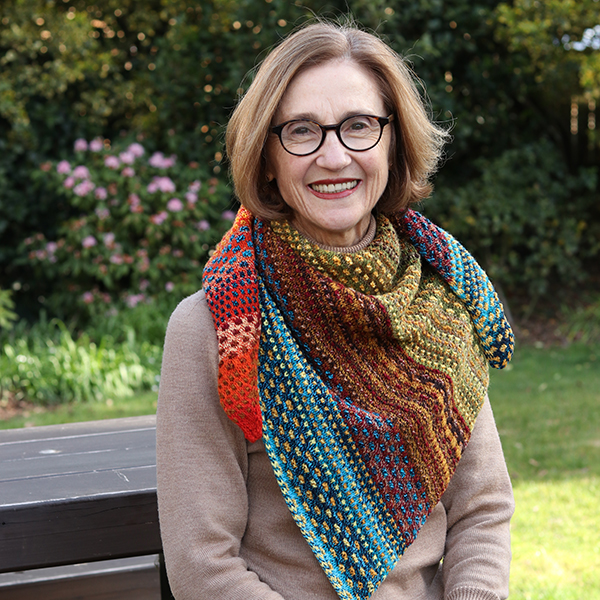
This stunning hand dyed, hand blended, hand spun shawl by David Schulz, of Southern Cross Fibre, was featured in issue 23 of The Wheel magazine. A stunning result using a simple colour progression technique. You will enjoy the results.
Pukaki Swallowtail Shawl
By David Schulz
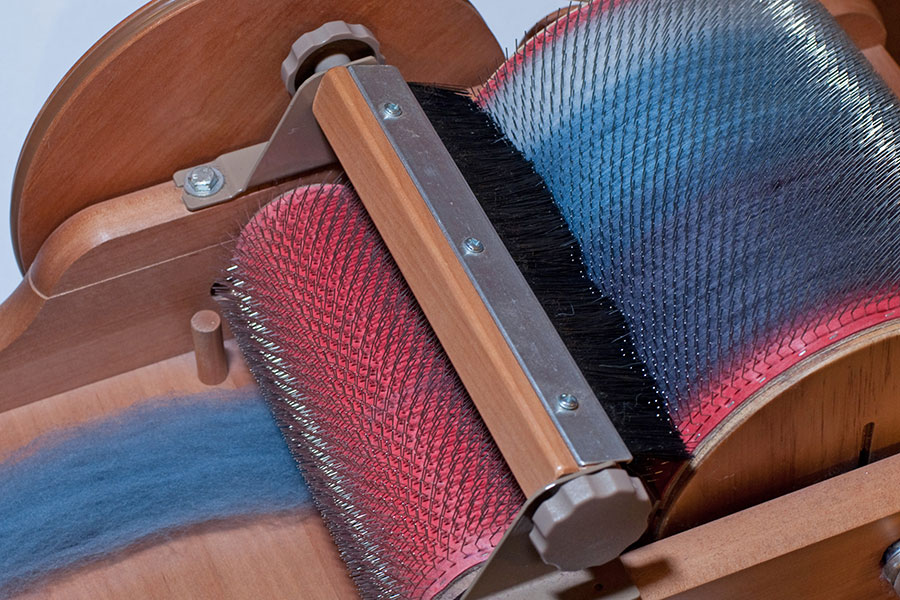
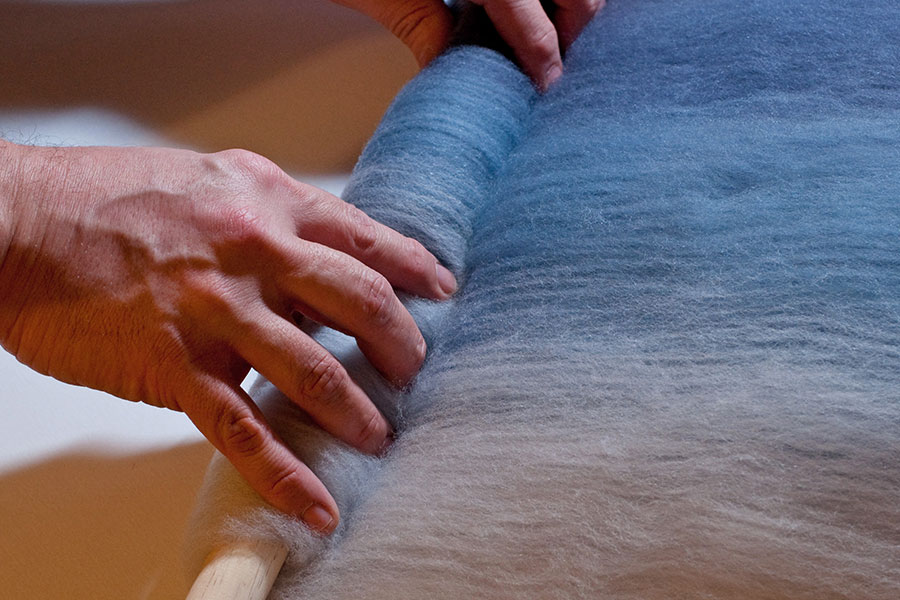
This project will show you an easy way to dye, card and spin your own colour progression.
You can use the dye recipes provided or choose your own. Alternatively, you can blend your own colours using Ashford Merino or Corriedale Sliver on your drum carder.
You will need:
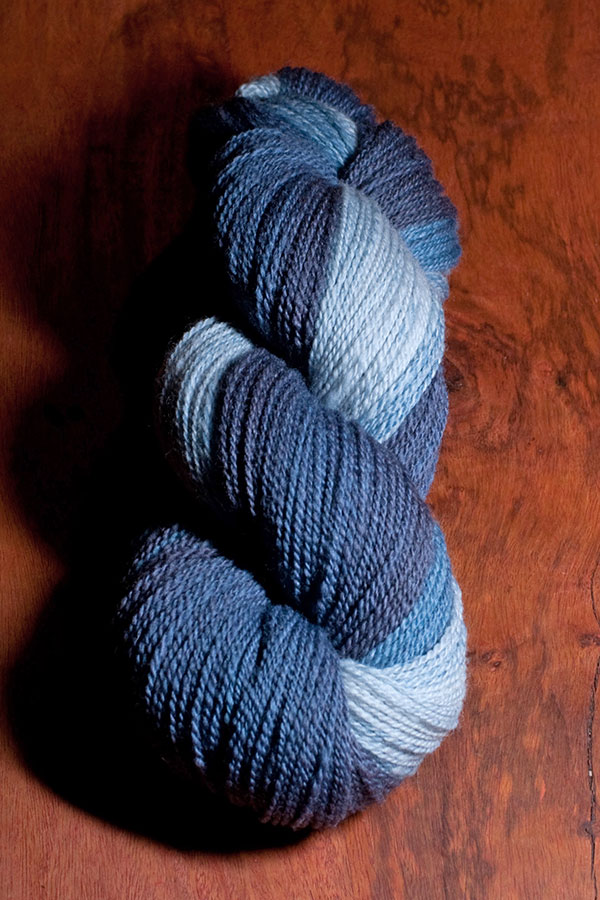
120 grams (4 ozs) undyed wool (I used Ashford Merino Sliver)
Ashford Wool Dyes (the dye recipes provided use Yellow, Red, Blue and Black)
Dyeing equipment (scales, mixing bottles, measuring spoons, eye dropper, etc.)
Drum Carder
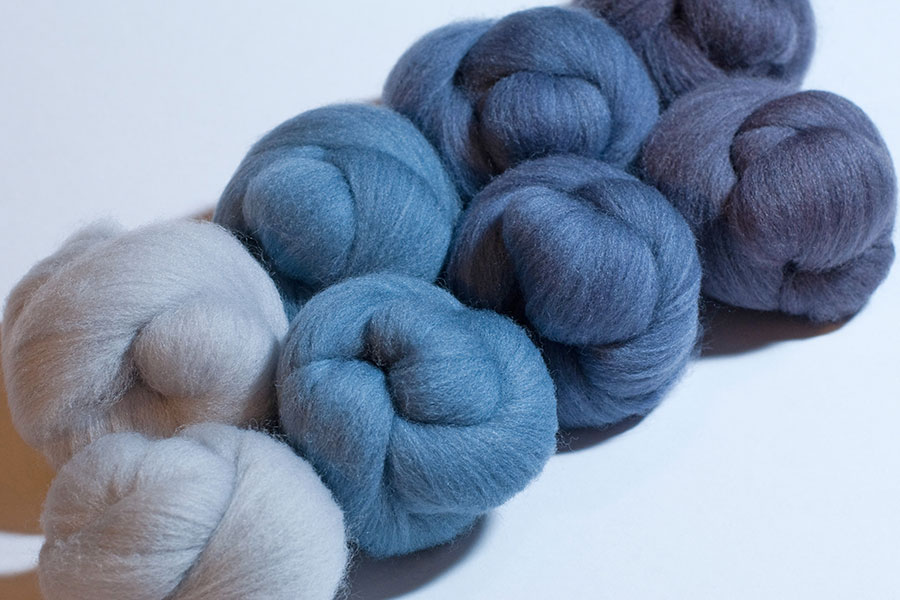
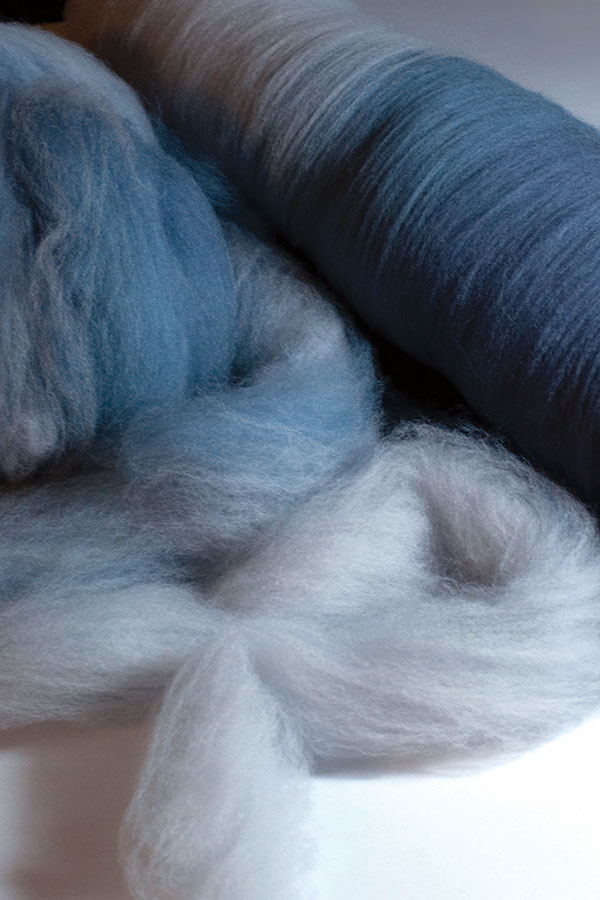
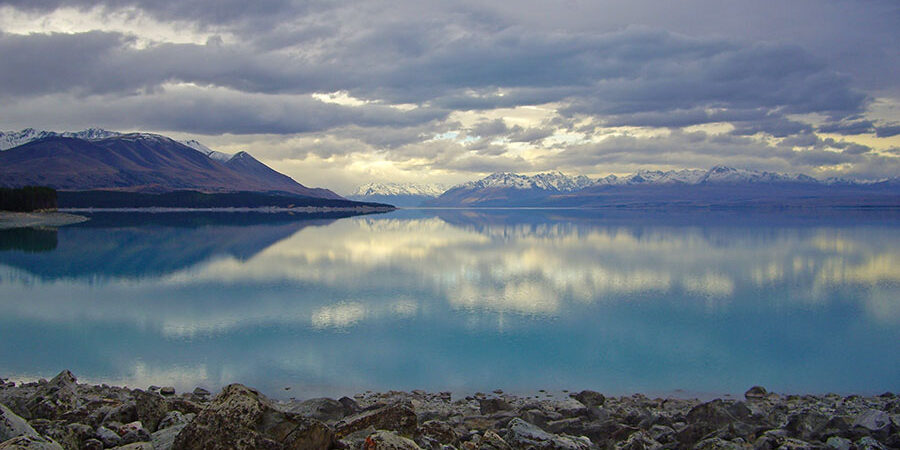
For this project, I chose a range of muted blues from a photo I took a few years ago at Lake Pukaki, New Zealand.
The dye recipes below were mixed using 1% stock solutions. Refer to instructions HERE
Unused dye can be stored in air-tight bottles and used for future projects if you do not add the vinegar. All measurements are given in teaspoons of stock solution, except the pale silver which only needs a drop or two of blue and scarlet.
Mix the dyes using the recipes below (or mix your own!)