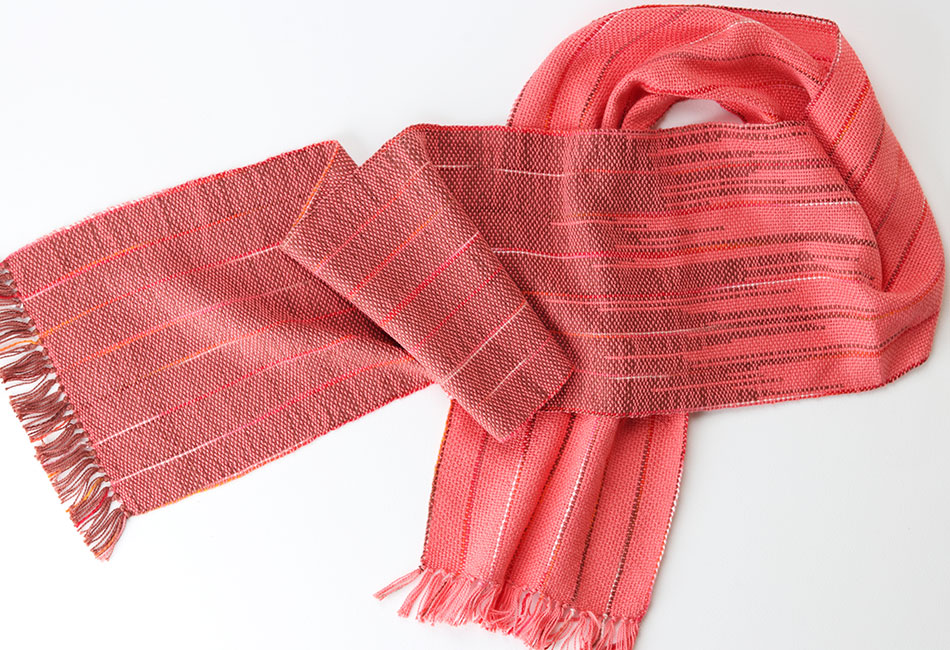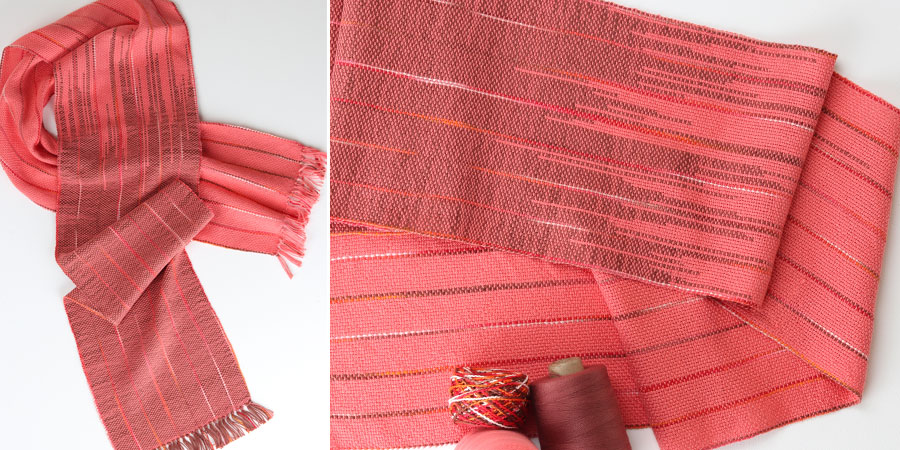
Linked Warp Scarf
This is another effective and easy technique you can try on the rigid heddle loom. A linked warp adds visual interest and will draw attention when you wear the finished piece. Why not give it a go today!
Happy weaving,
-
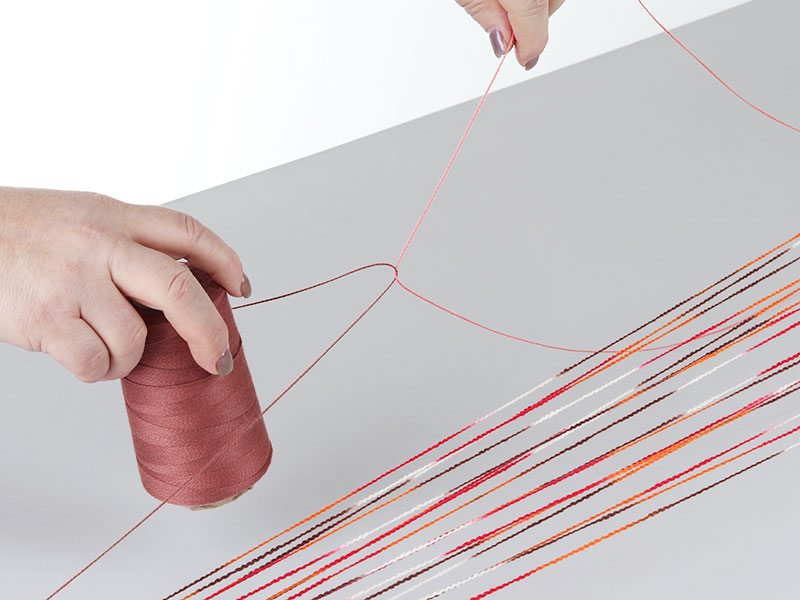
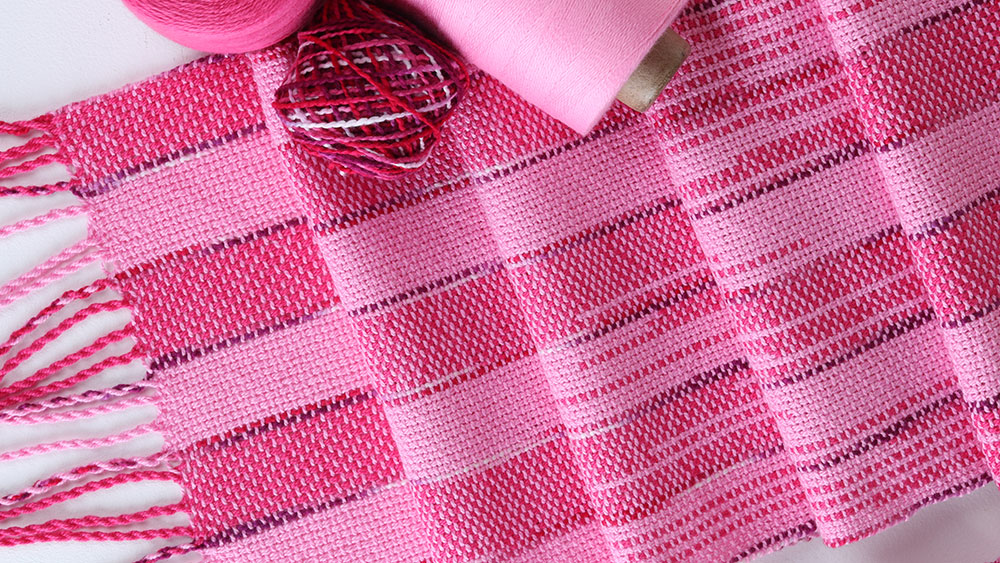
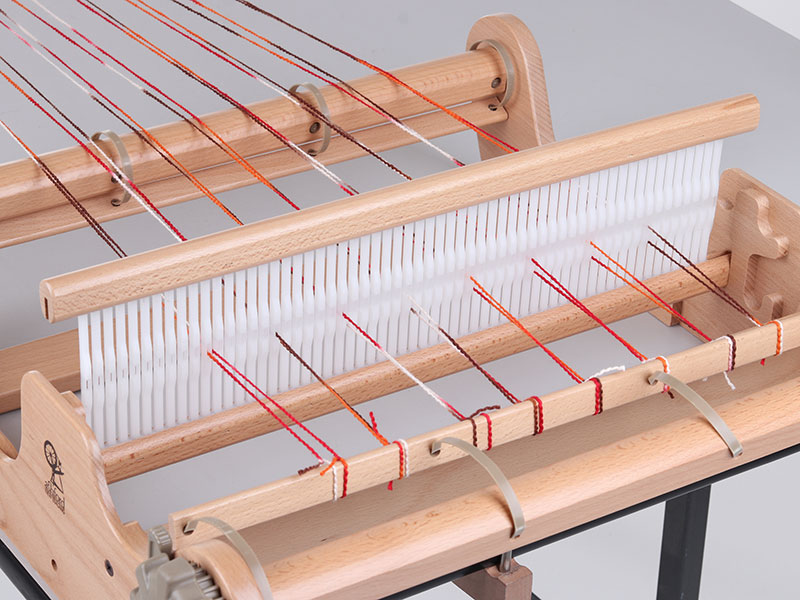
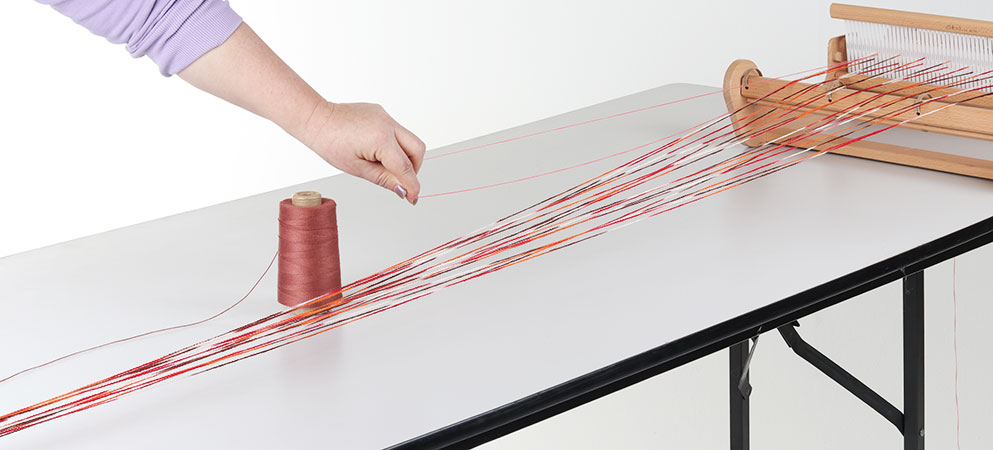
- Bring the cone of Brown towards the loom and take it through the Coral loop and back to the warping peg. Adjust tension by pulling either colour.
-
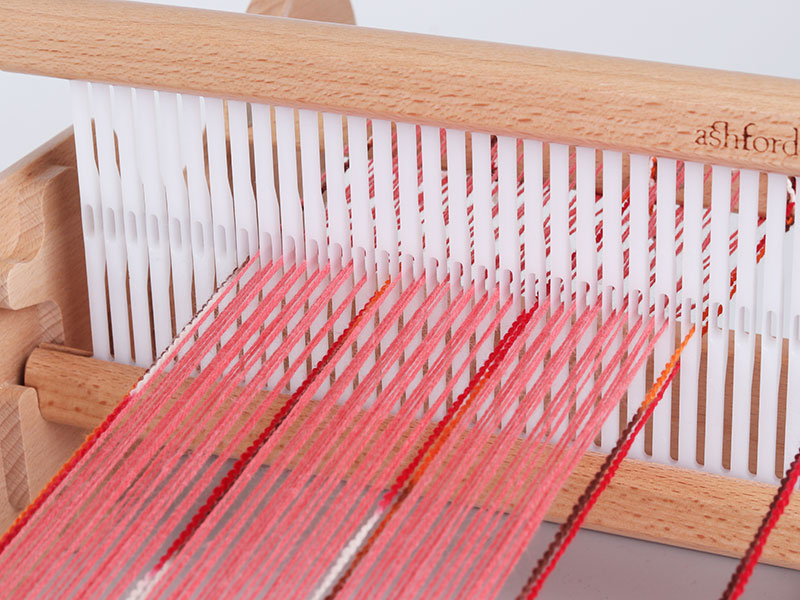
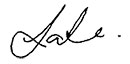
- Take the second loop of Coral around the back warp stick and through the next eye in the reed. Bring the Brown from the warping peg and through the Coral loop again.
-
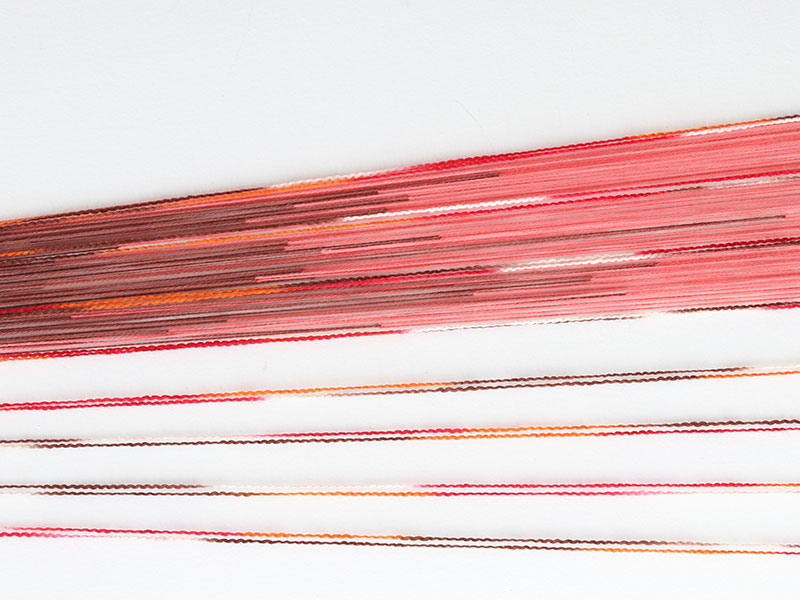
- Each time you will take the Brown back around the warping peg. Continue across the full width of the reed.
-
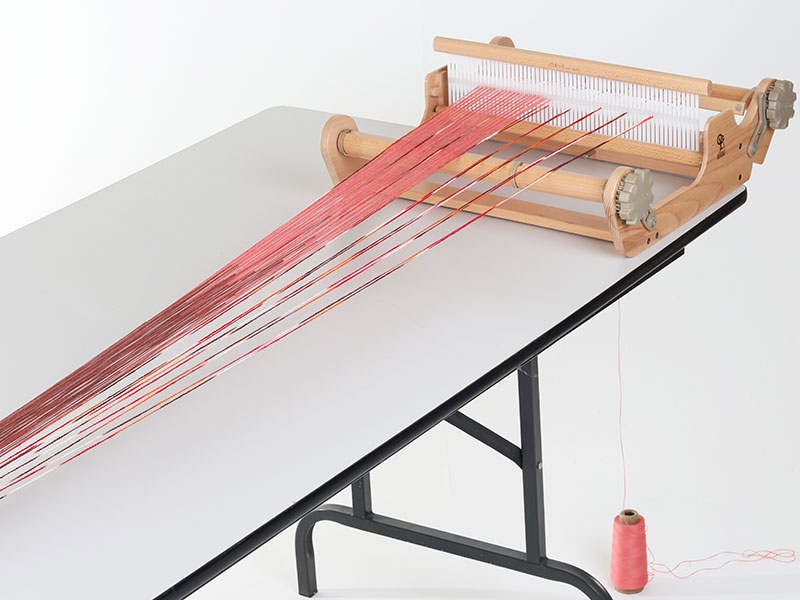
- You can adjust the lengths of each link to your preferred design.