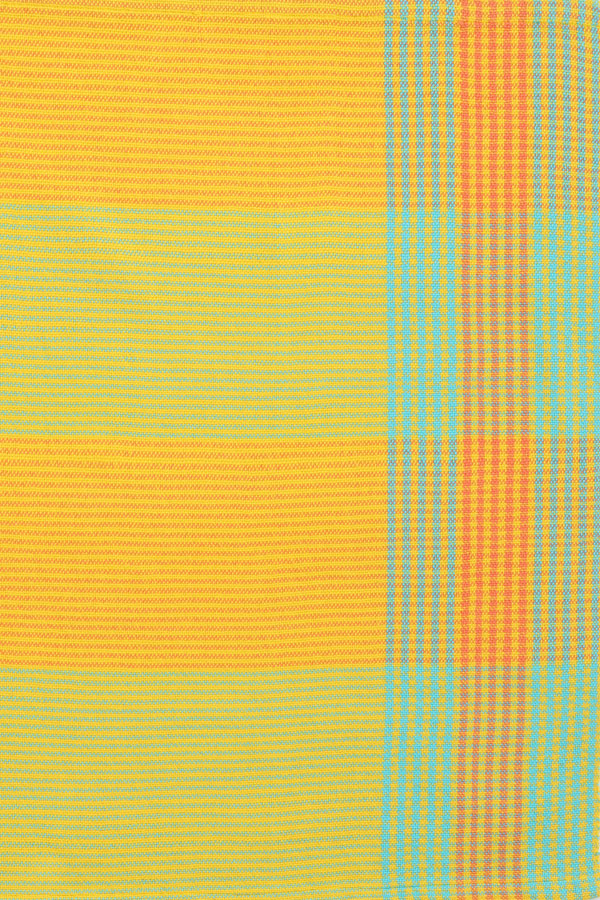
Sunshine Tea Towels by Marie-France Gosselin

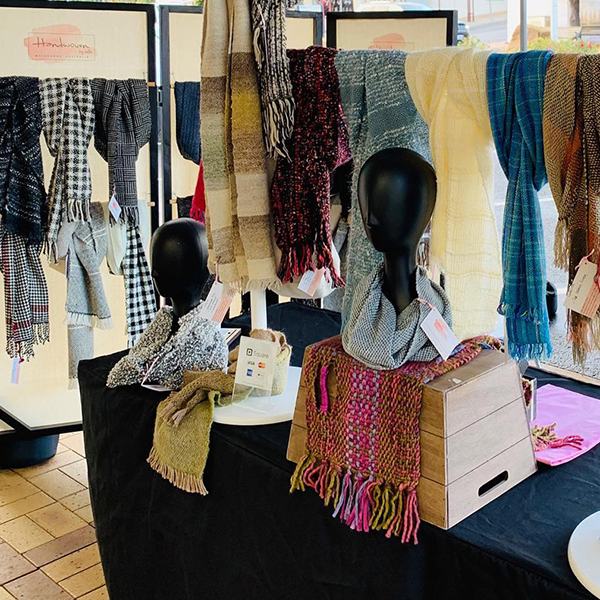
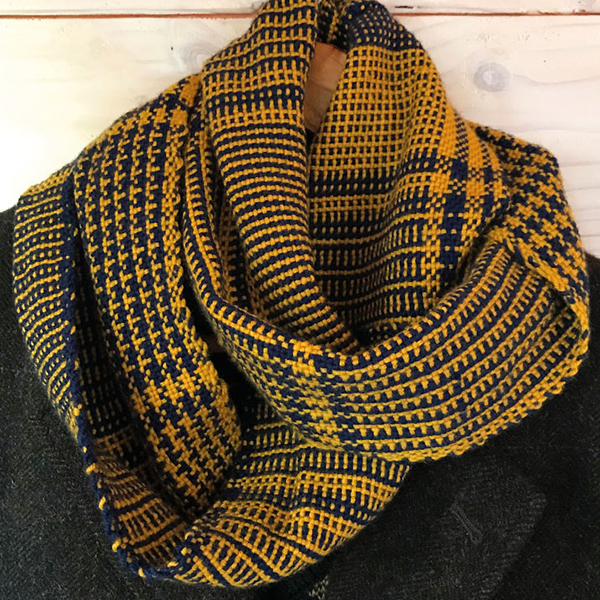
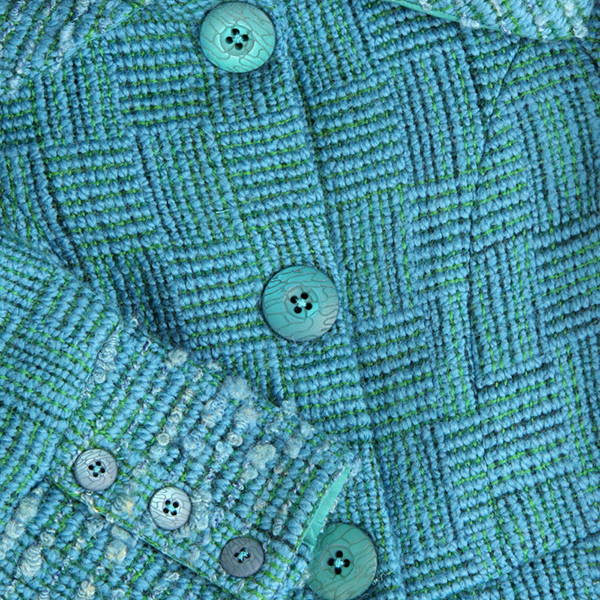
Marie-France Gosselin is a fibre artist (weaver, quilter, sewer, dyer) living in Ottawa, Canada. She has been an Ashford dealer and a rigid heddle teacher at L’Atelier Weaving Studio Tissage. Her beautiful tea towel pattern features in The Wheel Magazine (Issue 33). Follow Marie-France on Instagram @mariefrance_gosselin

I hope you enjoy this fun project from Marie-France!

Happy weaving!

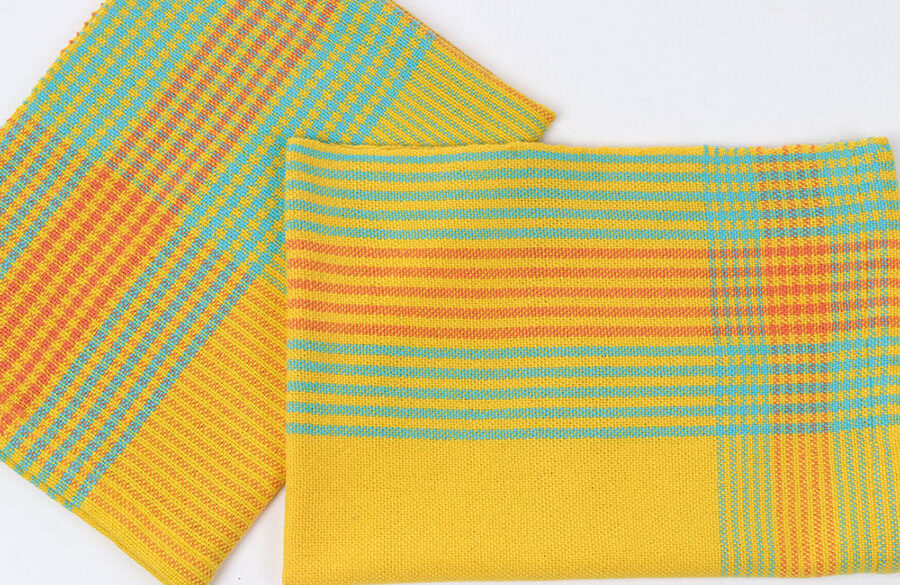
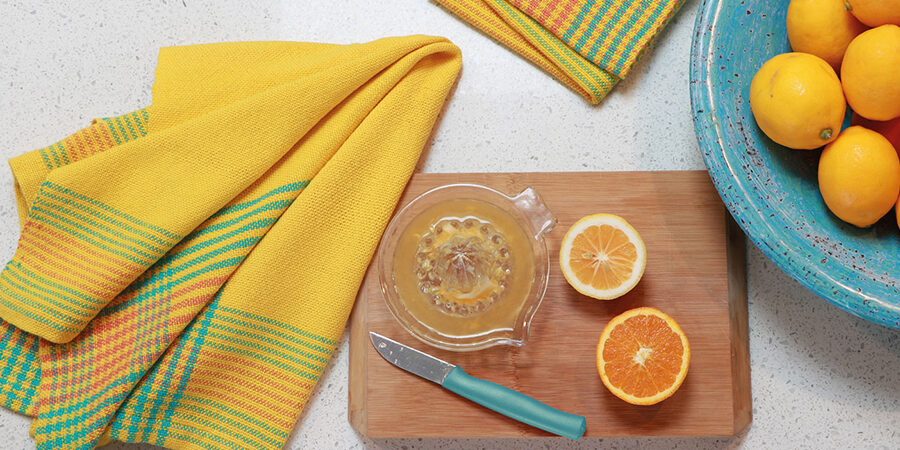
The tea towels (dish towels) are being woven on a rigid heddle loom using a colour and weave approach. The pattern is for 2 different tea towels and the finished size should be approx. 51 x 71cm (20 x 28ins), with some left over threads to continue to experiment.

You will need:
Loom: 60cm (24ins) or wider rigid heddle 
Reed: 60/10 (15dpi) 
Warp and weft yarn: Ashford unmercerised cotton 5/2 (ne 5/2, 848m/927yds per 200gm)
For this project, I used approximately 1,225m (1,340yds) of #54 Freesia (2 cones), 203m (222yds) of #44 Scuba Blue (1 cone), and 139m (152yds) of #50 Celosia Orange (1 cone) to weave two large towels. Please note that I have added 10% for potential loom waste.
Other: 3 shuttles 56cm (22ins), 91cm (36ins) of grosgrain ribbon, 2 straight pins, scrap yarns.
Additional useful tools: a second warping peg, 2 warp thread weights, a ruler or magnifying thread counter. 

Here’s how:
Warp width in the reed: 59cm (23ins)
Total warp length: 229cm (90ins)
Total warp ends: 352 (176 slots and 176 eyes)
EPI: 15
PPI: 14
Finished size after washing: 53 x 71cm (20 x 28ins)

Warping
Warp your loom following the warp colour order as per the warping chart. When you are warping such a wide piece I recommend using two warping pegs approx. 15cm (6ins) apart instead of only one.
If you have some, place a warp thread weight on the last thread on each side. If you don’t have any, you can also use an ‘S’ hook or empty cones. The weight will help to get a nicer selvedge.

Weaving
TOWEL #1:

Using the grosgrain ribbon 91cm (36ins) long, make a mark for the hems at 5cm (2ins) on both ends of the ribbon.
After weaving a few picks of scrap yarn, start weaving the towel #1 hem in yellow. After a few picks, pin the ribbon on the cloth making sure that the beginning of the hem lines up with the ribbon. Move the ribbon as you are weaving, using two straight pins. This will be your guide as you weave the towels. The hem should be 5cm (2ins) long.
Using two shuttles at a time, weave two picks of blue and two picks of yellow, (see Weft Colour Order #1) alternating the two colours 5 times for a total of 20 picks. Continue alternating with orange and yellow (20 picks) and blue and yellow (20 ins). This section should measure about 10cm (4ins) if you are weaving at 14 PPI. 
Continue to weave the body of the towels in yellow for approx. 61cm (24ins), then weave the same pattern with the three colours as before: 2 picks of blue and two picks of yellow alternating the two colours 5 times for a total of 20 picks. Continue alternating with orange and yellow (20 picks) and blue and yellow (20 picks).
Weave 5cm (2ins) of hem in yellow.
Weave a few picks of scrap yarn before moving to the second towel.

TOWEL # 2:
Using the grosgrain ribbon, divide the space between the two hem marks into 4 equal parts. Each of these sections should be 20cm (8ins) long.
As per the Weft Colour Order #2, weave a 5cm (2ins) hem in yellow. Pin the ribbon on the cloth.
This towel has four sections, each measuring approximately 20cm (8ins).
Move the ribbon along using the two pins as you are weaving.
Weave 5cm (2ins) of hem in yellow and weave a few picks of scrap yarns.

Finishing
Remove the towels from the loom and use a zigzag stitch along each end of the towels with a sewing machine. Fold edges and press with a steam iron, fold over again, press and stitch in place with your preferred method of sewing, by hand or with the sewing machine. Wash and press.

TIPS

  • This project is warped at 15 ends per inch (15 dent reed) and you want to weave at 14 picks per inch. By using a ruler or a thread counter as you weave, this will help you ensure that you are maintaining the right sett. Cotton will shrink and if your cloth is woven too loose, the towel will shrink even more. The towels will shrink approximately 4-5%.
  • I used the grosgrain ribbon as a guide when weaving a large project. You pin it on your weaving and move it as you go. The hems for this project are 5cm (2ins) on both ends.
  • When weaving with two shuttles, start the two colours going in the same direction. For example, if I have the shuttle with yellow threads going from right to left, the shuttle with the blue thread should also be going from right to left. In order to have a nice selvedge, I weave the first pick of one colour (shuttle A). Then, I should have my two shuttles (Shuttle A & B) on the same side. Before weaving the second pick, I take shuttle A and I go around the last weft thread before I weave the second pick. This will allow the different colour threads to become part of the weaving, and it creates a nice selvedge on both sides.
  • Usually, I only put a warp for two towels at a time to ensure good tension on my loom.
Using a grosgrain ribbon as a guide

A few words on colours:

  • Choosing colours is often challenging, even for experienced weavers. There is a huge amount of literature on colour theories and tools out there and I certainly encourage you to explore it further as it can be a safe way to decide on colours. 
  • In order to arrive at the chosen colours for this project, I picked a few cones of colours. Using cardboard strips of approximately 6 x 4cm (1½ins), I wrapped threads using different combinations of colours. It is a very effective way to create a visual. Before I arrived at the three final colours, I actually tested seven colours. This exercise also helps to visualise the intensity of the colours and their interactions by seeing them side by side. This exercise is simple, quick and can help to gain “colour confidence”. 
  • I ended up choosing only three colours. Seeing how the three colours interacted, I was able to determine that by using yellow as the main colour, it also became a way to unify the other colours, while still providing contrasts.
  • When weaving, it is often difficult to see how the colours will look without really understanding the weave structures being used. One of the advantages of using plain weave as a weave structure is that we can really see the colours as they really are.
  • Finally, I firmly believe that in order to gain colour confidence, you need to experiment. Colour choices are very personal and ultimately through on-going experimentation, you will eventually find your “colour voice”! Keep those cardboard exercises in your weaving room and as you make them, you will be able to see which colour combination makes you happy.
Towel #1
Towel #2

Weft Colour Order Towel # 1

  1. 28 picks of yellow, approx. 5cm (2ins), for the hem
  2. 2 picks blue
  3. 2 picks yellow
  4. Repeat steps 2 and 3, 4 times for a total of 20 picks
  5. 2 picks orange
  6. 2 picks yellow
  7. Repeat steps 5 and 6, 4 times for a total of 20 picks
  8. Repeat step 4
  9. 336 picks yellow, approx. 61cm (24ins) 
  10. Repeat step 4
  11. Repeat step 7
  12. Repeat step 4
  13. Repeat step 1

Weft Colour Order Towel # 2

  1. 28 picks of yellow, approx. 5cm (2ins), for the hem
  2. 2 picks blue
  3. 2 picks yellow
  4. Repeat steps 2 and 3 for 20cm (8ins)
  5. 2 picks orange
  6. 2 picks yellow
  7. Repeat steps 5 and 6 for 20cm (8ins)
  8. Repeat step 4 
  9. Repeat step 7
  10. Repeat step 1