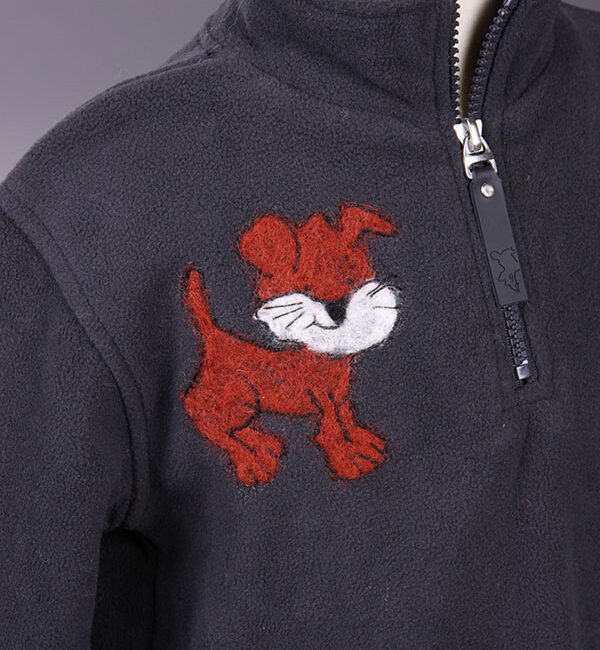
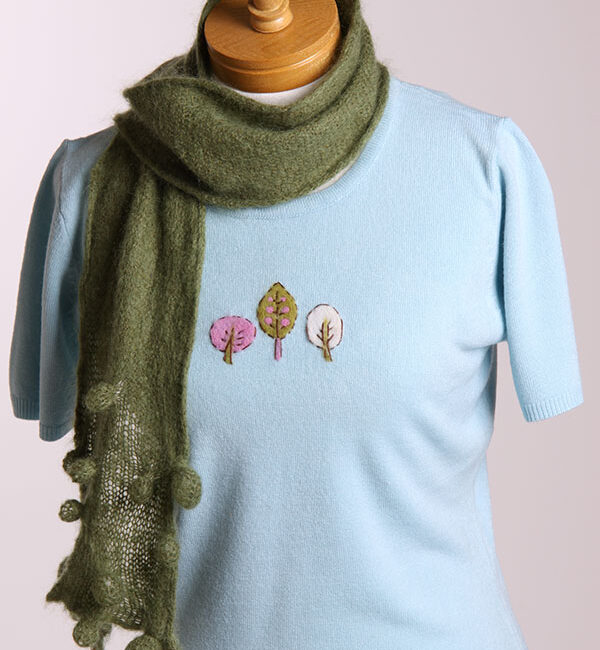
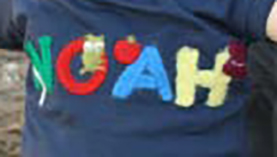
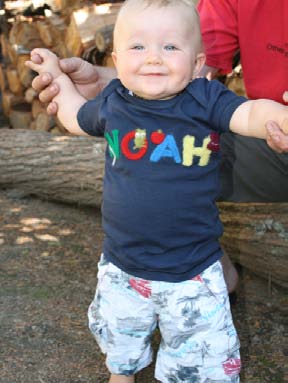
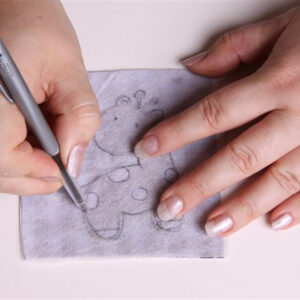
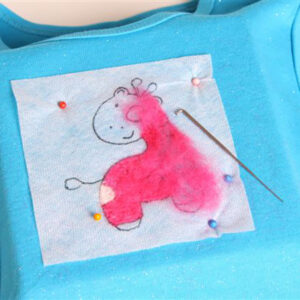
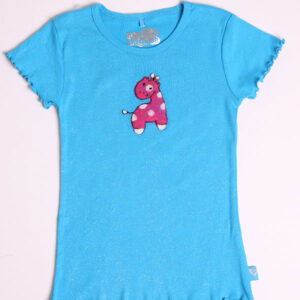
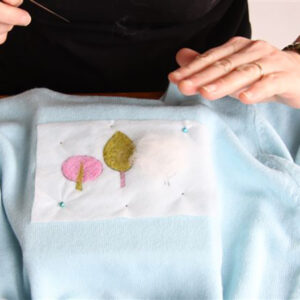
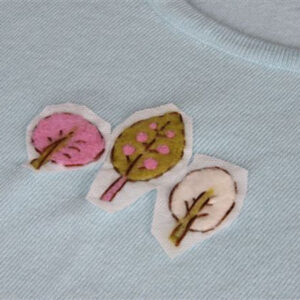
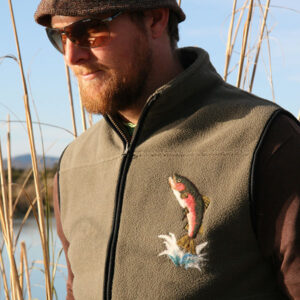
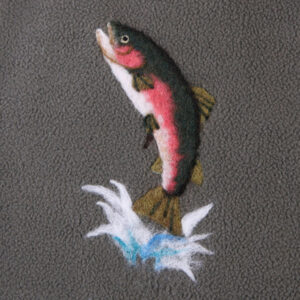
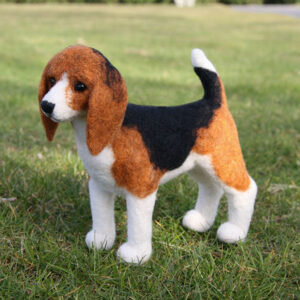
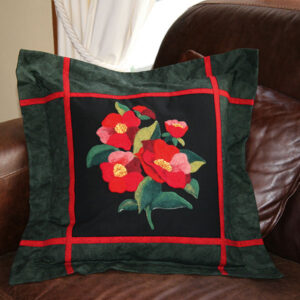
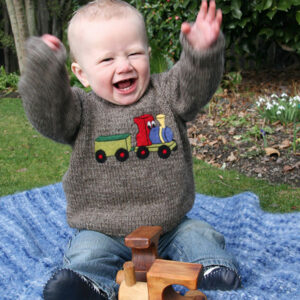
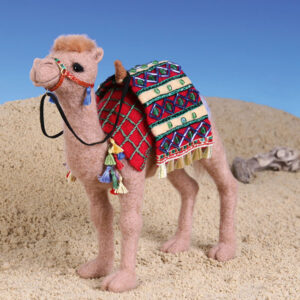
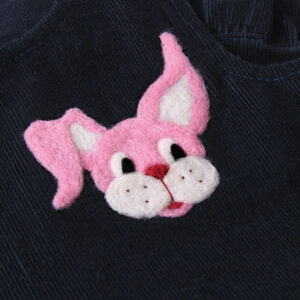
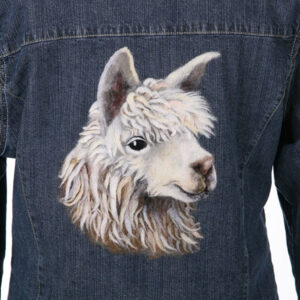
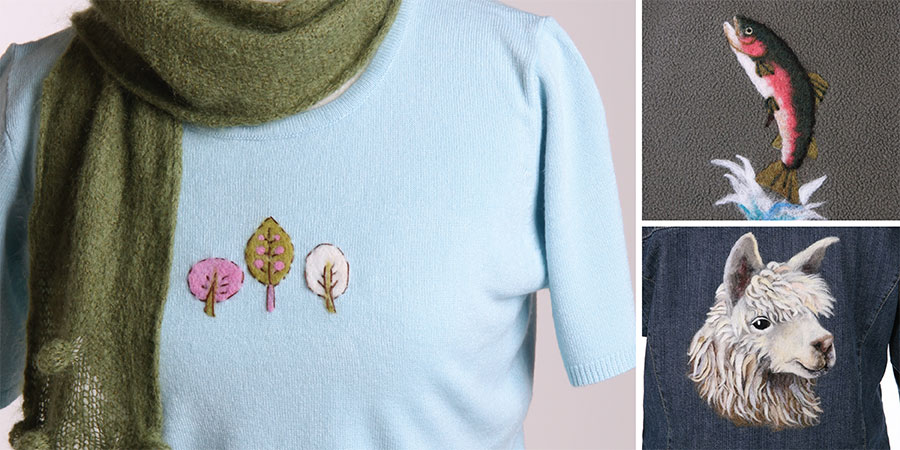
Customise clothing with needle felting
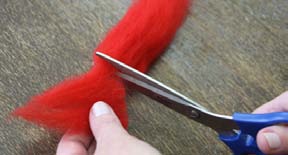
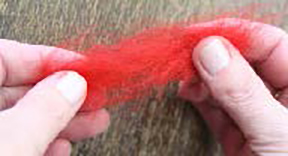
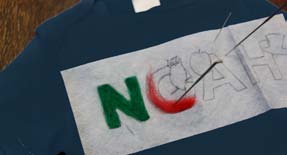
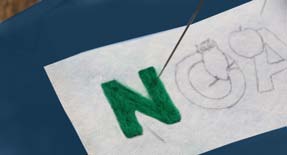
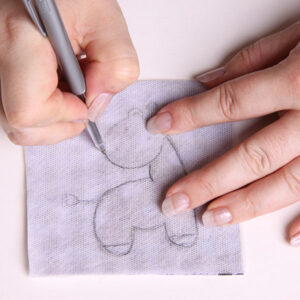
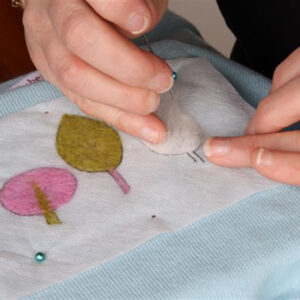
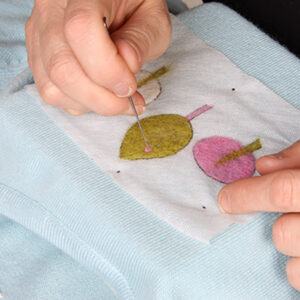
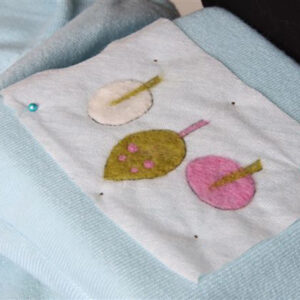
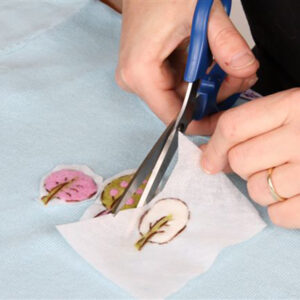
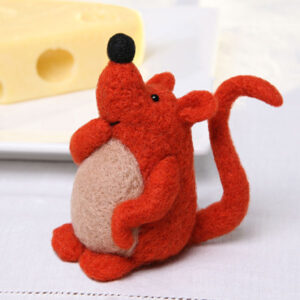
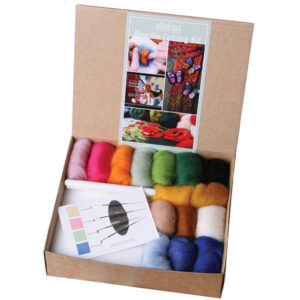
Needle felting is a fun and versatile craft. While many people use it to make beautiful 3D objects like animals and ornaments, you can also embellish clothing and other fabrics. Add a touch of personality to a child’s t-shirt, decorate a favourite sweater, or make cushions extra special. All you need is a little wool, a felting needle, and your imagination!
Happy felting!

Kate
You will need:
- Ashford Corriedale Sliver
- Water-Soluble Fabric (to draw your pattern on)
- Felting Needle
- Needle Felting Foam (to protect your work surface)
- A T-shirt or other garment to decorate
Here’s how:
1. Prepare Your Design
Draw your design onto the water-soluble fabric, leaving a small border around the edges.
Place the foam block inside the garment, position the design on top, and pin it in place.
2. Prepare the Wool
- Pull off a small piece of wool.
- Tease the fibres apart, mixing them so they’re going in all directions (this helps them felt evenly).
- For custom colours, blend two or more shades together with your fingers.
Shape the wool roughly to the size of the area you’ll be working on before you start felting.
3. Start Felting
- Place the wool on the fabric inside your drawn design.
- Push the felting needle straight down through the wool and into the foam, about 5mm deep.
- Pull the needle out and repeat.
- Continue needling evenly, keeping within the outline.
As you work, the fibres will gradually bind to the garment fabric.
Use the tip of your needle to gently nudge fibres into place for a smooth, even finish.
4. Add Details
For thin lines or small shapes:
- Pull a thin length of fibre and twist it slightly.
- Lay it on your design and needle just the ends to secure it before working along the whole line.
Work in layers, adding your main colours first, then the smaller details on top.
5. Finish the Back
When the design is complete:
- Trim away any excess water-soluble fabric (optional – it will wash away).
- Carefully remove the garment from the foam and turn it inside out.
- Needle any loose or wispy fibres back into the fabric using your needle at a slight angle.
Optional: Outline your shapes with black embroidery cotton using a stem stitch for extra definition.
6. Wash and Dry
Gently wash the garment to dissolve the remaining fabric stabiliser, then lay flat to dry.


Tips for the best results
Prevent fibre bumps
Avoid lifting your work off the foam until you’ve completely finished felting.
Pulling it up mid-project can create bumps and uneven textures underneath.
Remove foam bits
When finished, peel your work off the foam slowly to prevent tearing.
If small bits of foam stick, carefully tease them out with a pin or sewing needle (not a felting needle).
Choose the right fibre length
Flat designs: Use fibres about 2–3cm long, mixed so they run in all directions.
Small details: Use even shorter fibres for better blending and precision.
Larger areas: Longer fibres and bigger wads work well for quick coverage.
Blending colours
Can’t find the perfect shade? Make your own:
Cut fibres into 2.5–3cm lengths.
Tease out small amounts of each colour.
Stack the colours, then hold the bundle firmly between your thumb and forefinger.
Tug out thin wisps, rotate slightly, and repeat until you get a smooth, even blend.
For a marbled effect, stop blending a little earlier so the colours stay slightly streaky.
Work with small amounts at a time for faster, more even blending.


