Handspun singles as warp yarn: Myth-busting and magic in weaving
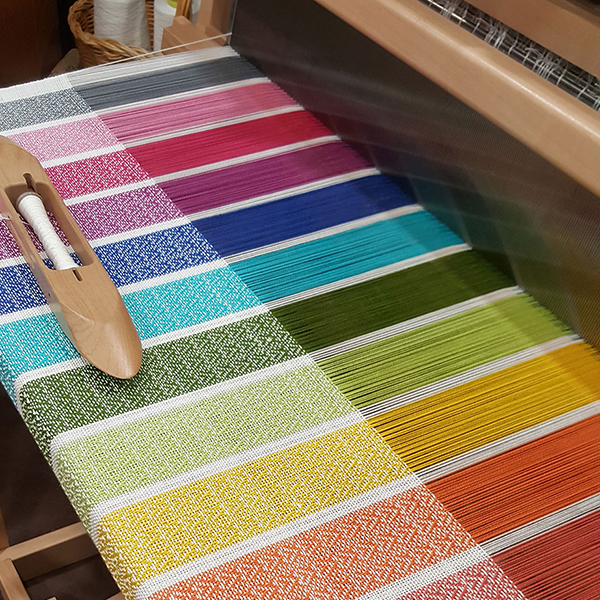
One of my pet peeves is something that I see in groups online and hear frequently in the rigid heddle weaving world: the “snap test” threshold. You know the one, you have probably heard it yourself, when someone says a yarn must pass a snap test to be suitable for warp. If it breaks when you “snap” it, it is no good. Not so! Every yarn will break if you snap it hard enough.
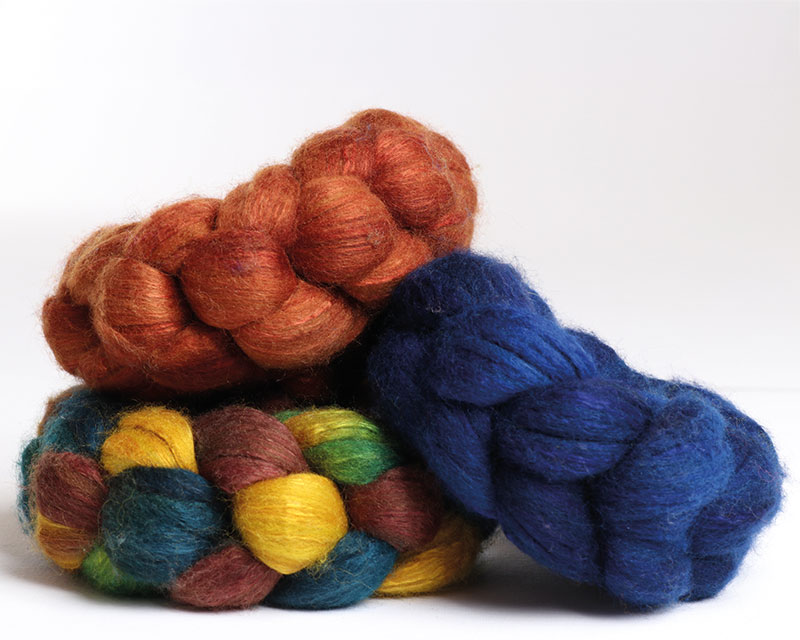
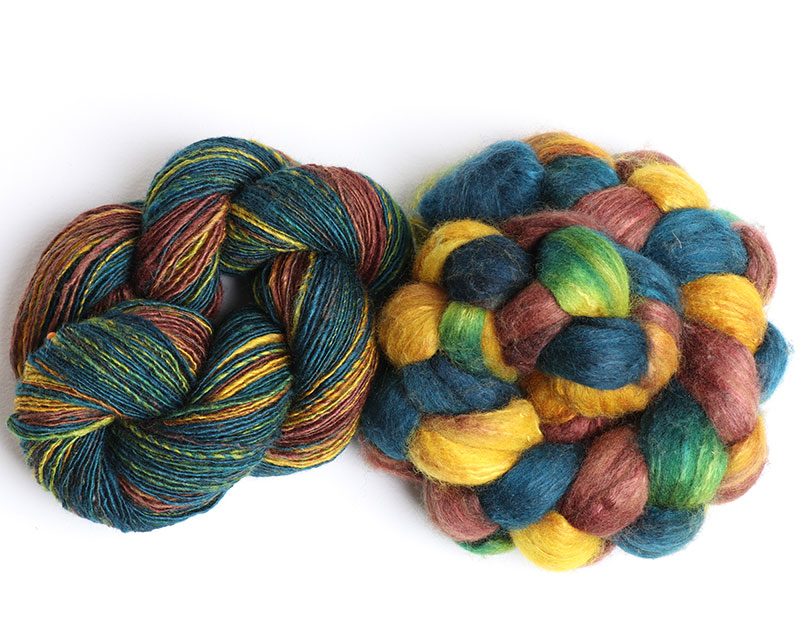
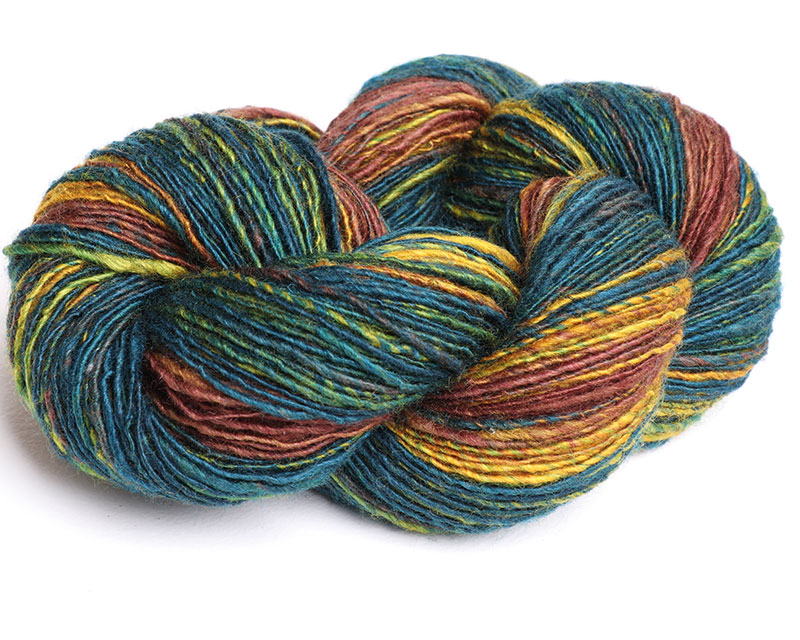
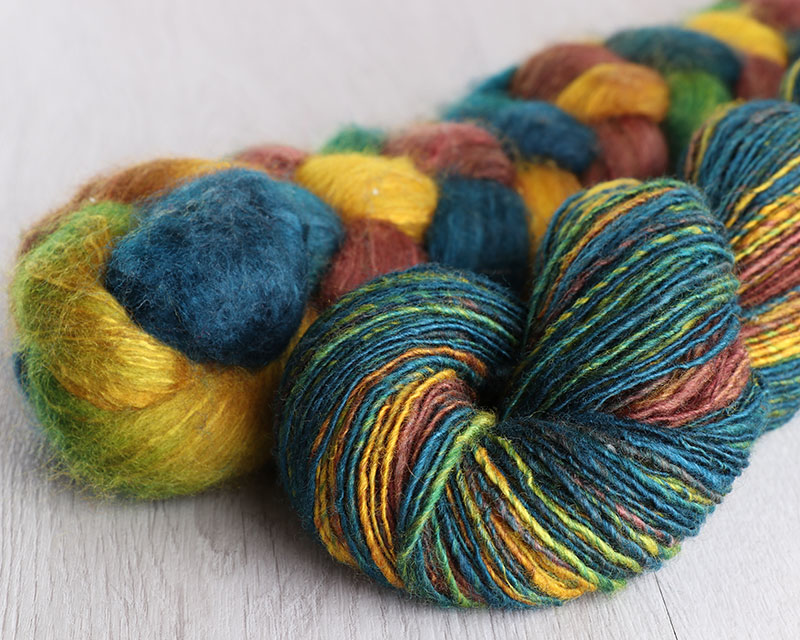
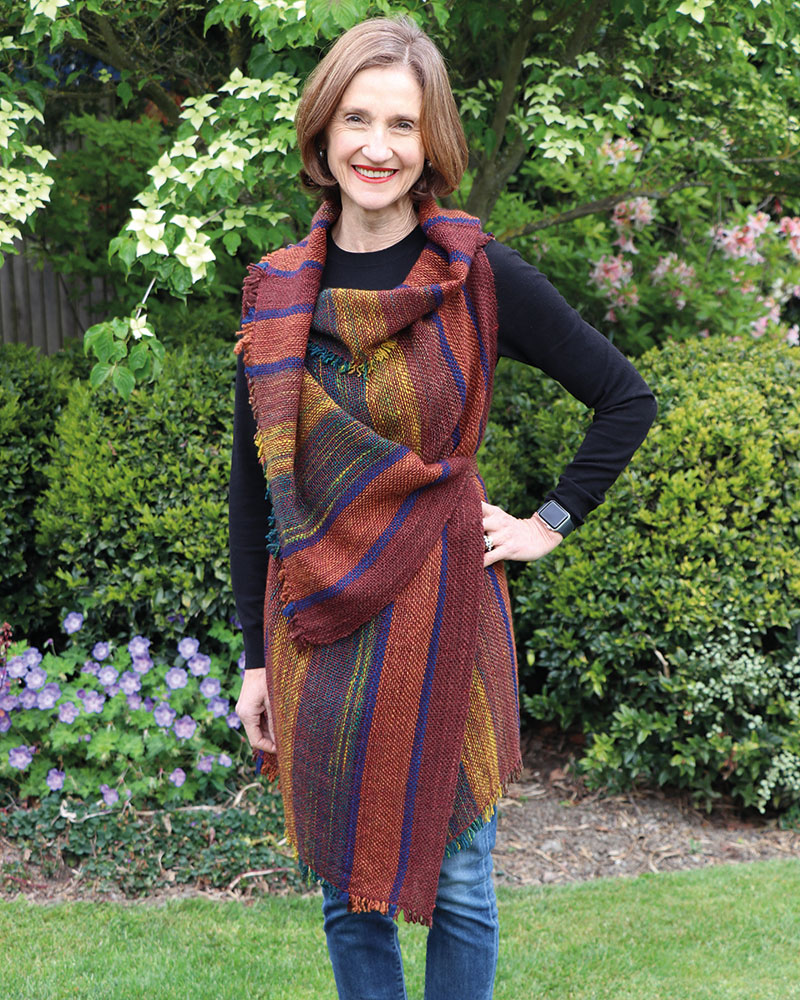
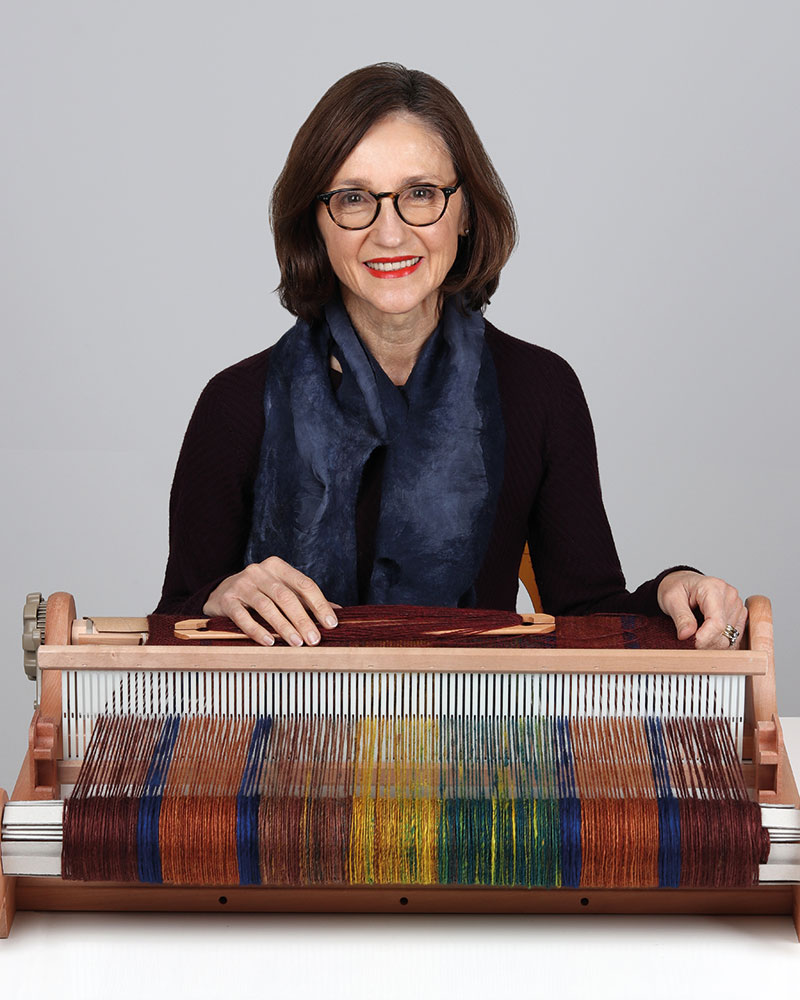
The truth? Any yarn can be used as a warp. The secret is simple: warp to the yarn. Fine singles? Gentle, even tension. Chunky handspun? Adjust accordingly. The yarn sets the rules, not some internet rumour repeated by many “experienced” weavers. Yet, this myth keeps getting passed around and beginners believe it. I hope you find this post interesting and I hope you get a little more adventurous with your warp yarns.
Happy weaving!

Kate
Historical textiles confirm that this isn’t new thinking. At the Viking Ship Museum in Oslo, sails on display, discovered in the rafters of a medieval church at Trondenes, Norway, were made from wool singles. These yarns were strong enough to power ships across open oceans. Archaeological evidence shows that before the Industrial Revolution, virtually all fabrics, Viking, medieval European, and even Bronze Age, were woven from handspun yarns, often singles in both warp and weft. A firm twist gave them the strength needed, without requiring plied yarn. If it worked for sails that crossed oceans, it can work on your rigid heddle loom.
Handspun singles are not just usable, they can be spectacular. Take silk–Merino blends in variegated colours (in the featured project below, beautifully dyed by Ashford dealer and dyer Lyn Walsh of Fibre2go). Warp them carefully, and the result can be a lightweight, drapey gilet that shows off every shade beautifully. No plied yarn required. No magic snap test. Just a bit of attention to tension and technique.
The key to success? Warp to the yarn. Every yarn has its own personality. Fine singles need careful, even tension. Thick or loosely spun yarns may need slower weaving. Treat your yarn with respect, and it will reward you with unique texture, beautiful drape, and all the creative freedom handspun offers.
Tips for Using Unplied Handspun in Your Warp
- Even tension is more important than tight tension.
- The yarn must have enough twist to withstand raising and lowering the heddle and to produce a clear shed.
- Smoother even yarns work well slubs can catch on adjacent warp threads or be abraded by the reed.
- Thwacking the yarn once finished can make it even stronger as it slightly felts the outer fibres. To do this soak the skein in warm water with a drop of dishwashing liquid for 30 minutes, squeeze out excess water, fold in half, and thwack three times on a hard surface; repeat after turning the skein.
- Dress the loom gently, avoid overly long warps, again – even is better than tight tension.
- Clear the shed before passing the shuttle, by using the reed to come forward as if to beat and back again.
- Keep some extra warp yarn and warp weights handy in case there is any need to repair a broken warp thread.
Elizabeth’s Gilet Project
Size: One size fits most
Weave Structure: Plain weave
Loom: 50cm (20ins) or wider rigid heddle
Reed: 30/10cm (7.5dpi)
Warp Yarn: 100gm braids in Navy, Copper, Chocolate, and Dark Autumn (x2) handspun singles Ashford silk/Merino, 15wpi
Weft: Naturally Omana 4ply (35% NZ Merino, 40% alpaca, 25% acrylic; 450m/492yds; 100gm) #28 × 2 balls
Warping
Total warp length: You will warp your loom 3 times, each panel will be 122cm (48ins) long
Total warp width: You will weave 3 panels – 2 at 50cm (20ins) wide and one at 37cm (14ins) wide
Finished length: Each panel should be 112cm (46ins)
Weaving
Leave 4cm (1½ins) for fringe (this can be the knots). Leave a tail of weft yarn 3 time the width of your warp, weave 2-3cm (1in) and then use the tail to hemstitch (see blog article here) and continue to weave the full length of the warp.
Hemstitch at the other end. You will have enough loom waste to become the 4cm (1½ins) fringe. CLICK HERE to see how to Hemstitch.
Remove from the loom.
Repeat for the second panel and for the third narrower panel.
Finishing:
Gently wash, dry, and press.
Join panels by passing a needle through the weft loops of both pieces. To see details on joining panels CLICK HERE
Leave a gap for the armholes. See pattern below.
