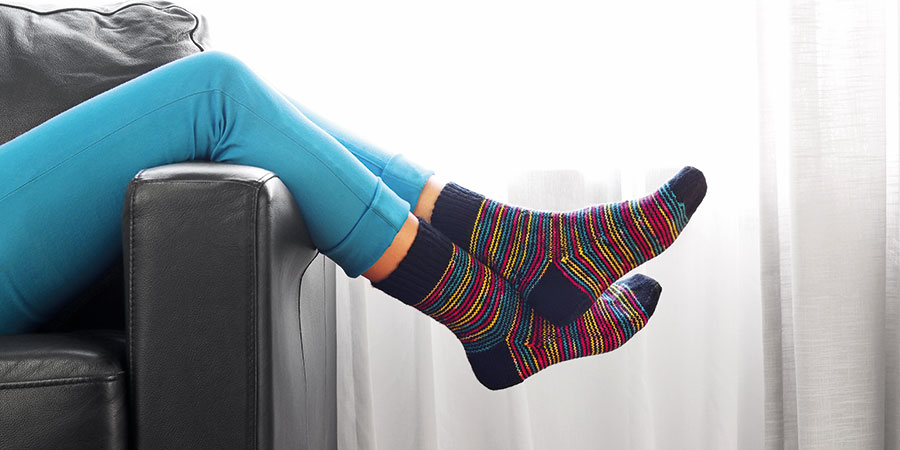
Knitting pattern for Helix Socks
You will need:
Yarn: 50gm ball of each solid colour (A) and contrast colour (B) (knits 2 socks)
Needles: 1 x set of double pointed needles @ 15cm (6 ins) long. Loose knitter 2.25mm, Average knitter 2.50mm, Tight knitter 2.75mm
Note: Needle 1, 2 & 3 will change for each sequence, the stitches are dividing, decreasing and increasing. It is impossible to keep the same numbers throughout.
SOCK TOP
Cast on 60sts using Colour A
Rib K1, P1, across 60sts as follows:
Needle 1 Rib 20
Needle 2 Rib 20
Needle 3 Rib 20
Rib 1st round joining the 3rd & 1st needle together.
Rib 18 more rounds (20 rounds in total)
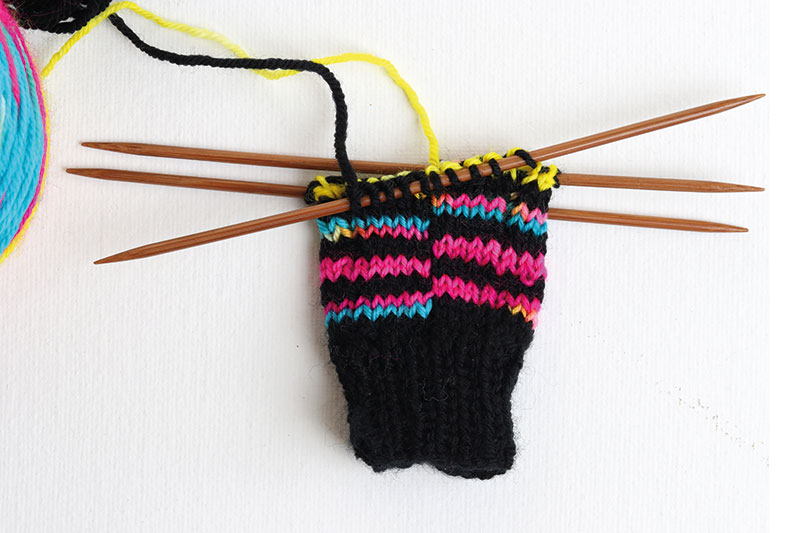
Change to stocking stitch (all rounds knit)
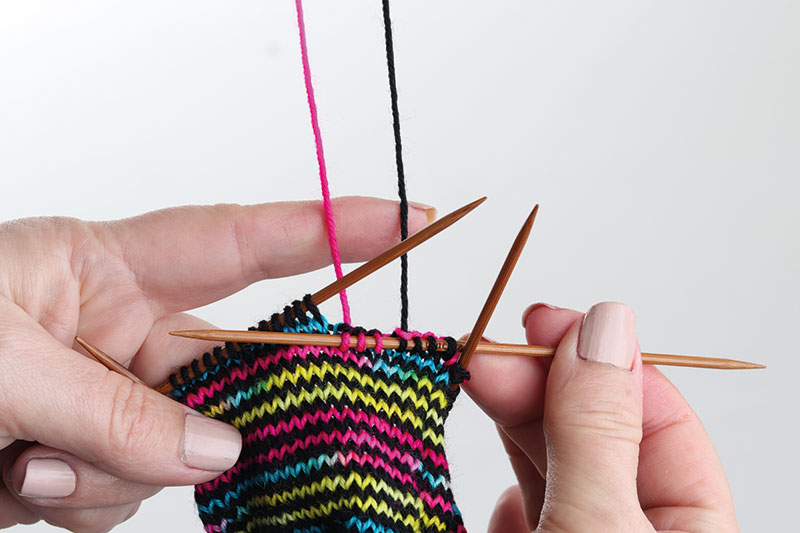
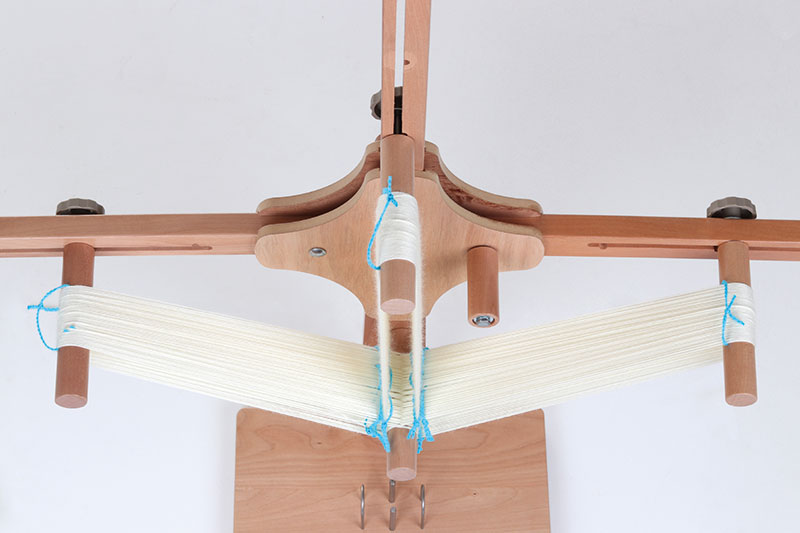
Round 1: Knit until 3sts before the end of the round. Drop Colour A. Slip the next 3sts purl wise. Join in Colour B and continue knitting until 3sts before the end of the previous colour. (PHOTO). Drop colour B. Slip the next 3 sts purl wise. Continue with colour A as established.
Continue in this manner until 40 rounds have been completed.
NB: the end of round will not coincide with the colour changes
HEEL FLAP
Starting the next round using Colour A
Knit 20 stitches across 1st needle, 10sts across the 2nd needle, turn and purl back on these 30sts.
Slip 5sts from the 3rd needle onto the 2nd needle. Now you have 30sts on the 1st needle for the heel flap and 15sts each on the 2nd and 3rd needles.
On the first 30sts continue knitting for 21 rows in stocking stitch. (Knit 1 row, Purl 1 row).
Finish on a Knit row.
TURNING THE HEEL
Don’t worry, if this is your first time, it’s going to be ok. Just take everything step by step.
P19 across heel flap, P2tog, Turn.
Sl, K8, S1, K1, psso, Turn.
Sl purl wise, P8, P2tog, Turn.
S1, K8, S1, K1, psso, Turn.
Repeat the last two rows until the last row is Sl, K8, Sl, K1, psso = 10sts remaining.
STARTING THE ROUNDS FOR THE HEEL
Continue in the stripe pattern as set and slip the 3sts before the colour change.
First side of the heel:
1st needle – pick up 19sts along the first side of the heel.
2nd needle – slip next 30sts (15 +15) onto one needle. Knit across 30sts.
3rd needle – pick up and knit 19sts on the other side of the heal flap
Arranging the stitches onto the 3 needles:
Continue across heel flap knit 5 onto the same needle (19 + 5 = 24sts)
Slip the last 5sts onto the next needle. (5 + 19 = 24sts)
Knit across 24sts on the next needle
Knit across 30sts
Knit across 24sts on the next needle.
You will have 78sts = 24, 30, 24
SHAPING THE HEEL FLAP
Decrease Round
1st needle – Knit 21sts, K2 tog, K1
2nd needle – Knit across 30sts
3rd needle – K1, S1, K1, psso, knit to end of round.
You have now done a decrease round. Knit 1 round.
Knit 20, K2 tog, K1, Knit 30sts, K1, Sl, K1, psso. Knit to end. Knit 1 round.
Continue on these two rounds – 1 decrease round and 1 plain round until you have 60sts left. You will have 15sts on two of the needles & 30sts on the other. 15, 30, 15 (Total of 60sts)
TO KNIT THE FOOT LENGTH
Knit 35 rounds and 45 or more rounds for a large sock. From here to the end of the toe is approx. 3cm (1 in.). Finish at the end of the 3rd needle.
TOE SHAPING
Start on the 1st needle of 15sts and using Colour A knit to last 3sts, K2 tog, K1.
Next needle of 30sts. K1, S1, K1, psso, knit to last 3sts, K2 tog, K1
Next needle of 15sts. K1, S1, K1, psso, Knit to the end.
You have now done one decrease round.
Repeat the last round until a total of 24sts remain. 6 + 12 + 6 = 24
Knit 6sts across 1st needle, slip these 6 onto the other needle holding 6sts. You will have 12sts on each needle.
Break the yarn 60cm (24 ins) from the end. Slide 12sts from 1st and 2nd needle onto a safety pin. Slide the other 12sts onto a safety pin. Turn work inside out.
JOINING THE TOE
Slide the stitches from each safety pin back onto two needles. We can cast off the stitches and join the toe seam at the same time.
Lie the two needles side by side.
Knit a stitch off each needle at the same time as follows….
Put the needle through the front of the 1st stitch on the front needle and the 1st stitch on the back needle. Knit as usual, slipping both loops off together. Knit one more stitch in the same way.
Cast off one stitch in the usual way (1 stitch over the other on the right-hand needle.)
Continue to work across the row until all stitches are cast off. Darn the thread through the last stitch and finish thread by running across the inside of the knitting for 3cm (1 in.).
Darn off the stitch at the top of the sock, neaten the join as you do this.
Great! Your designer sock is finished…
Now enjoy knitting the other one!