Processing stinging nettle fibres by hand
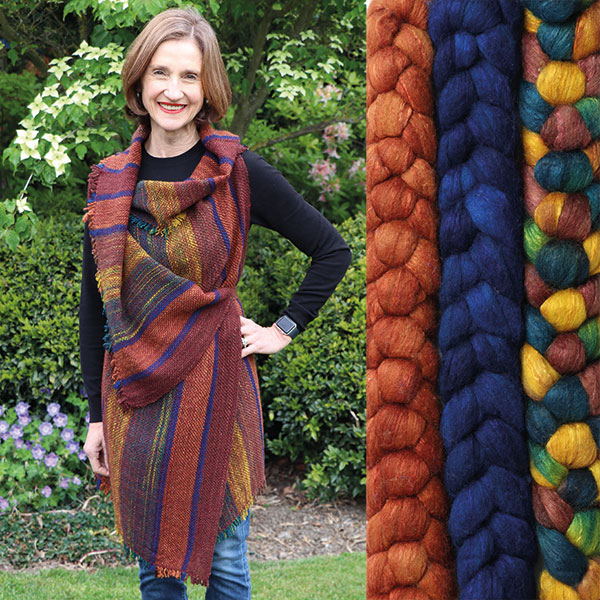
Fresh from winning the 2026 Ashford Award designer Belinda Gredig of Mönchengladbach, Germany, shares her guide to processing on of nature’s most overlooked fibres: stinging nettles. In this fascinating practical guide, Belinda shares the traditional processes and hands-on techniques used to transform wild nettles into beautiful yarn for weaving. From harvesting and preparing the plants to extracting and spinning the fibre, discover the remarkable potential of this sustainable natural resource. I hope you find this article interesting and perhaps you will give stinging nettle a go!
![]()
Kate
-

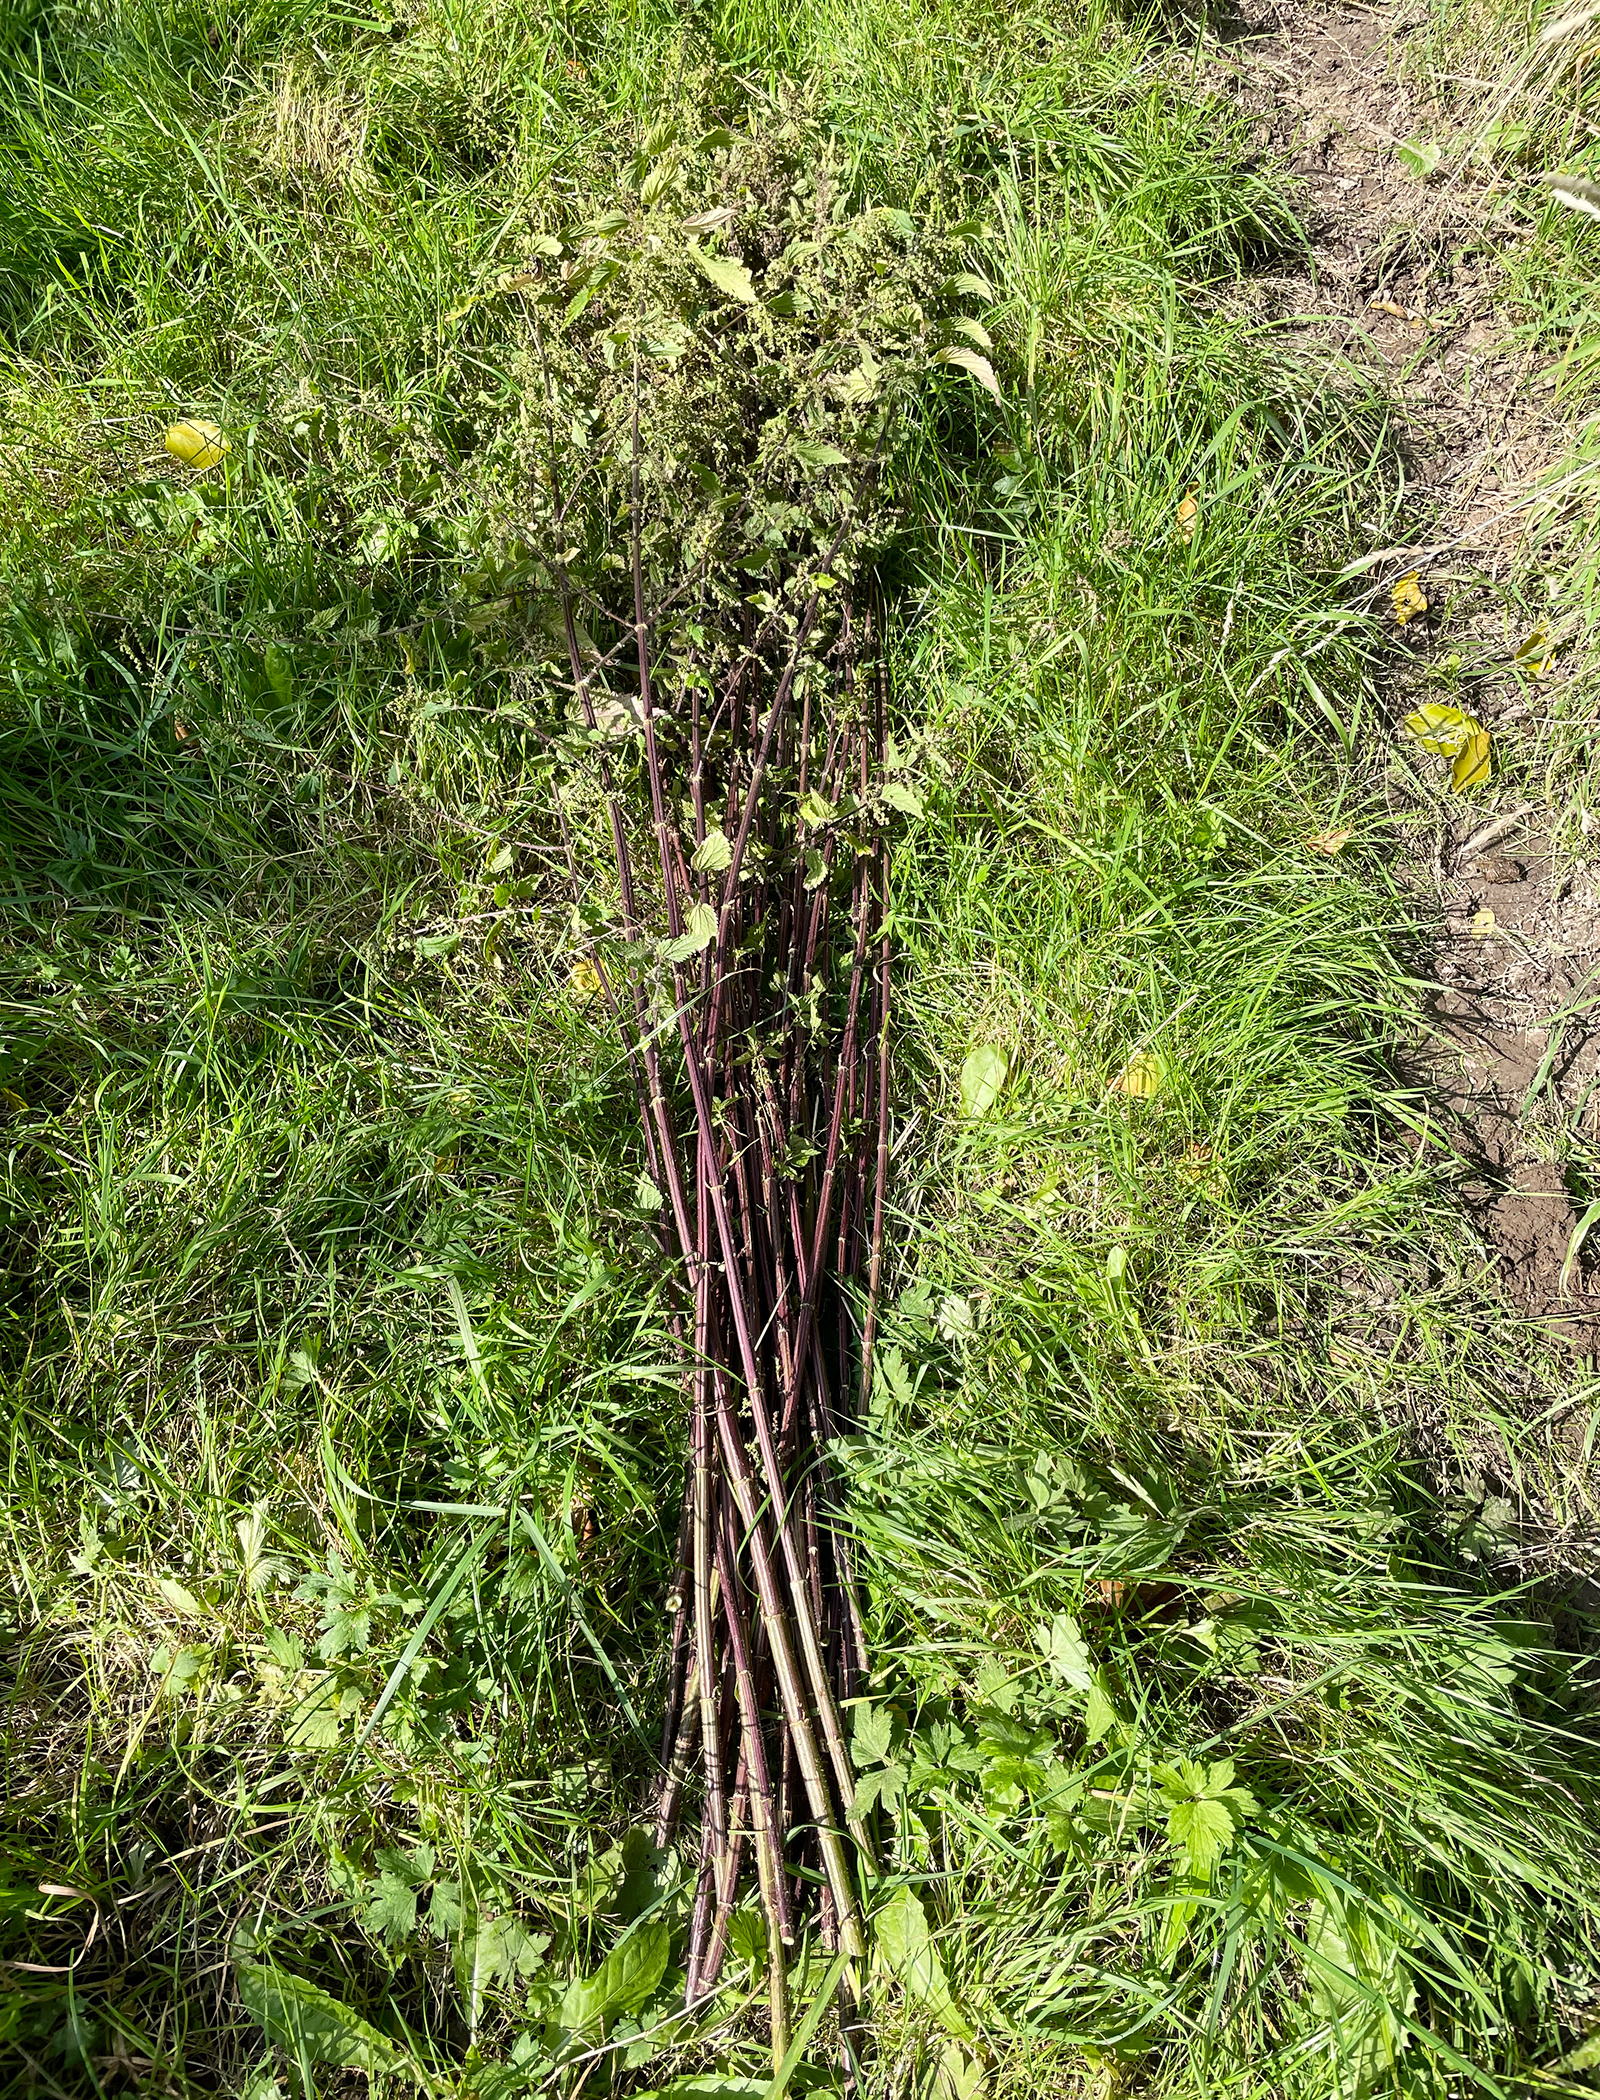
- Stinging nettles in September
-
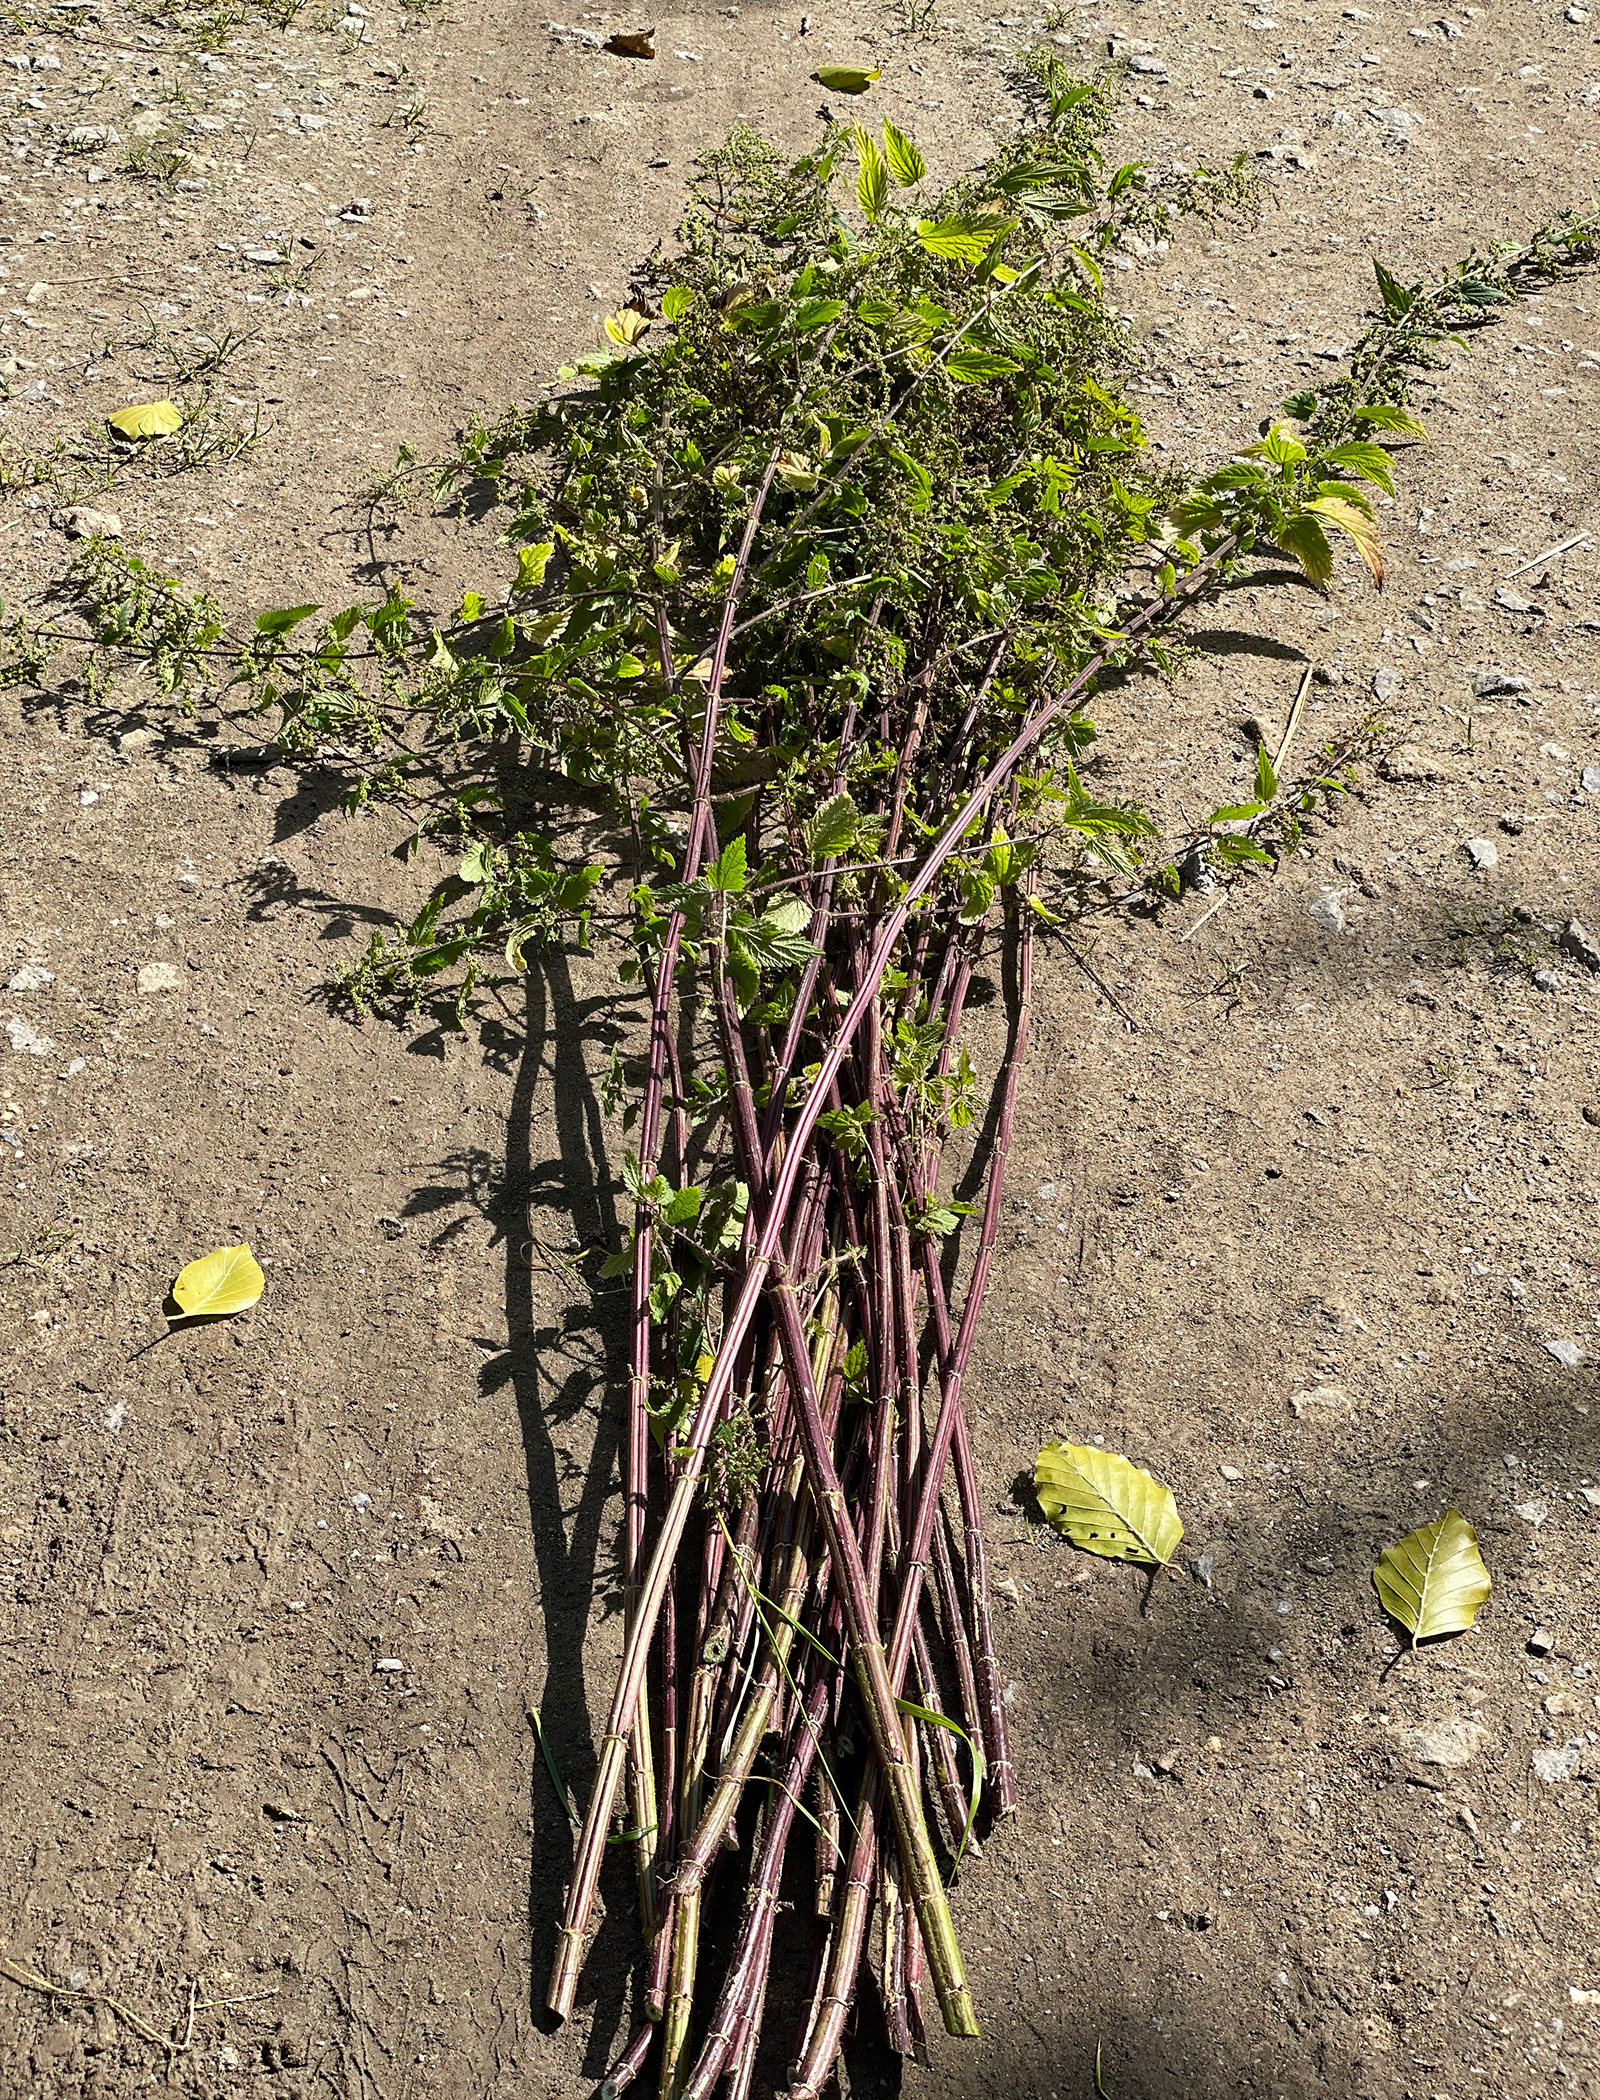
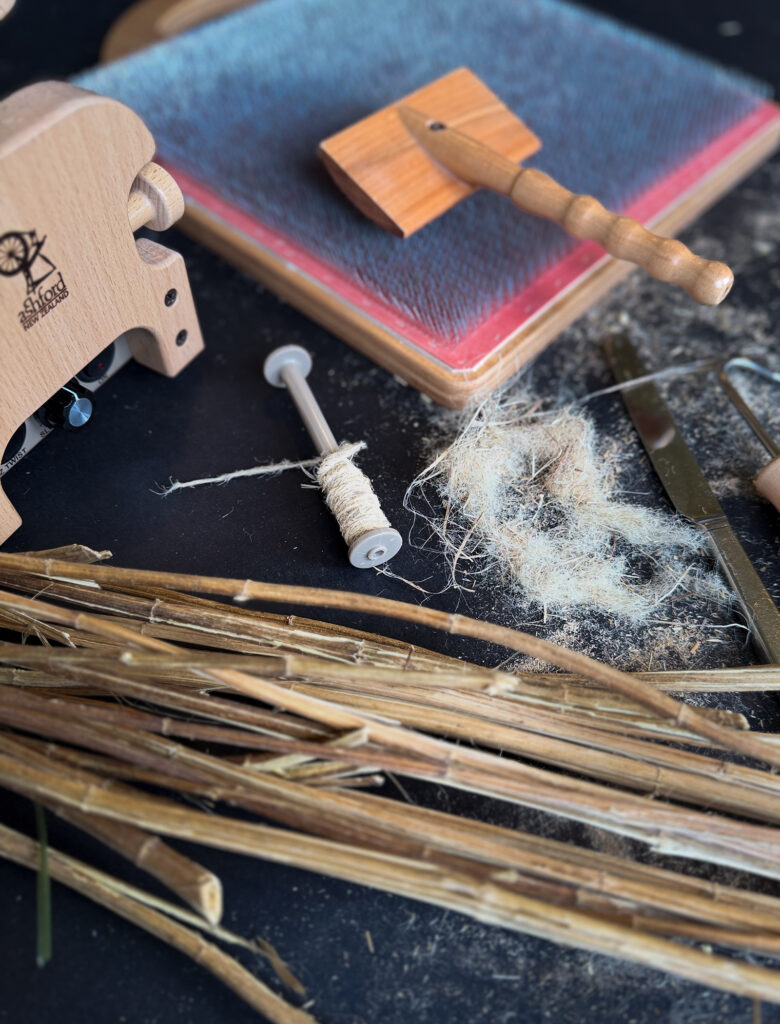
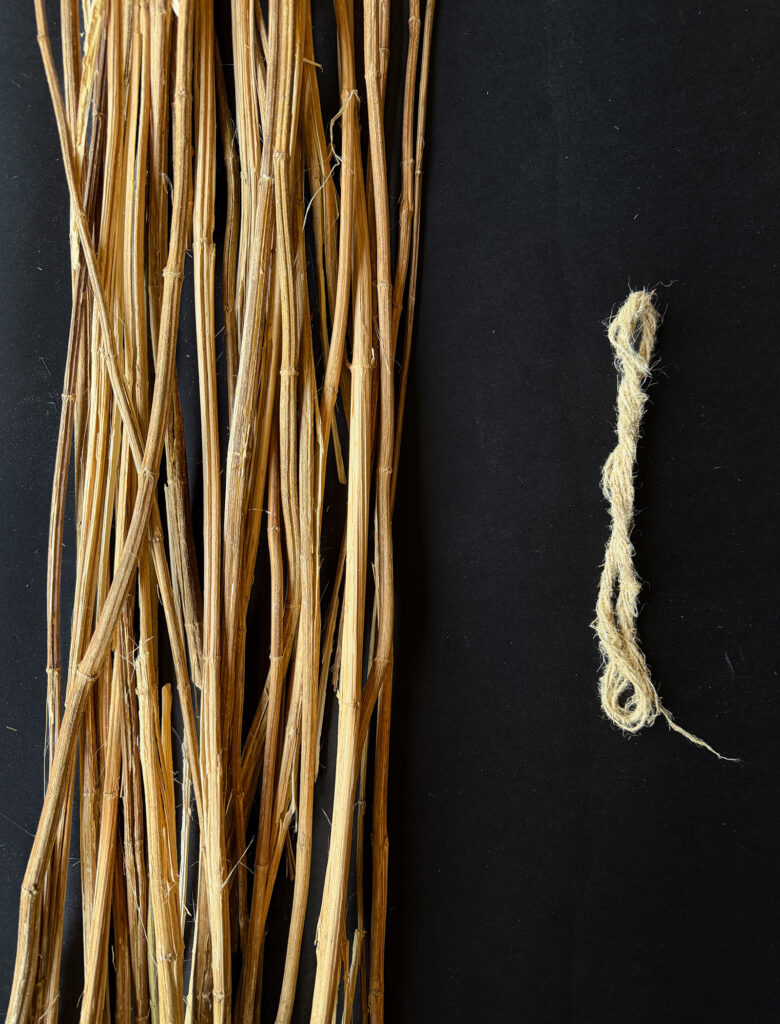
- Harvesting nettle stems

-
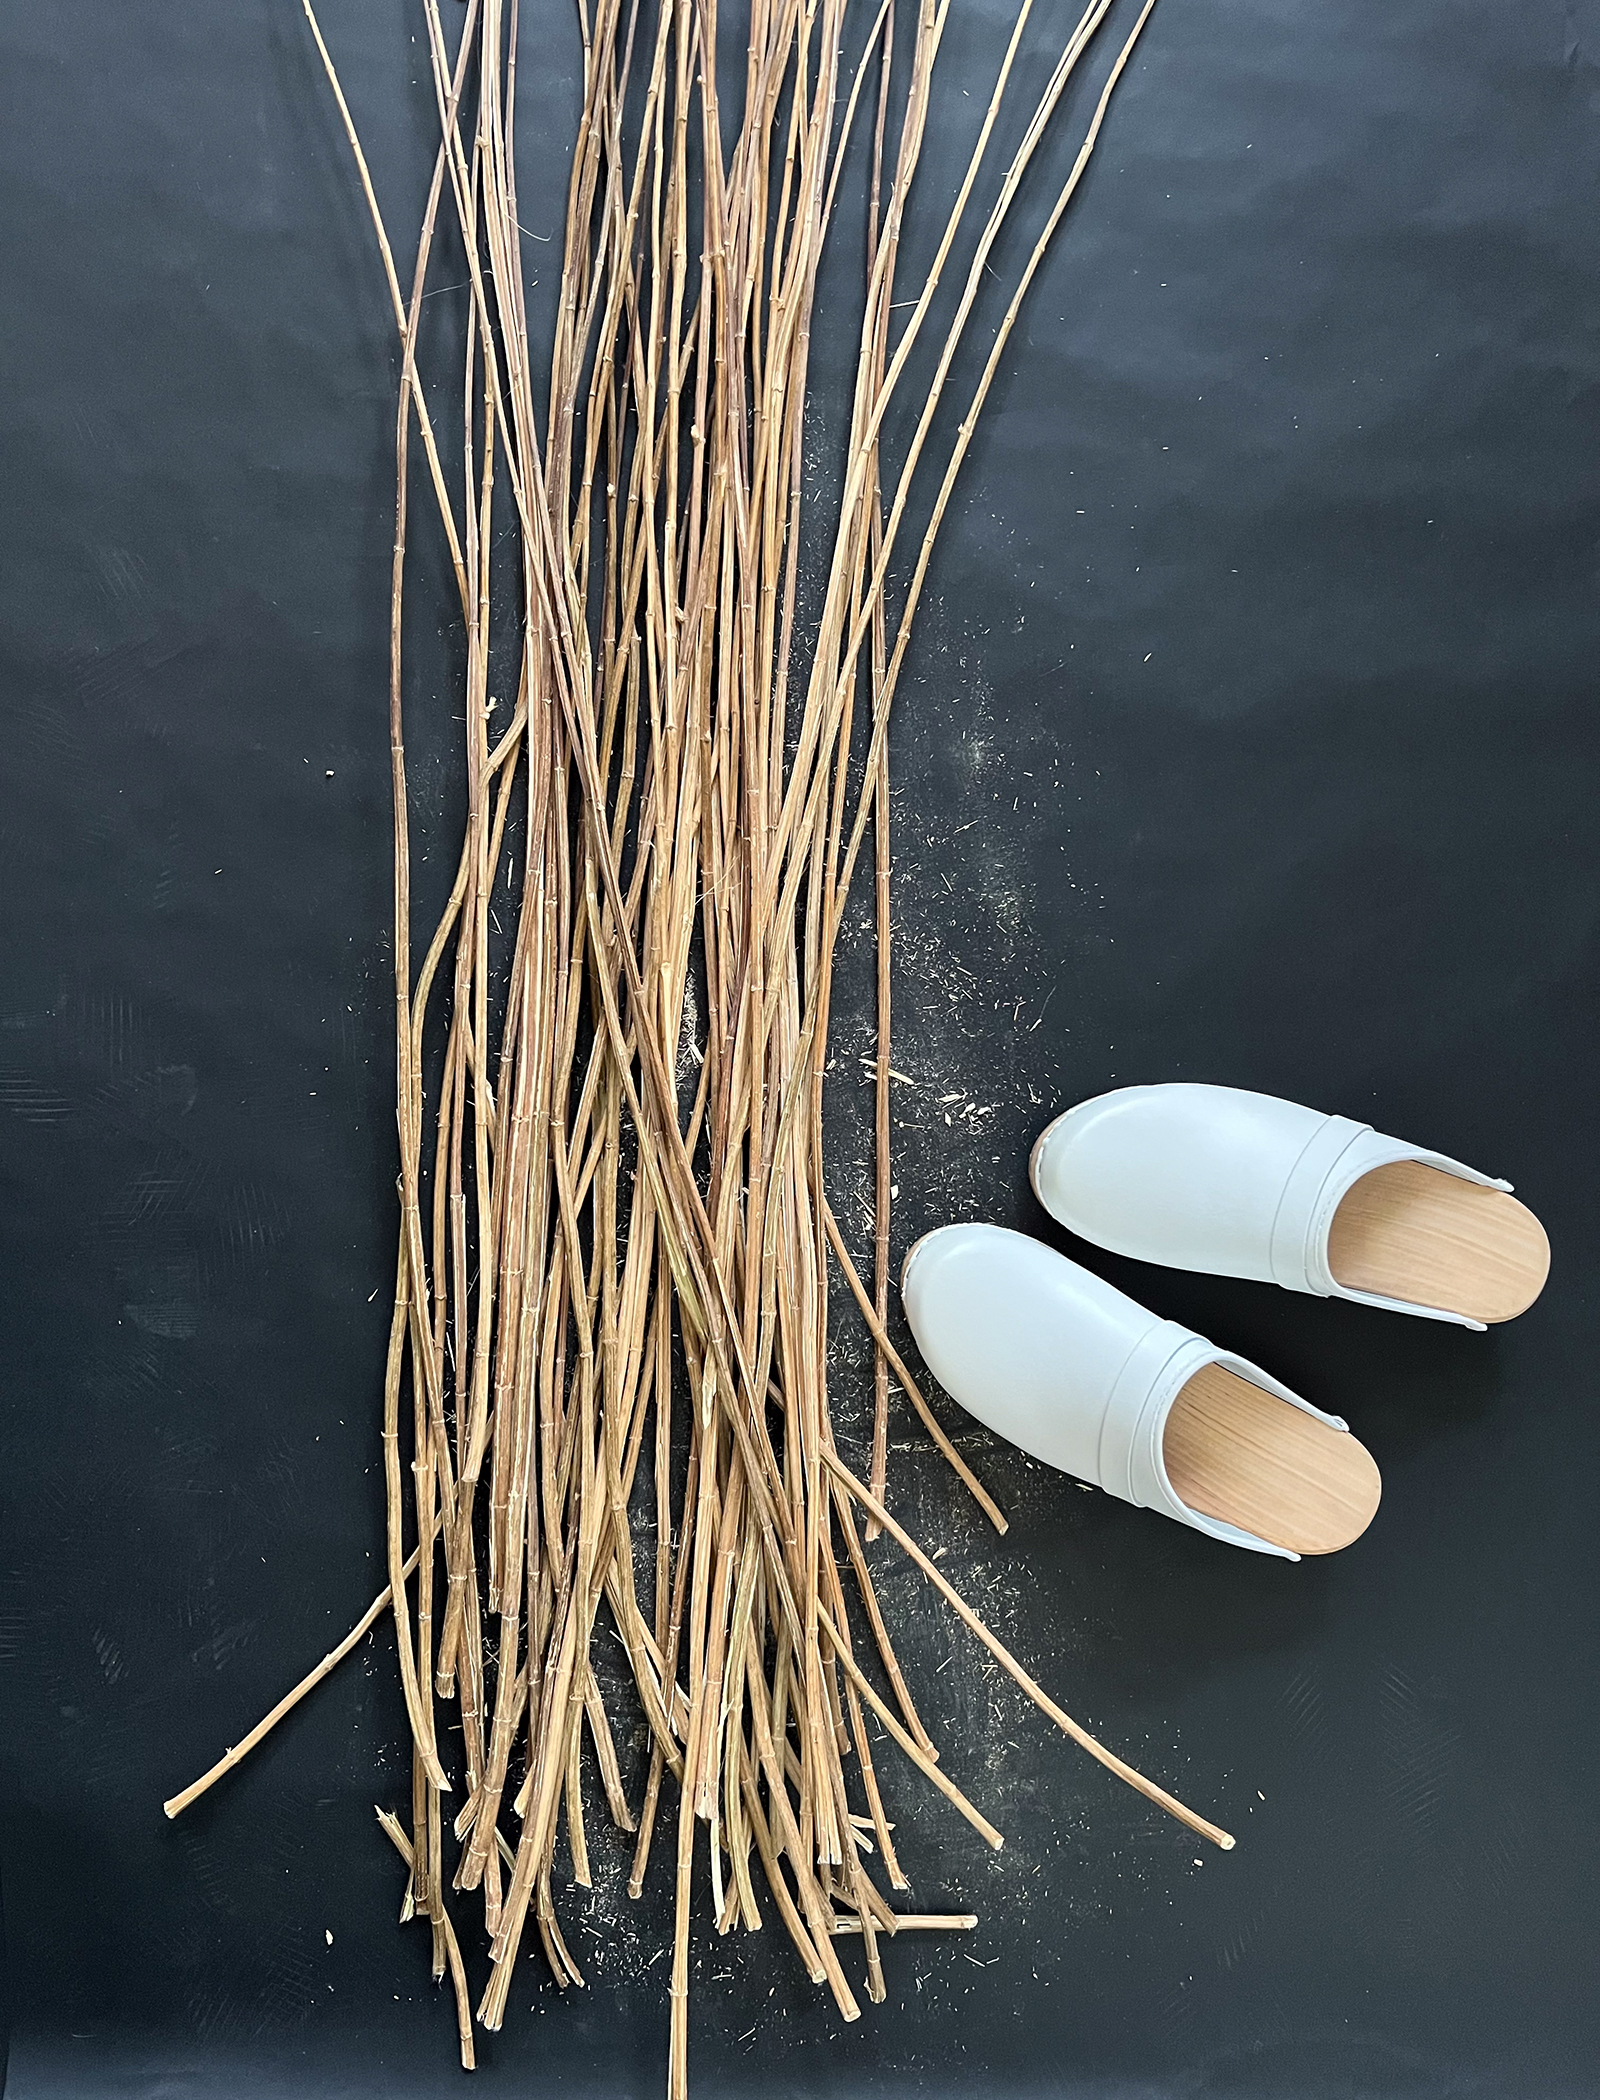
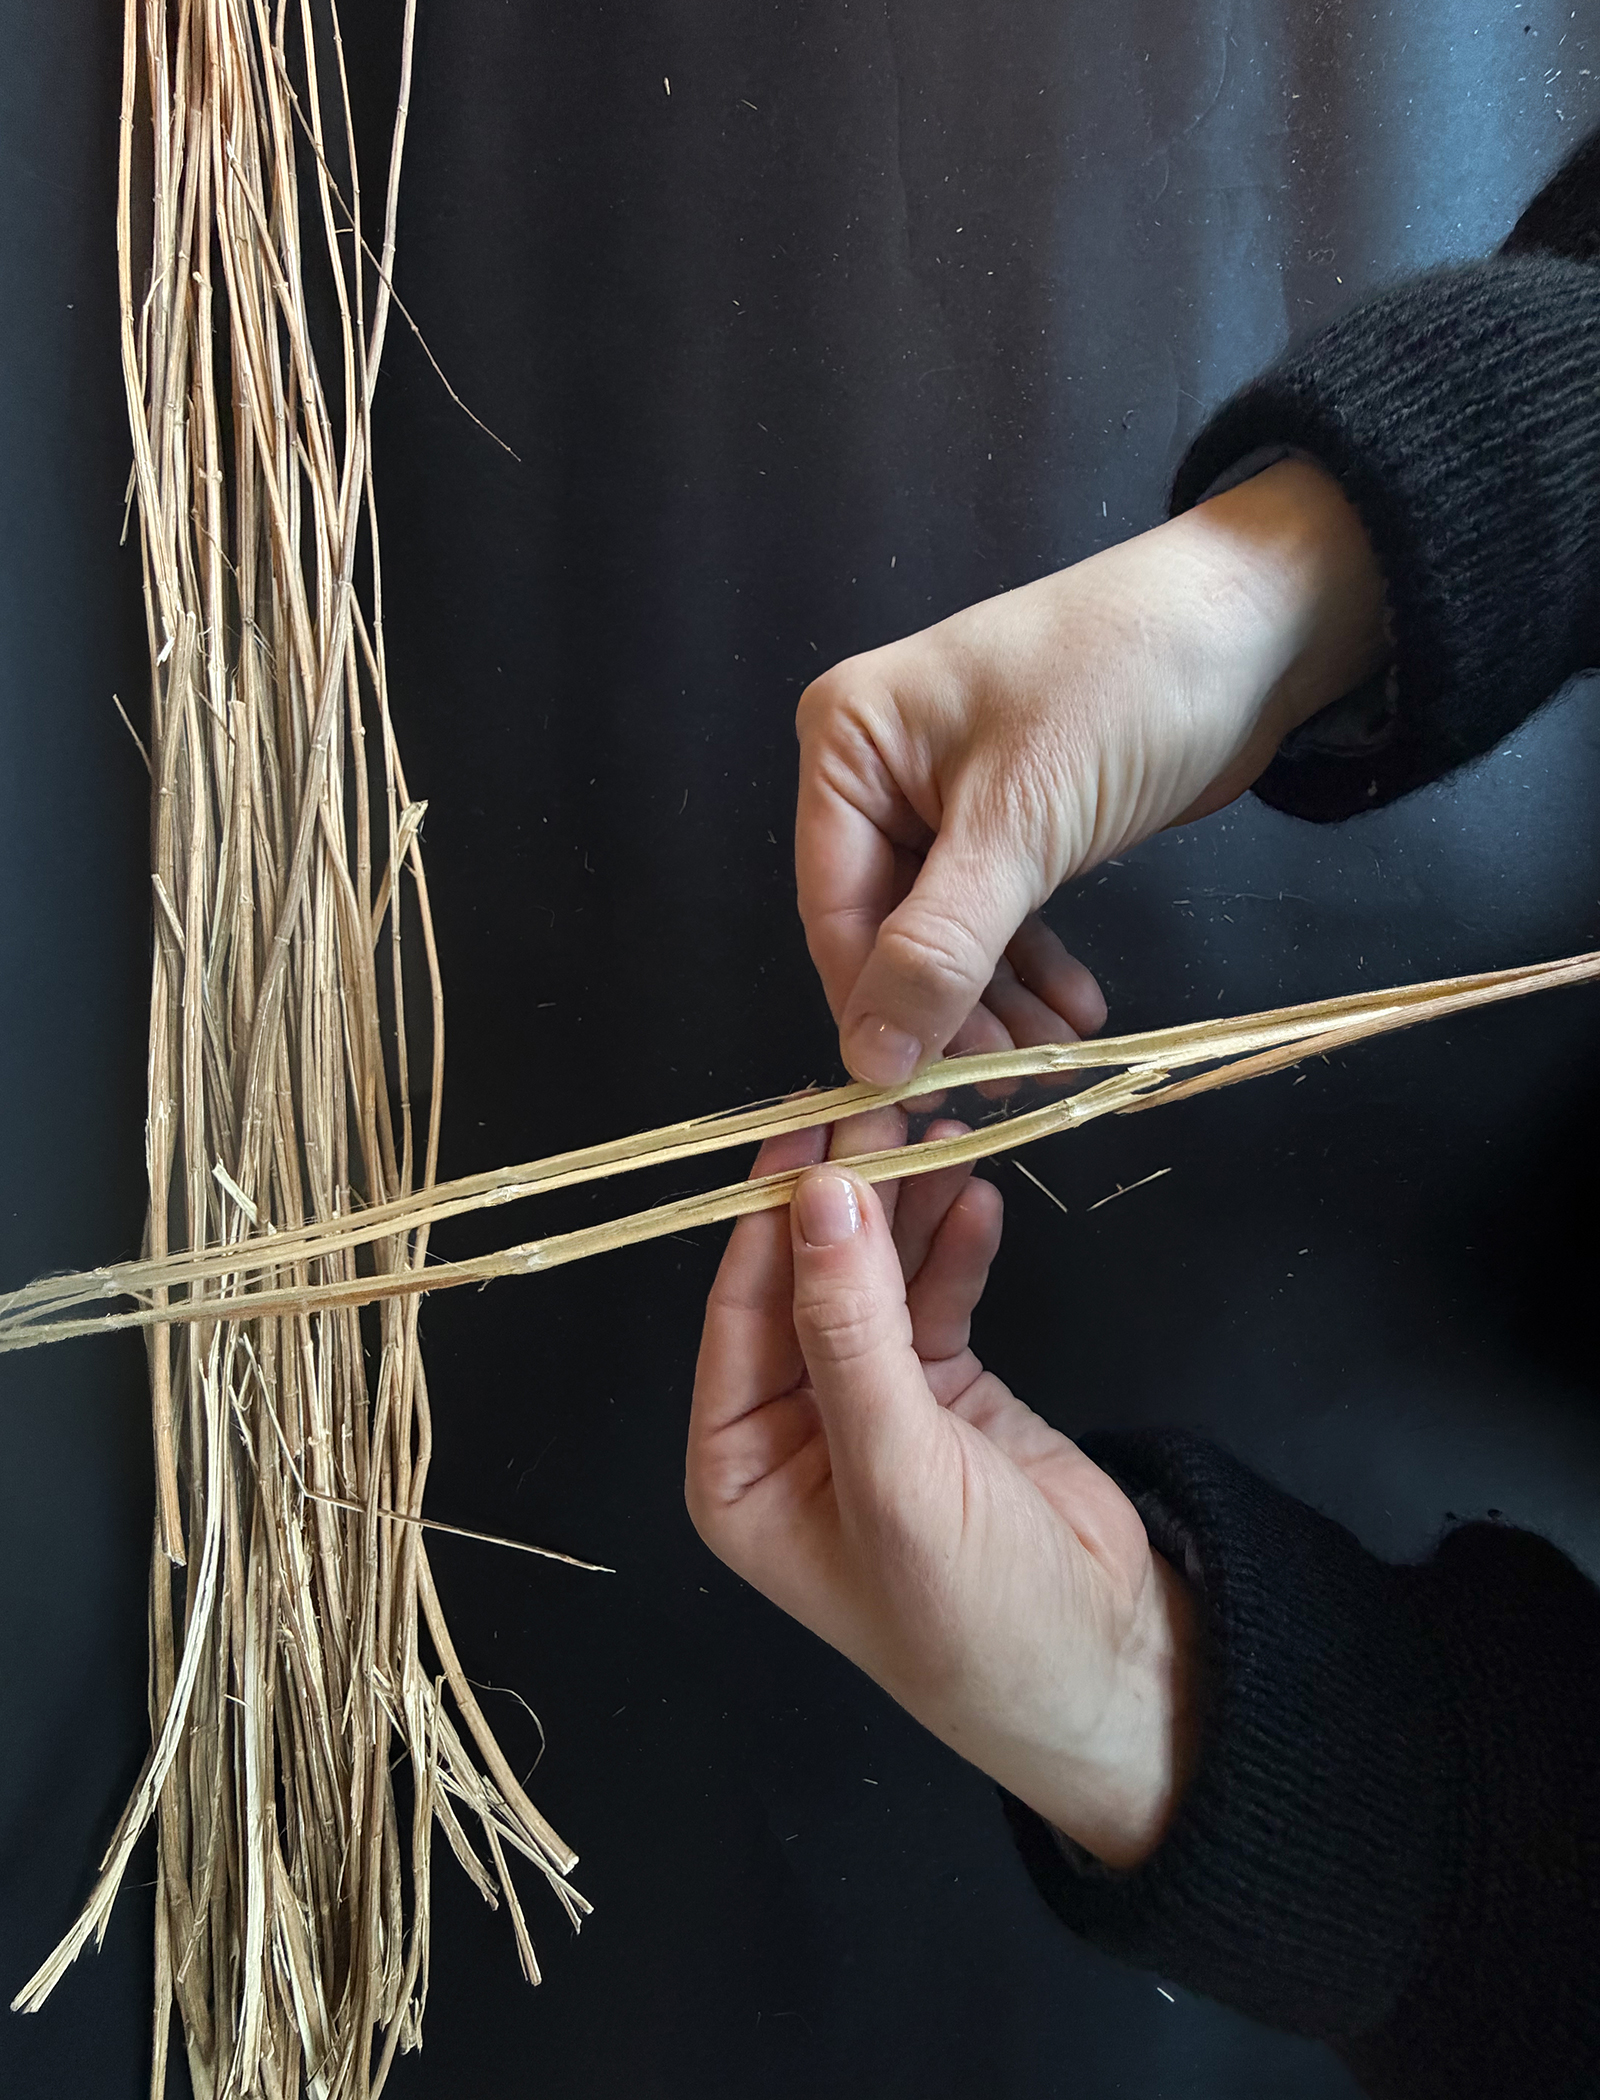
- Breaking the stems
-
- Peeling the fibre from the stem
-
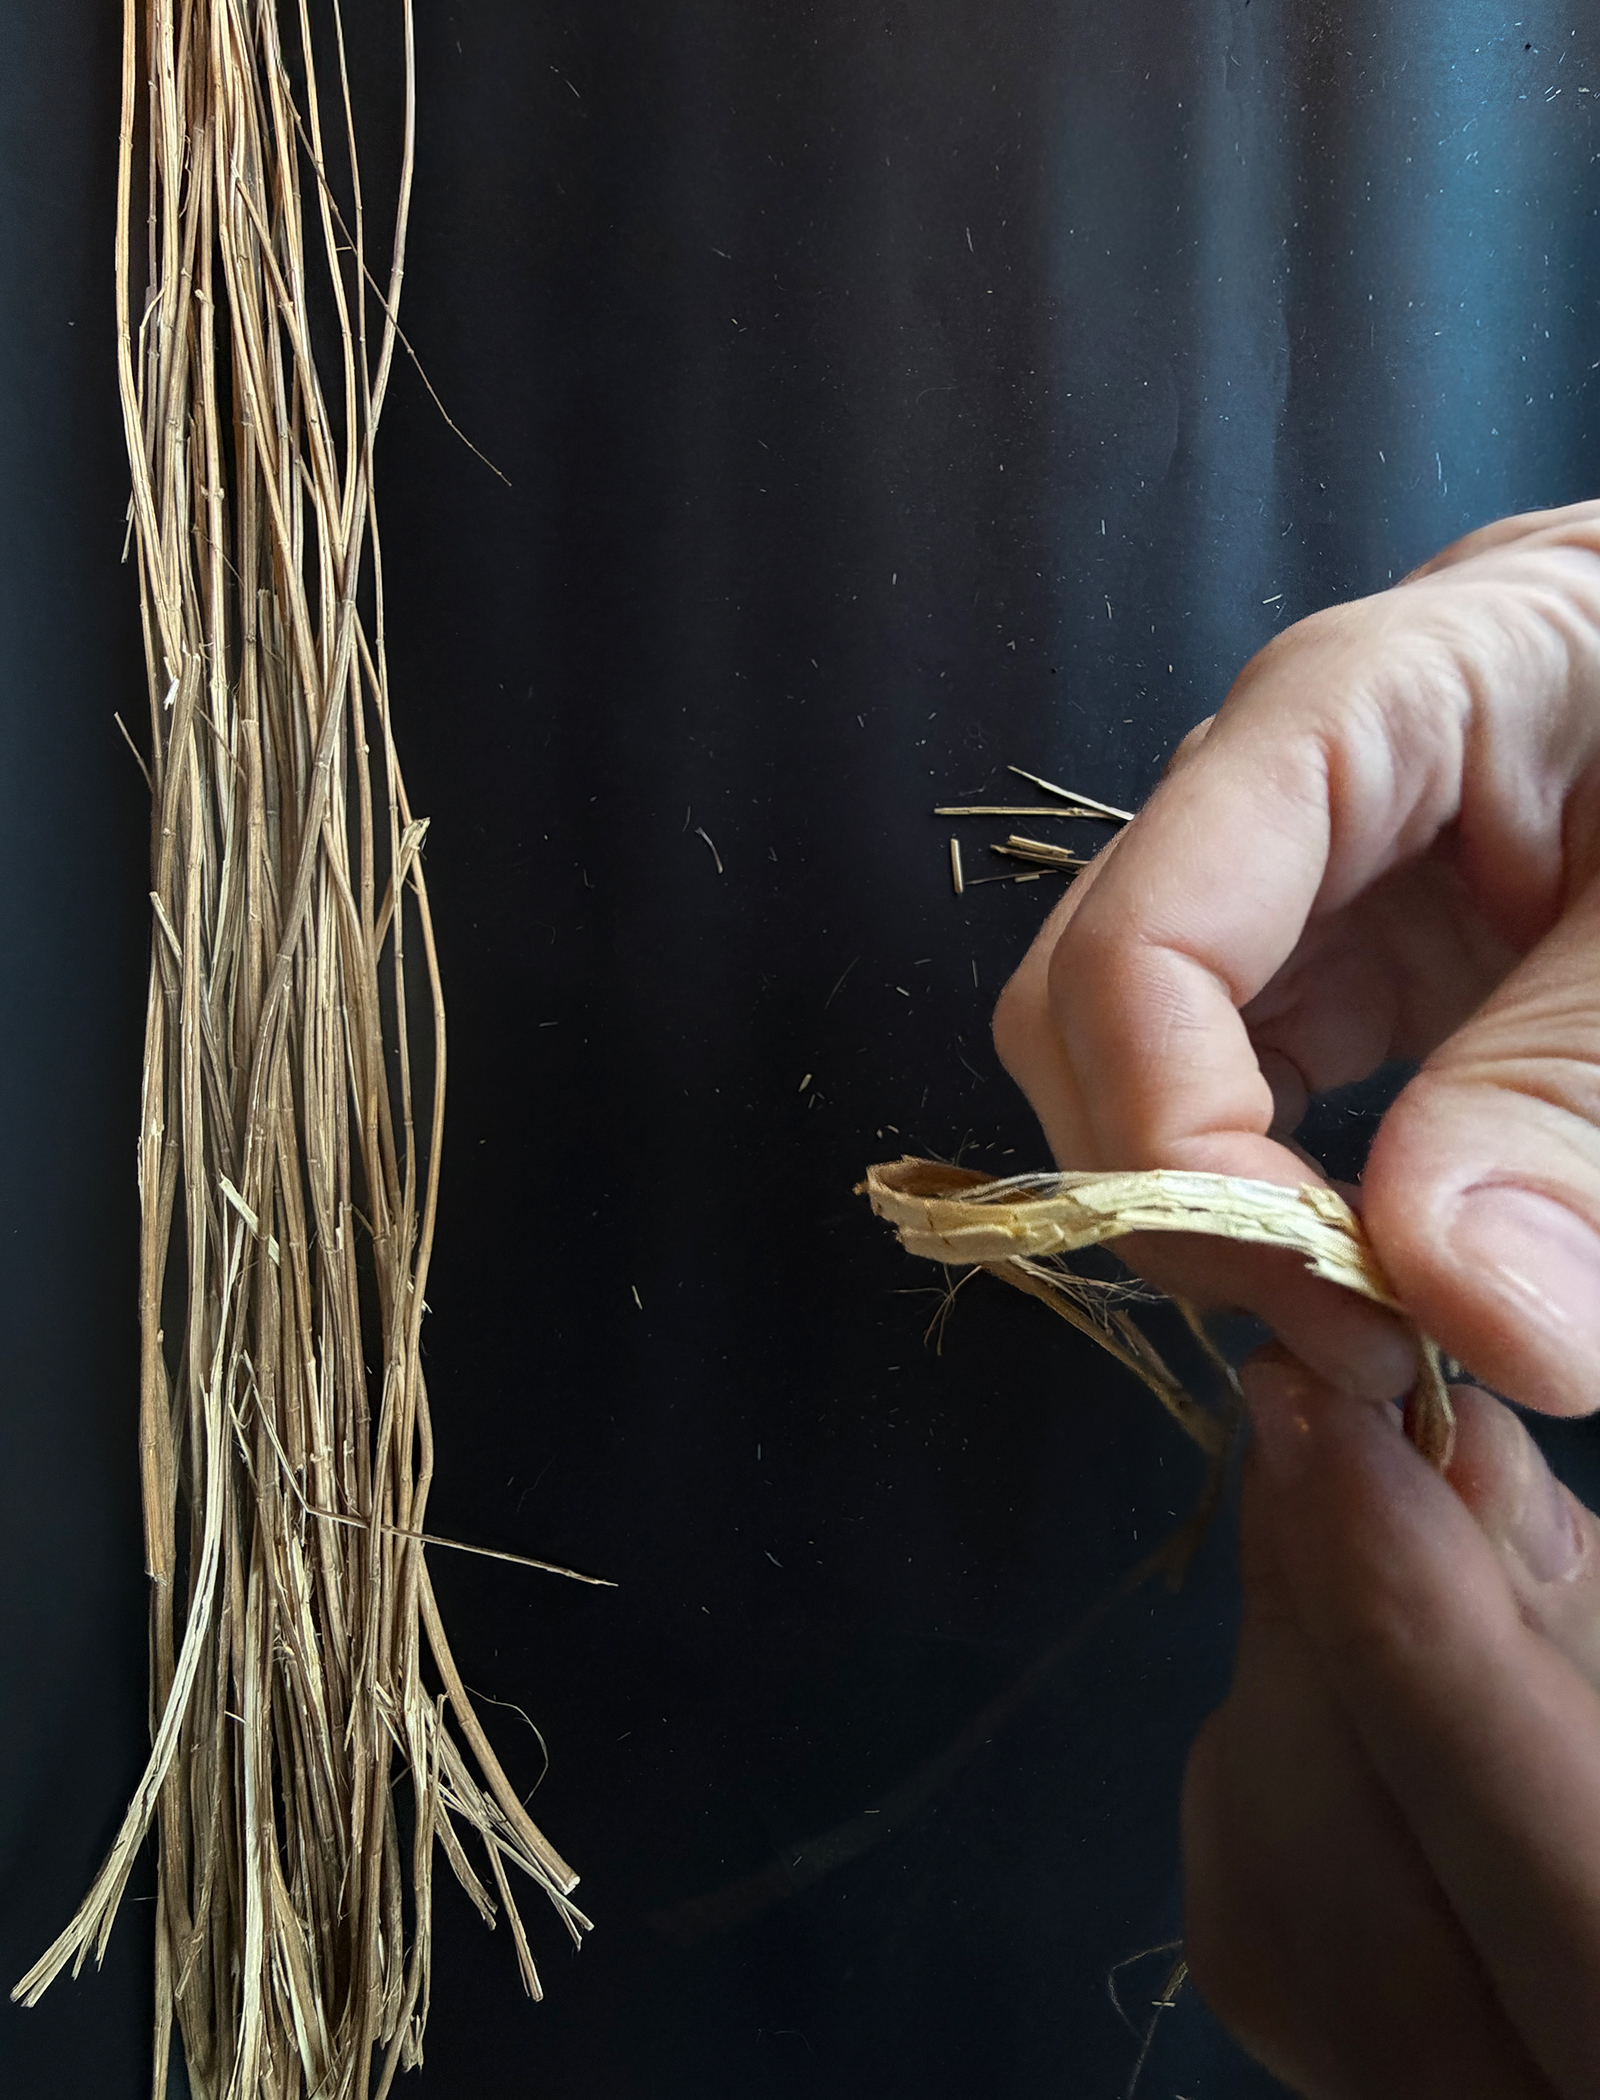
- Then the stem half will start to bend more.
-
- The inner wood parts can now be peeled off more easily and gently so that the fibre peels off in one go.
-
- The inner wood can be used for instance as mulch material or for paper making.
-
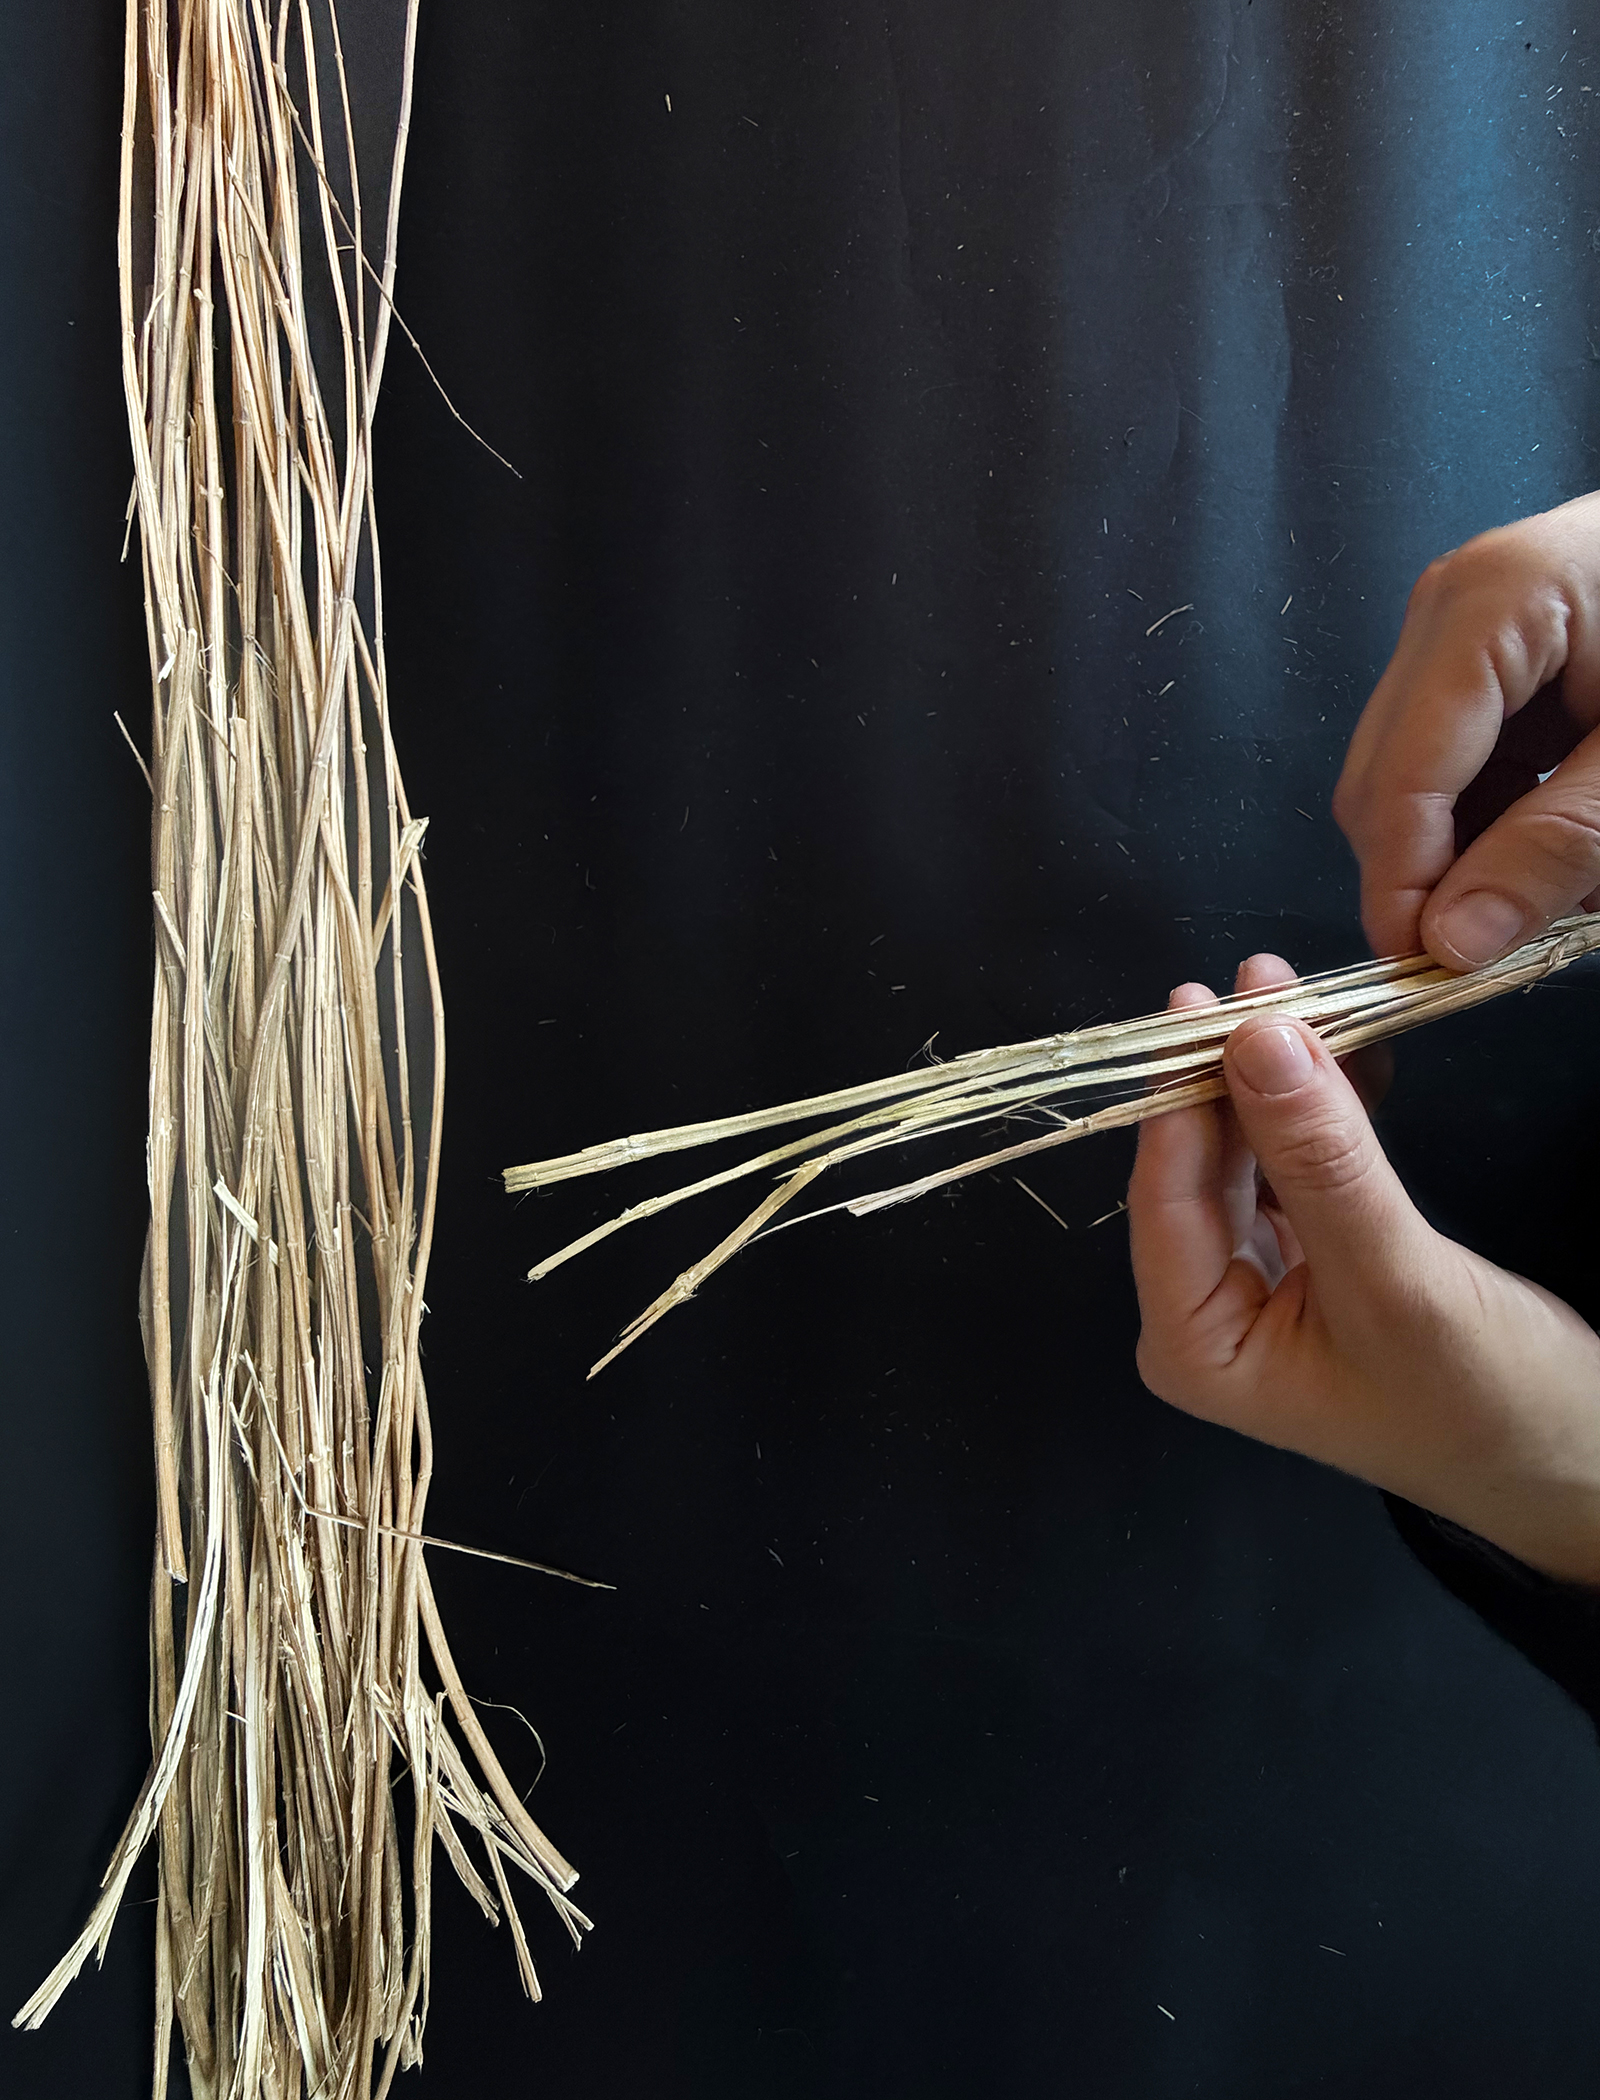
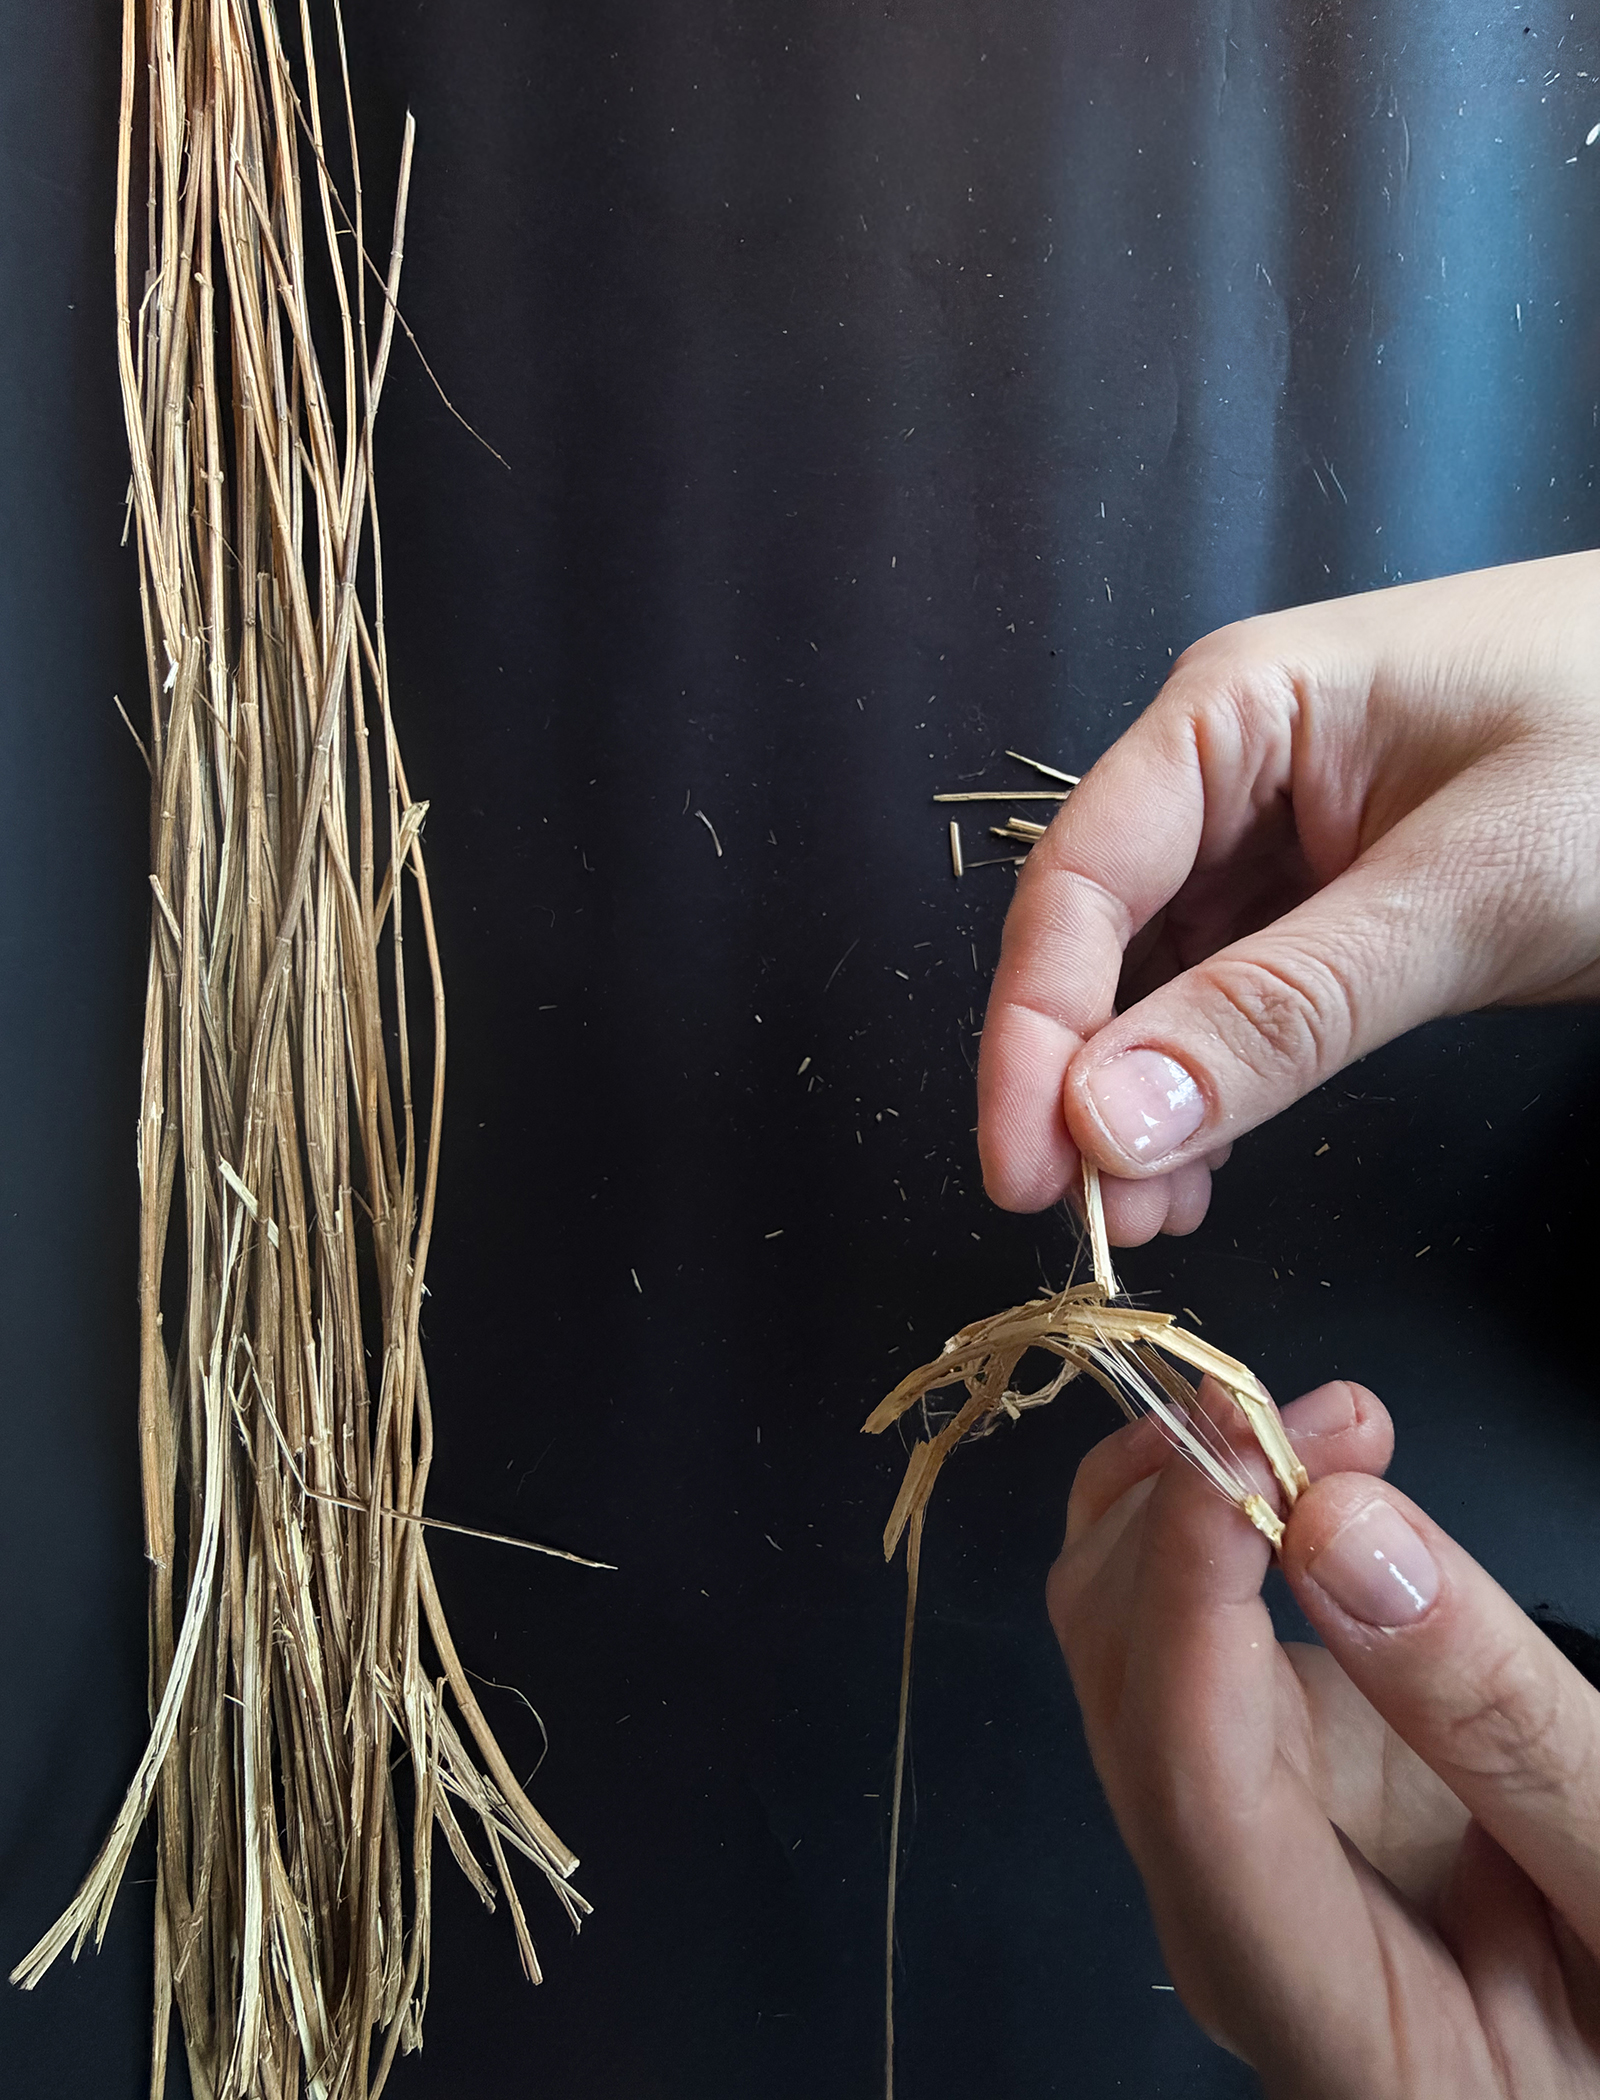
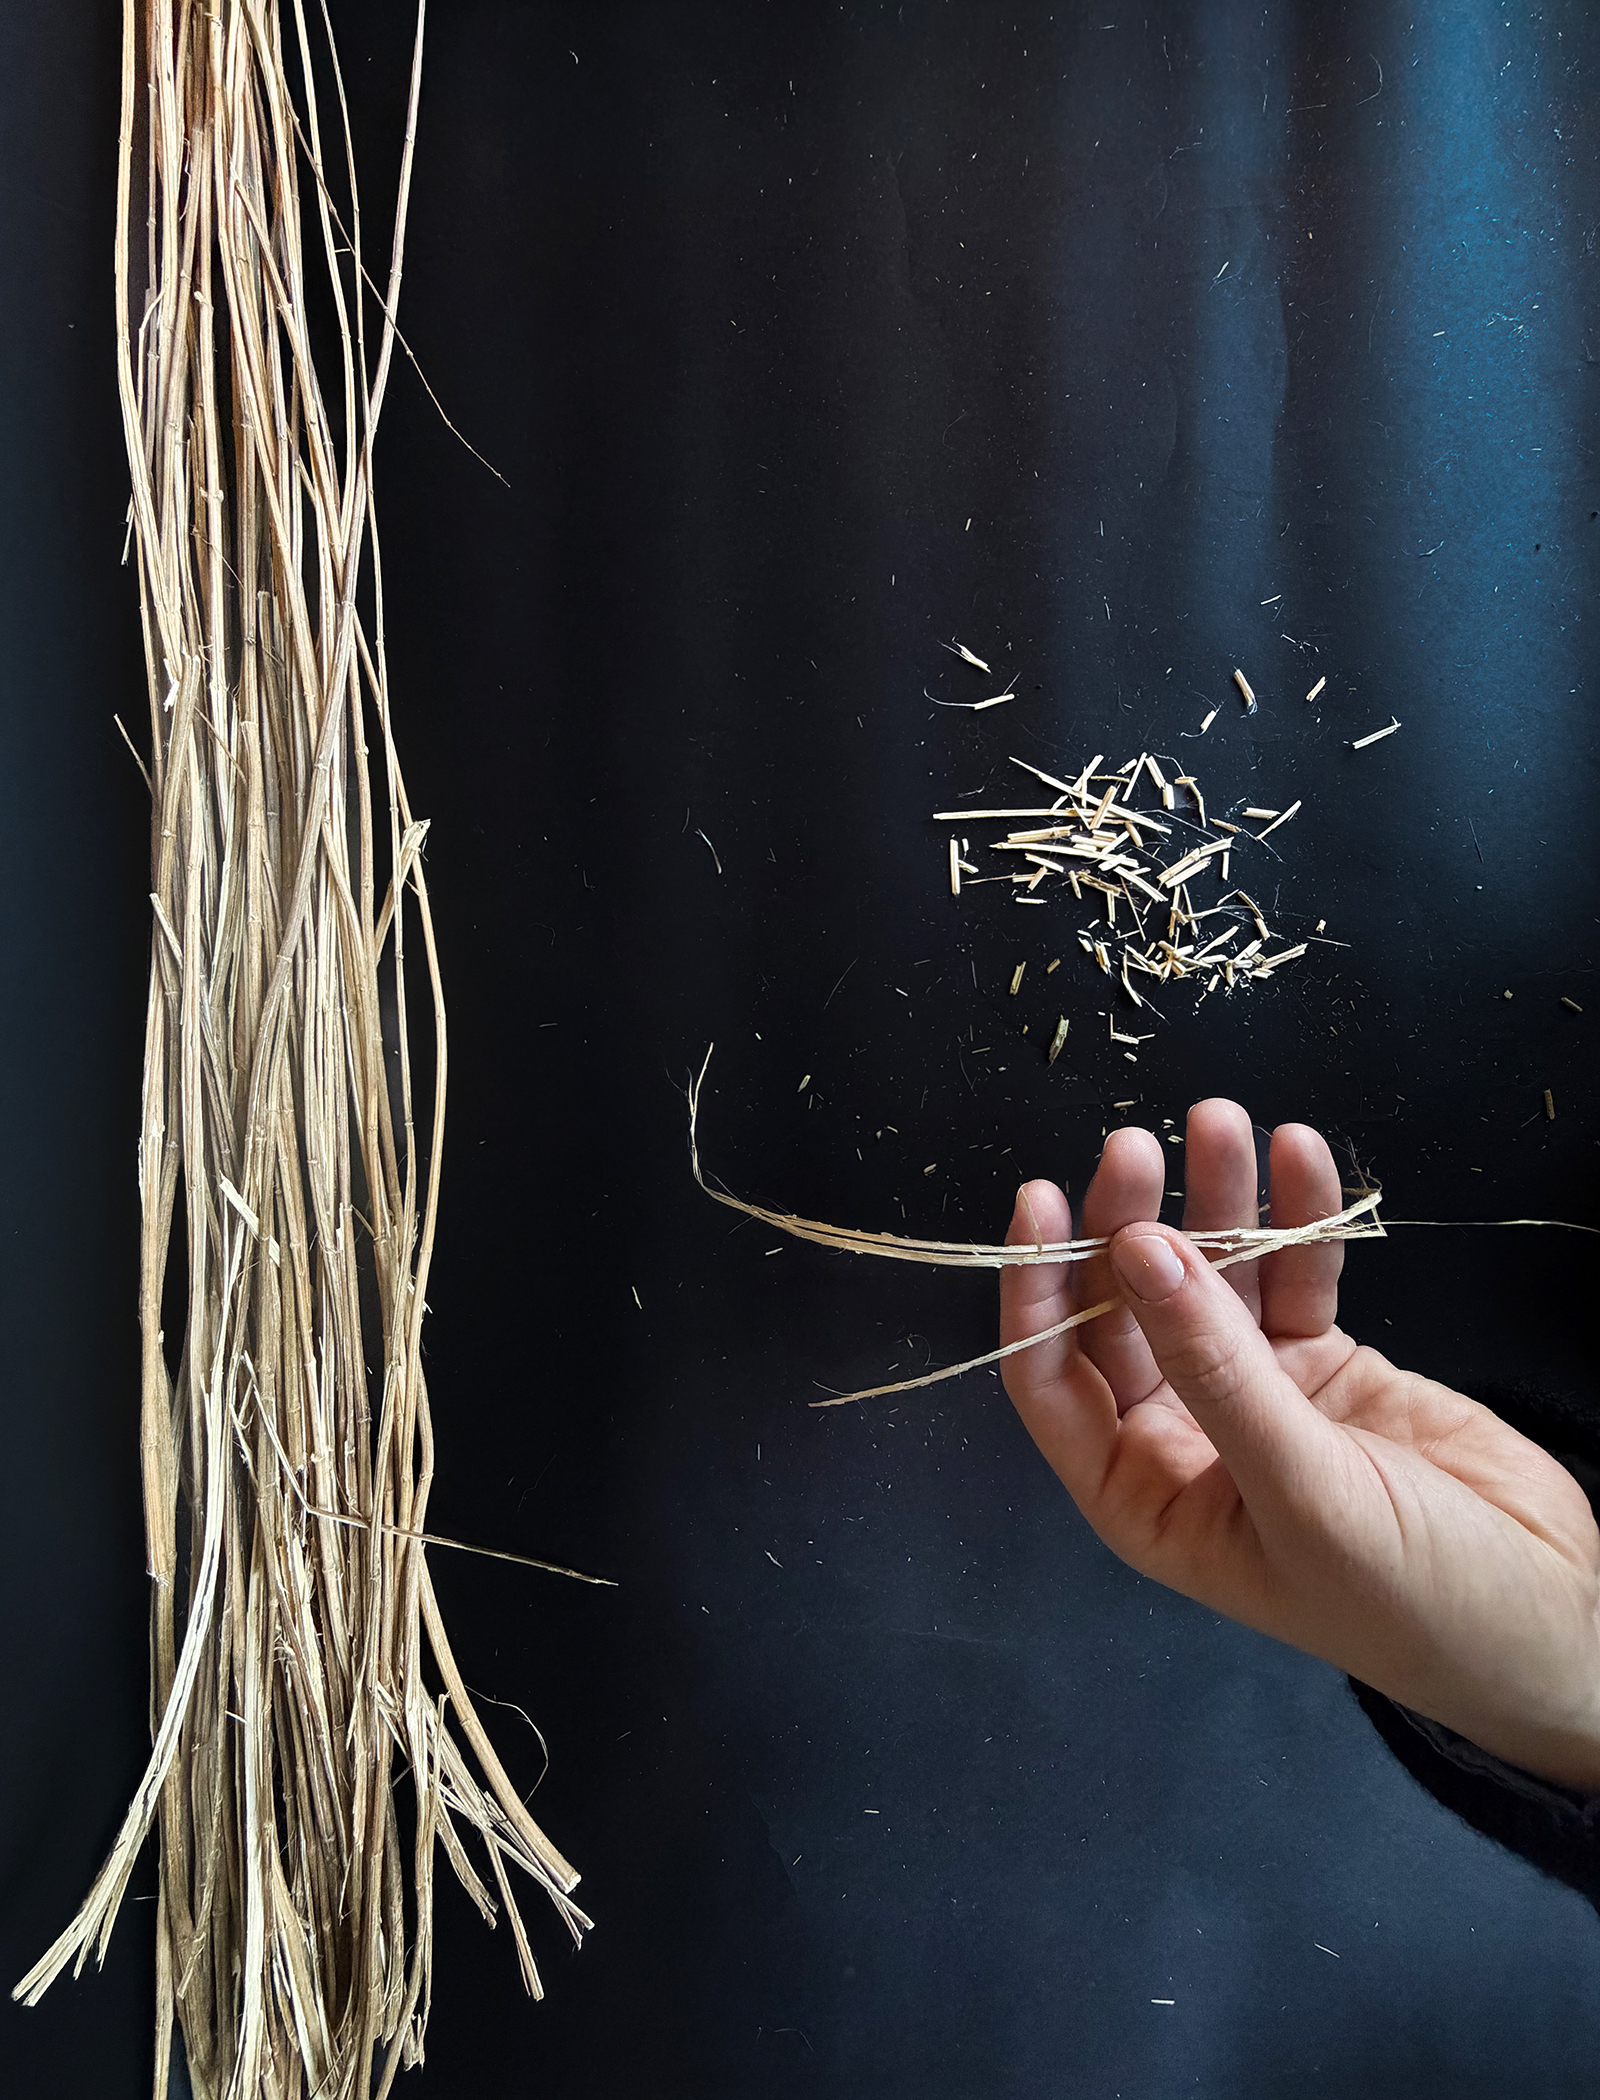
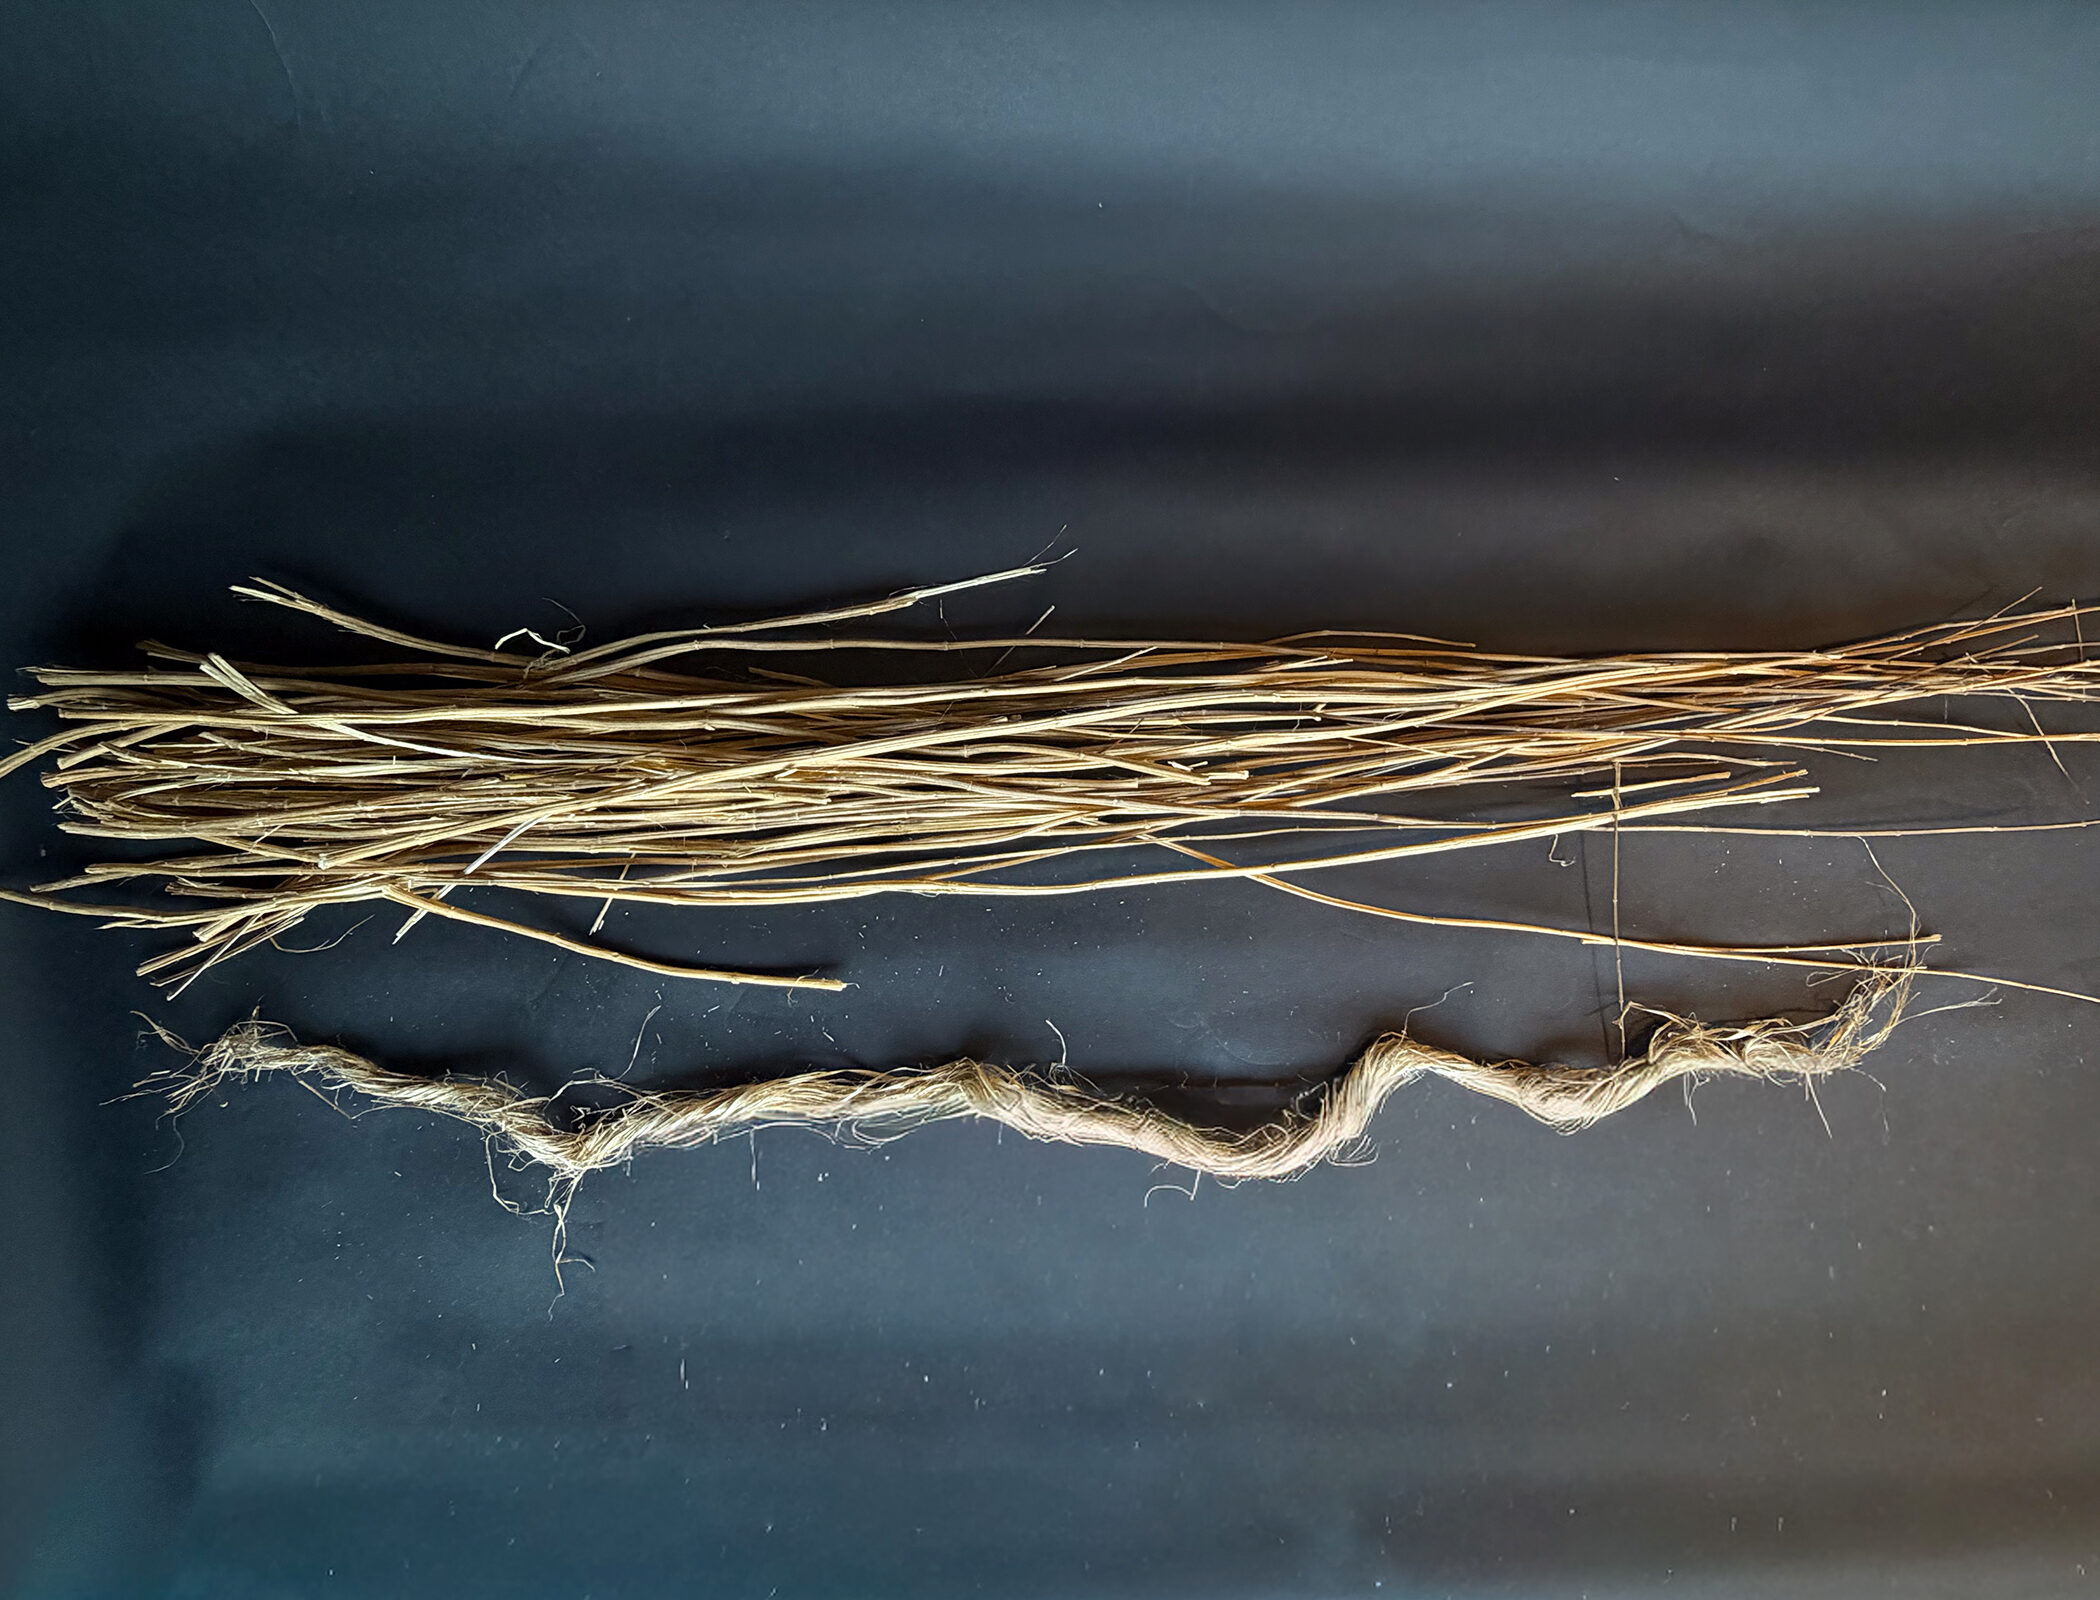
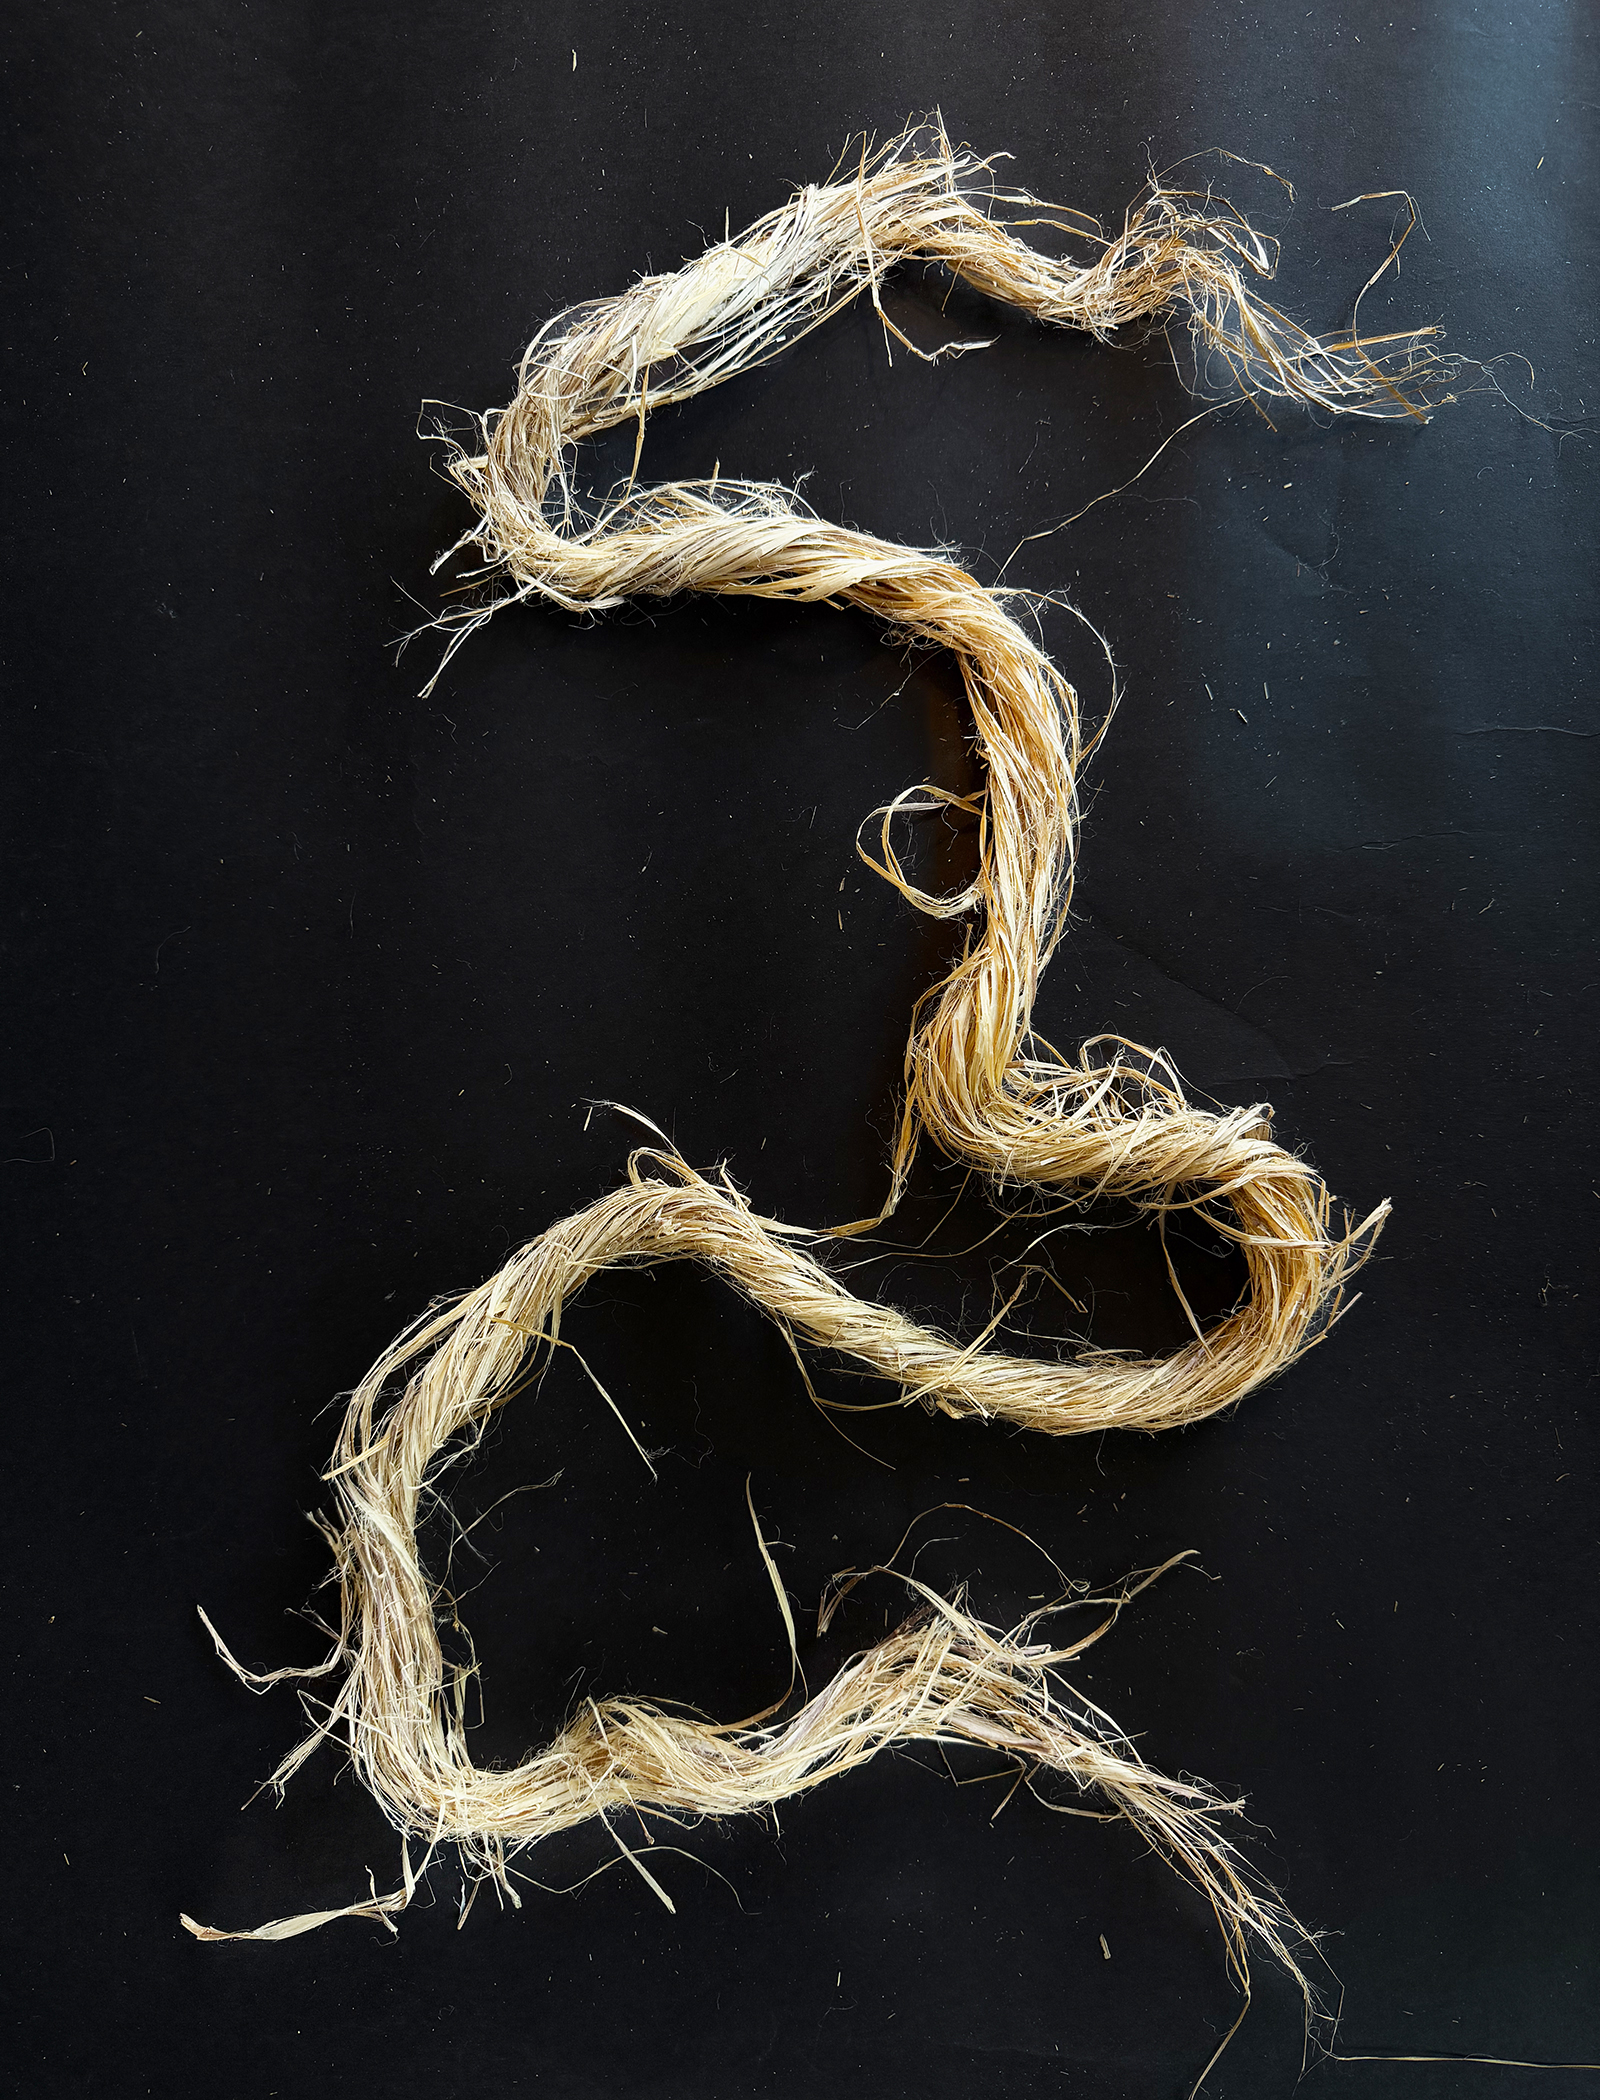
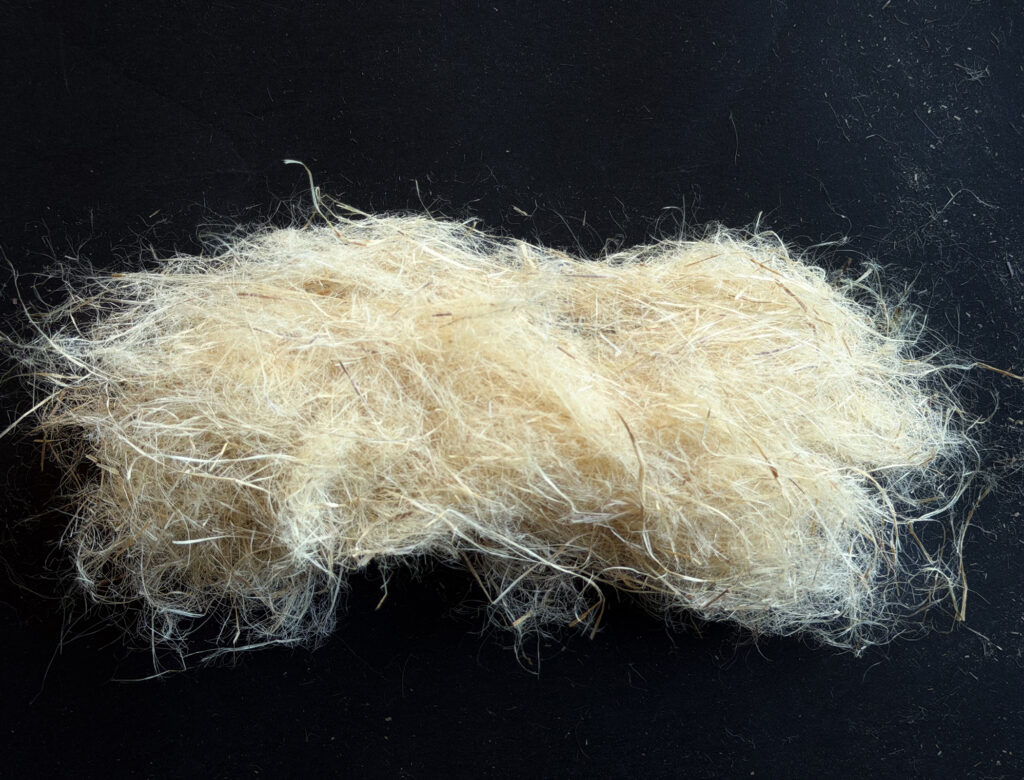
- After having removed the inner wood, this stage reveals quite long bast fibres.
-
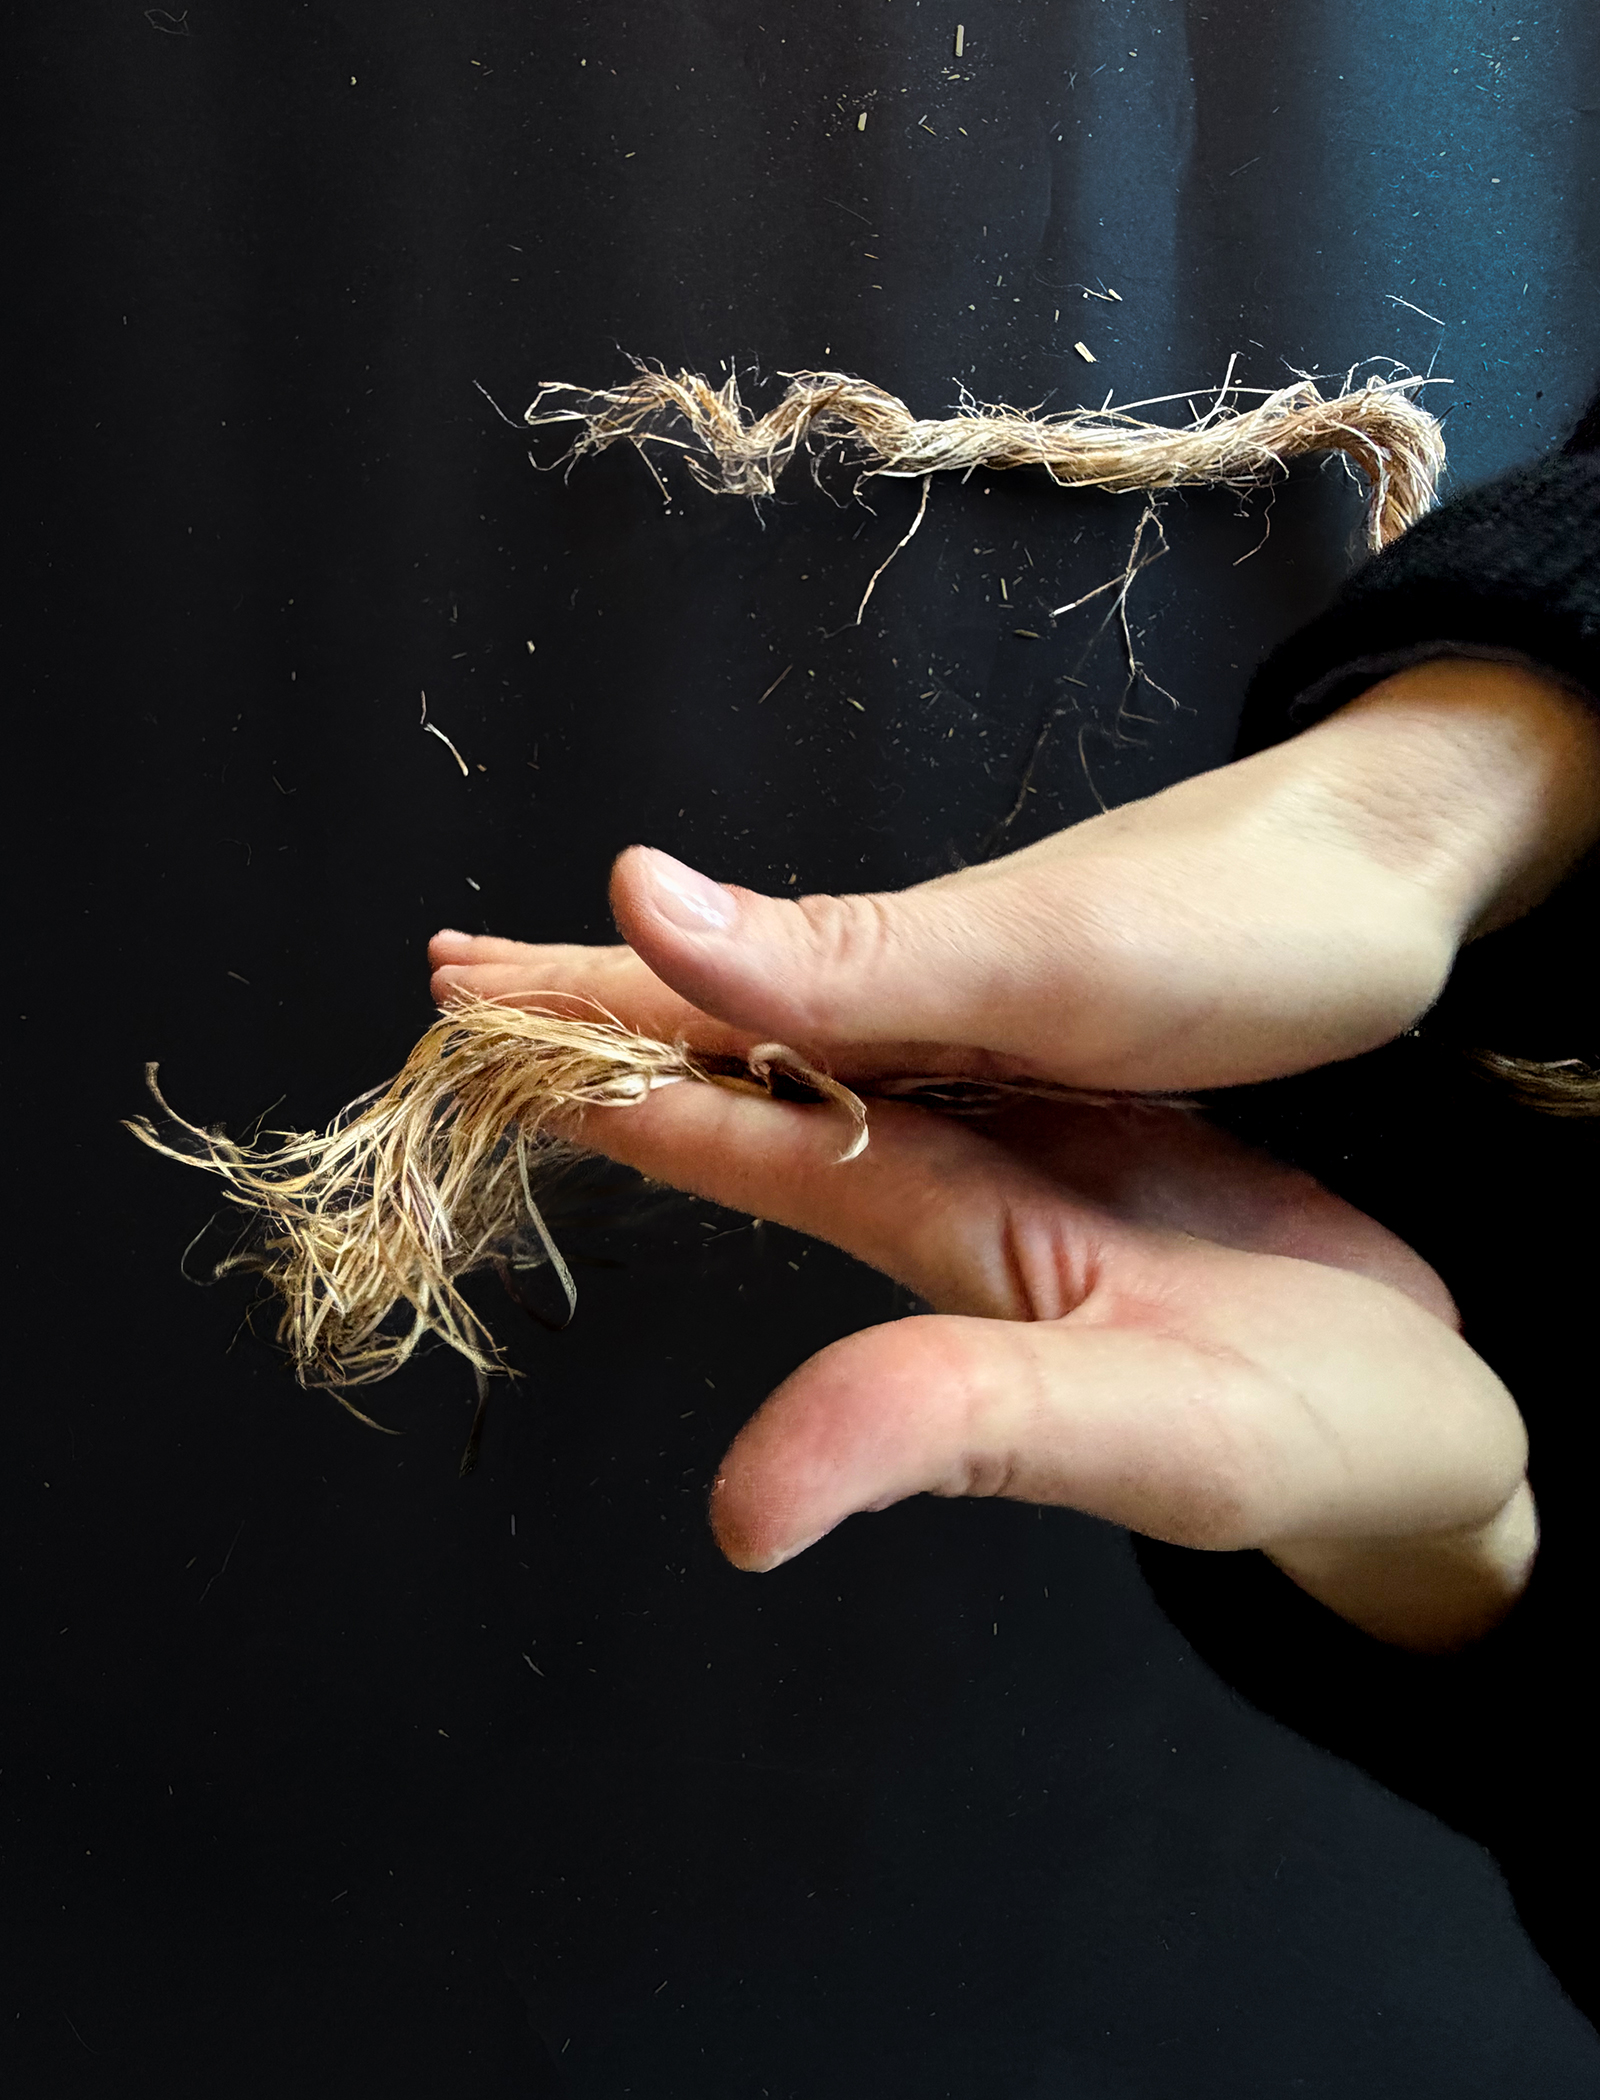
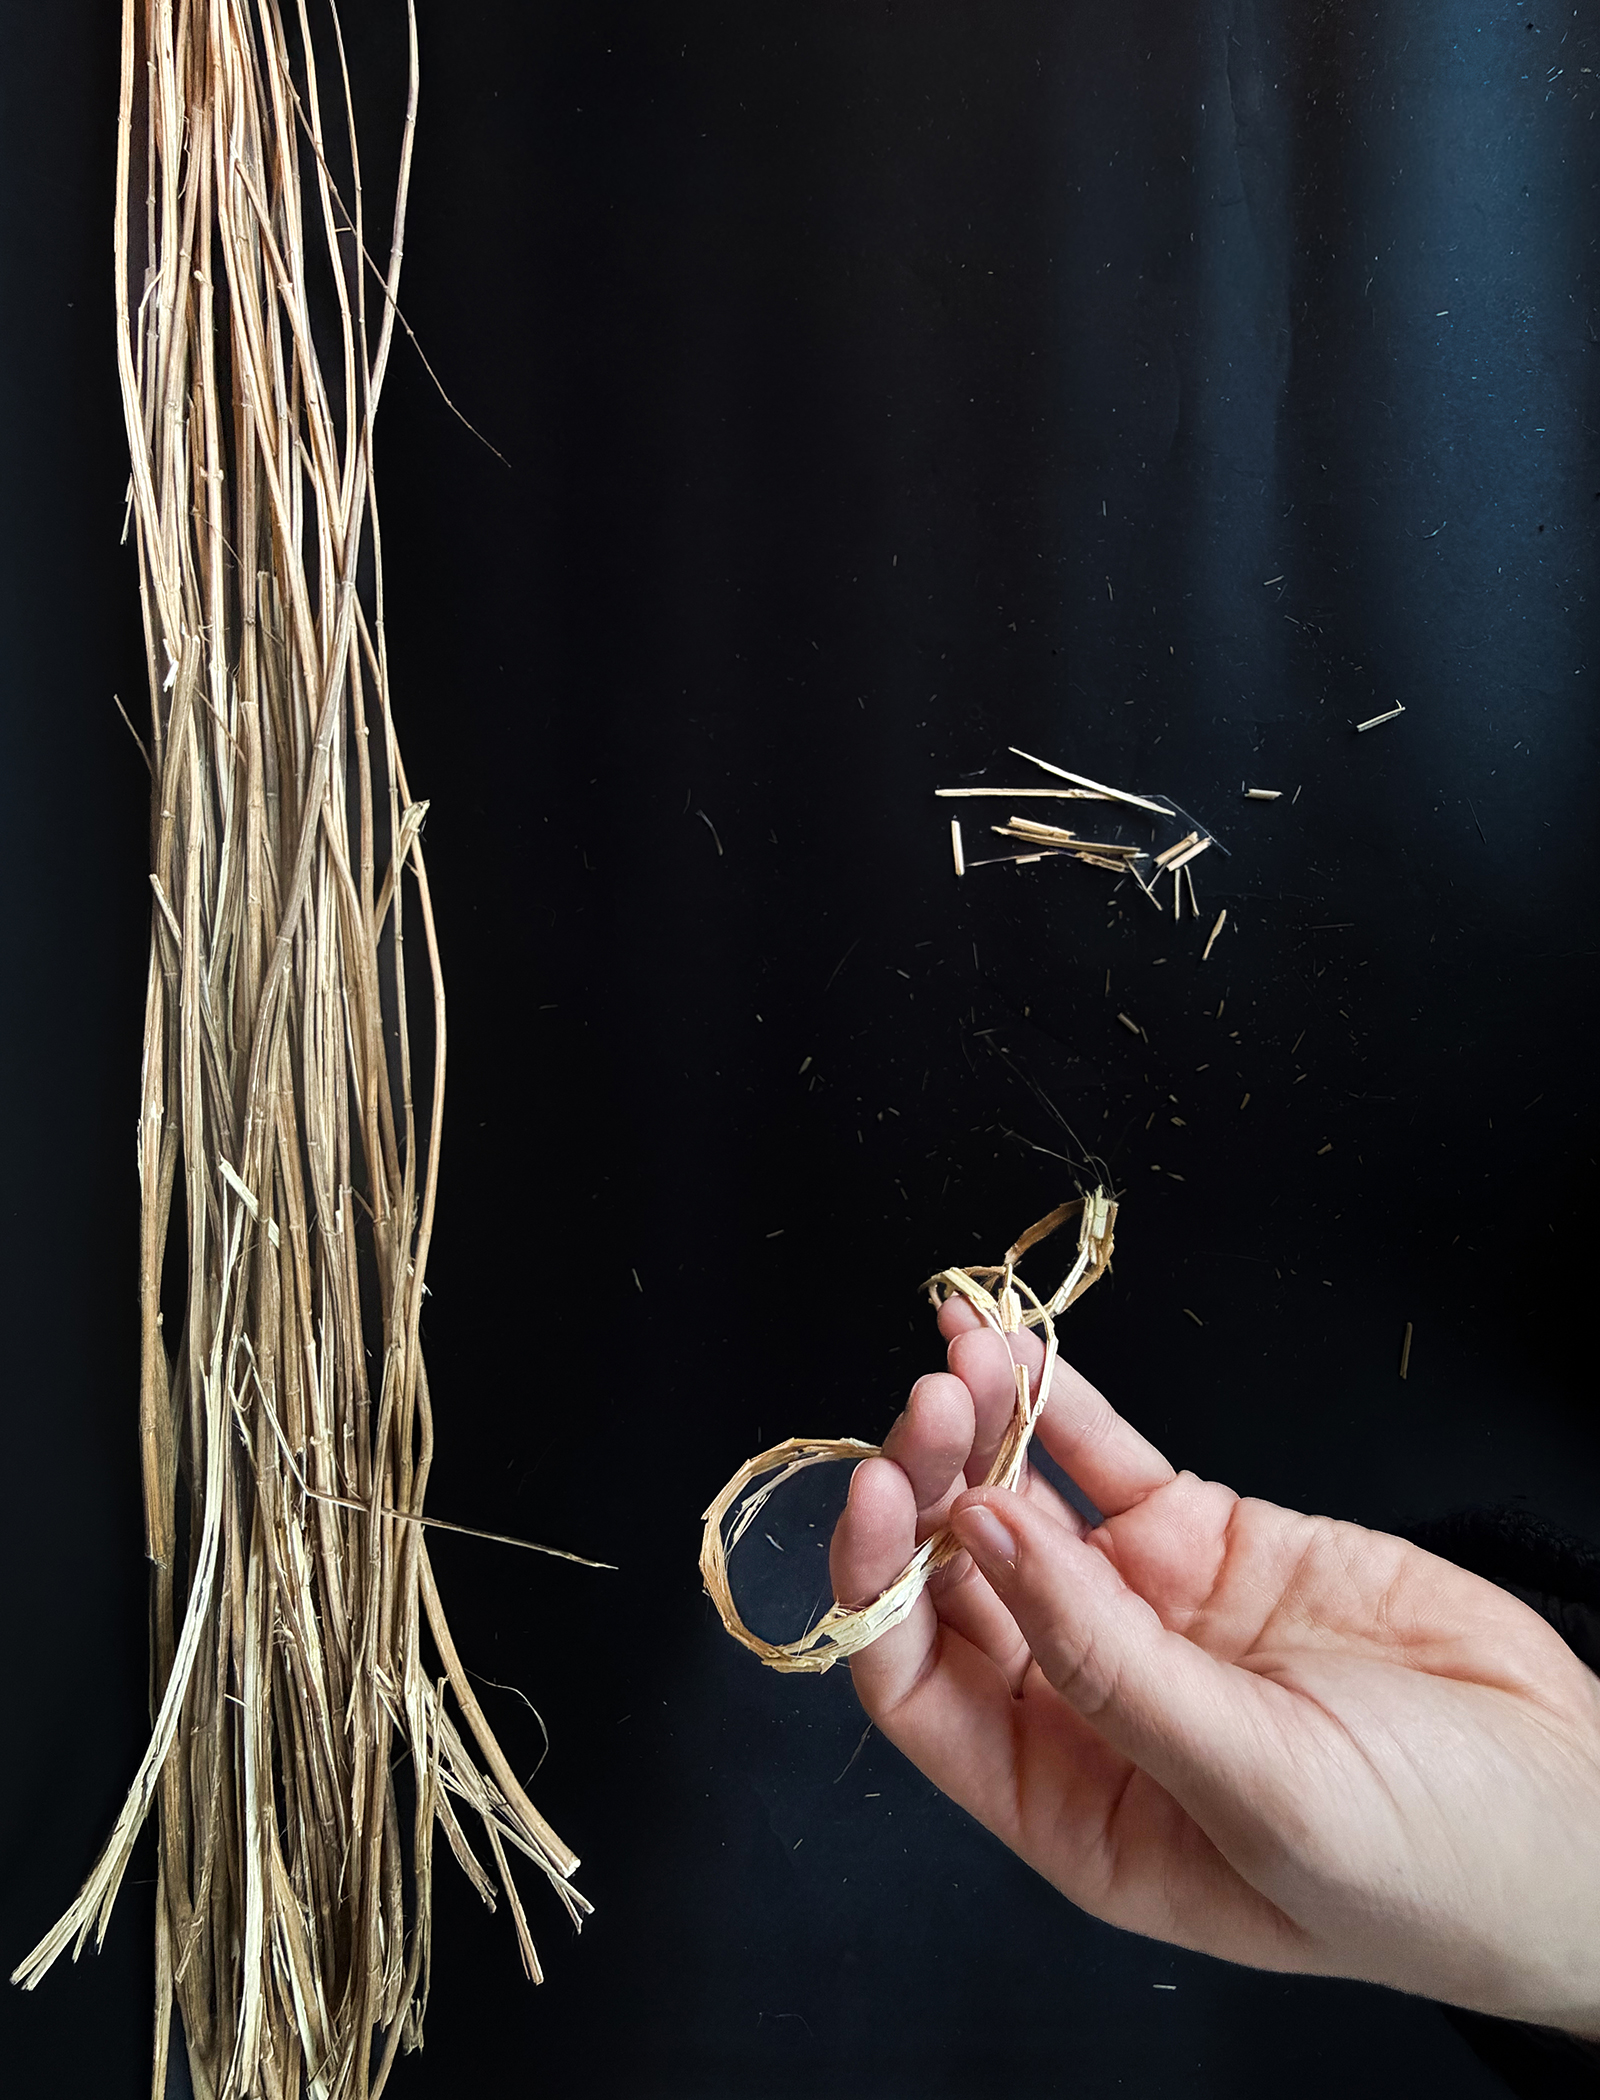
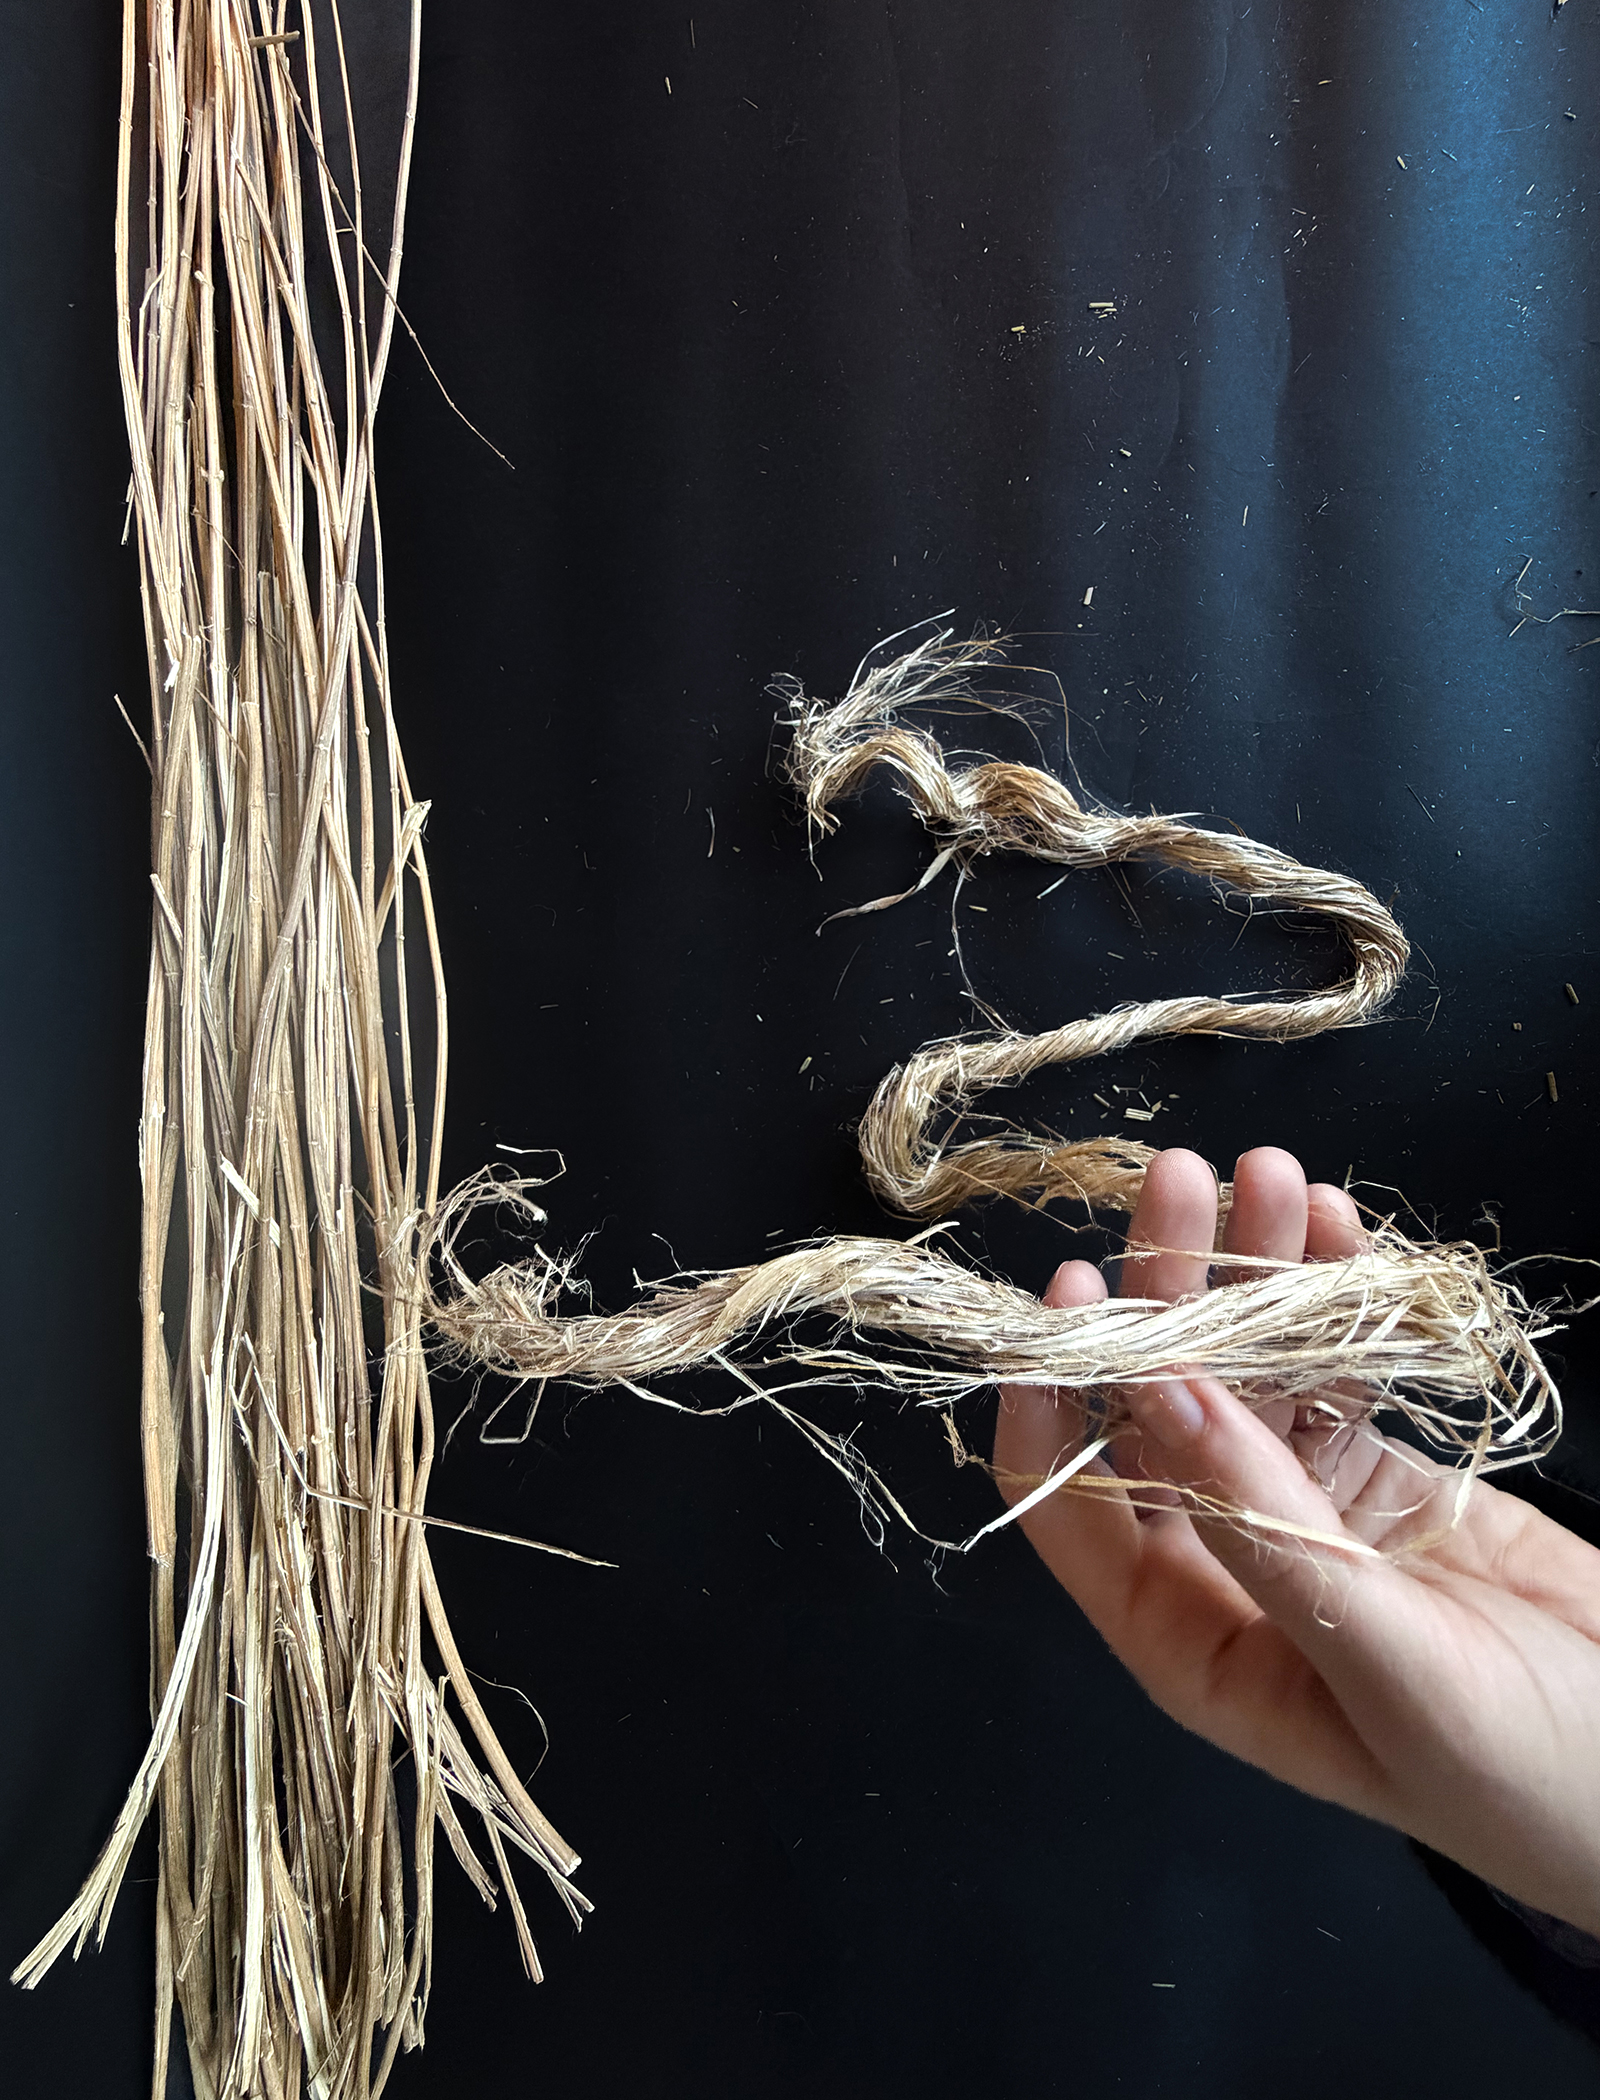
- From bast to fibre.
-
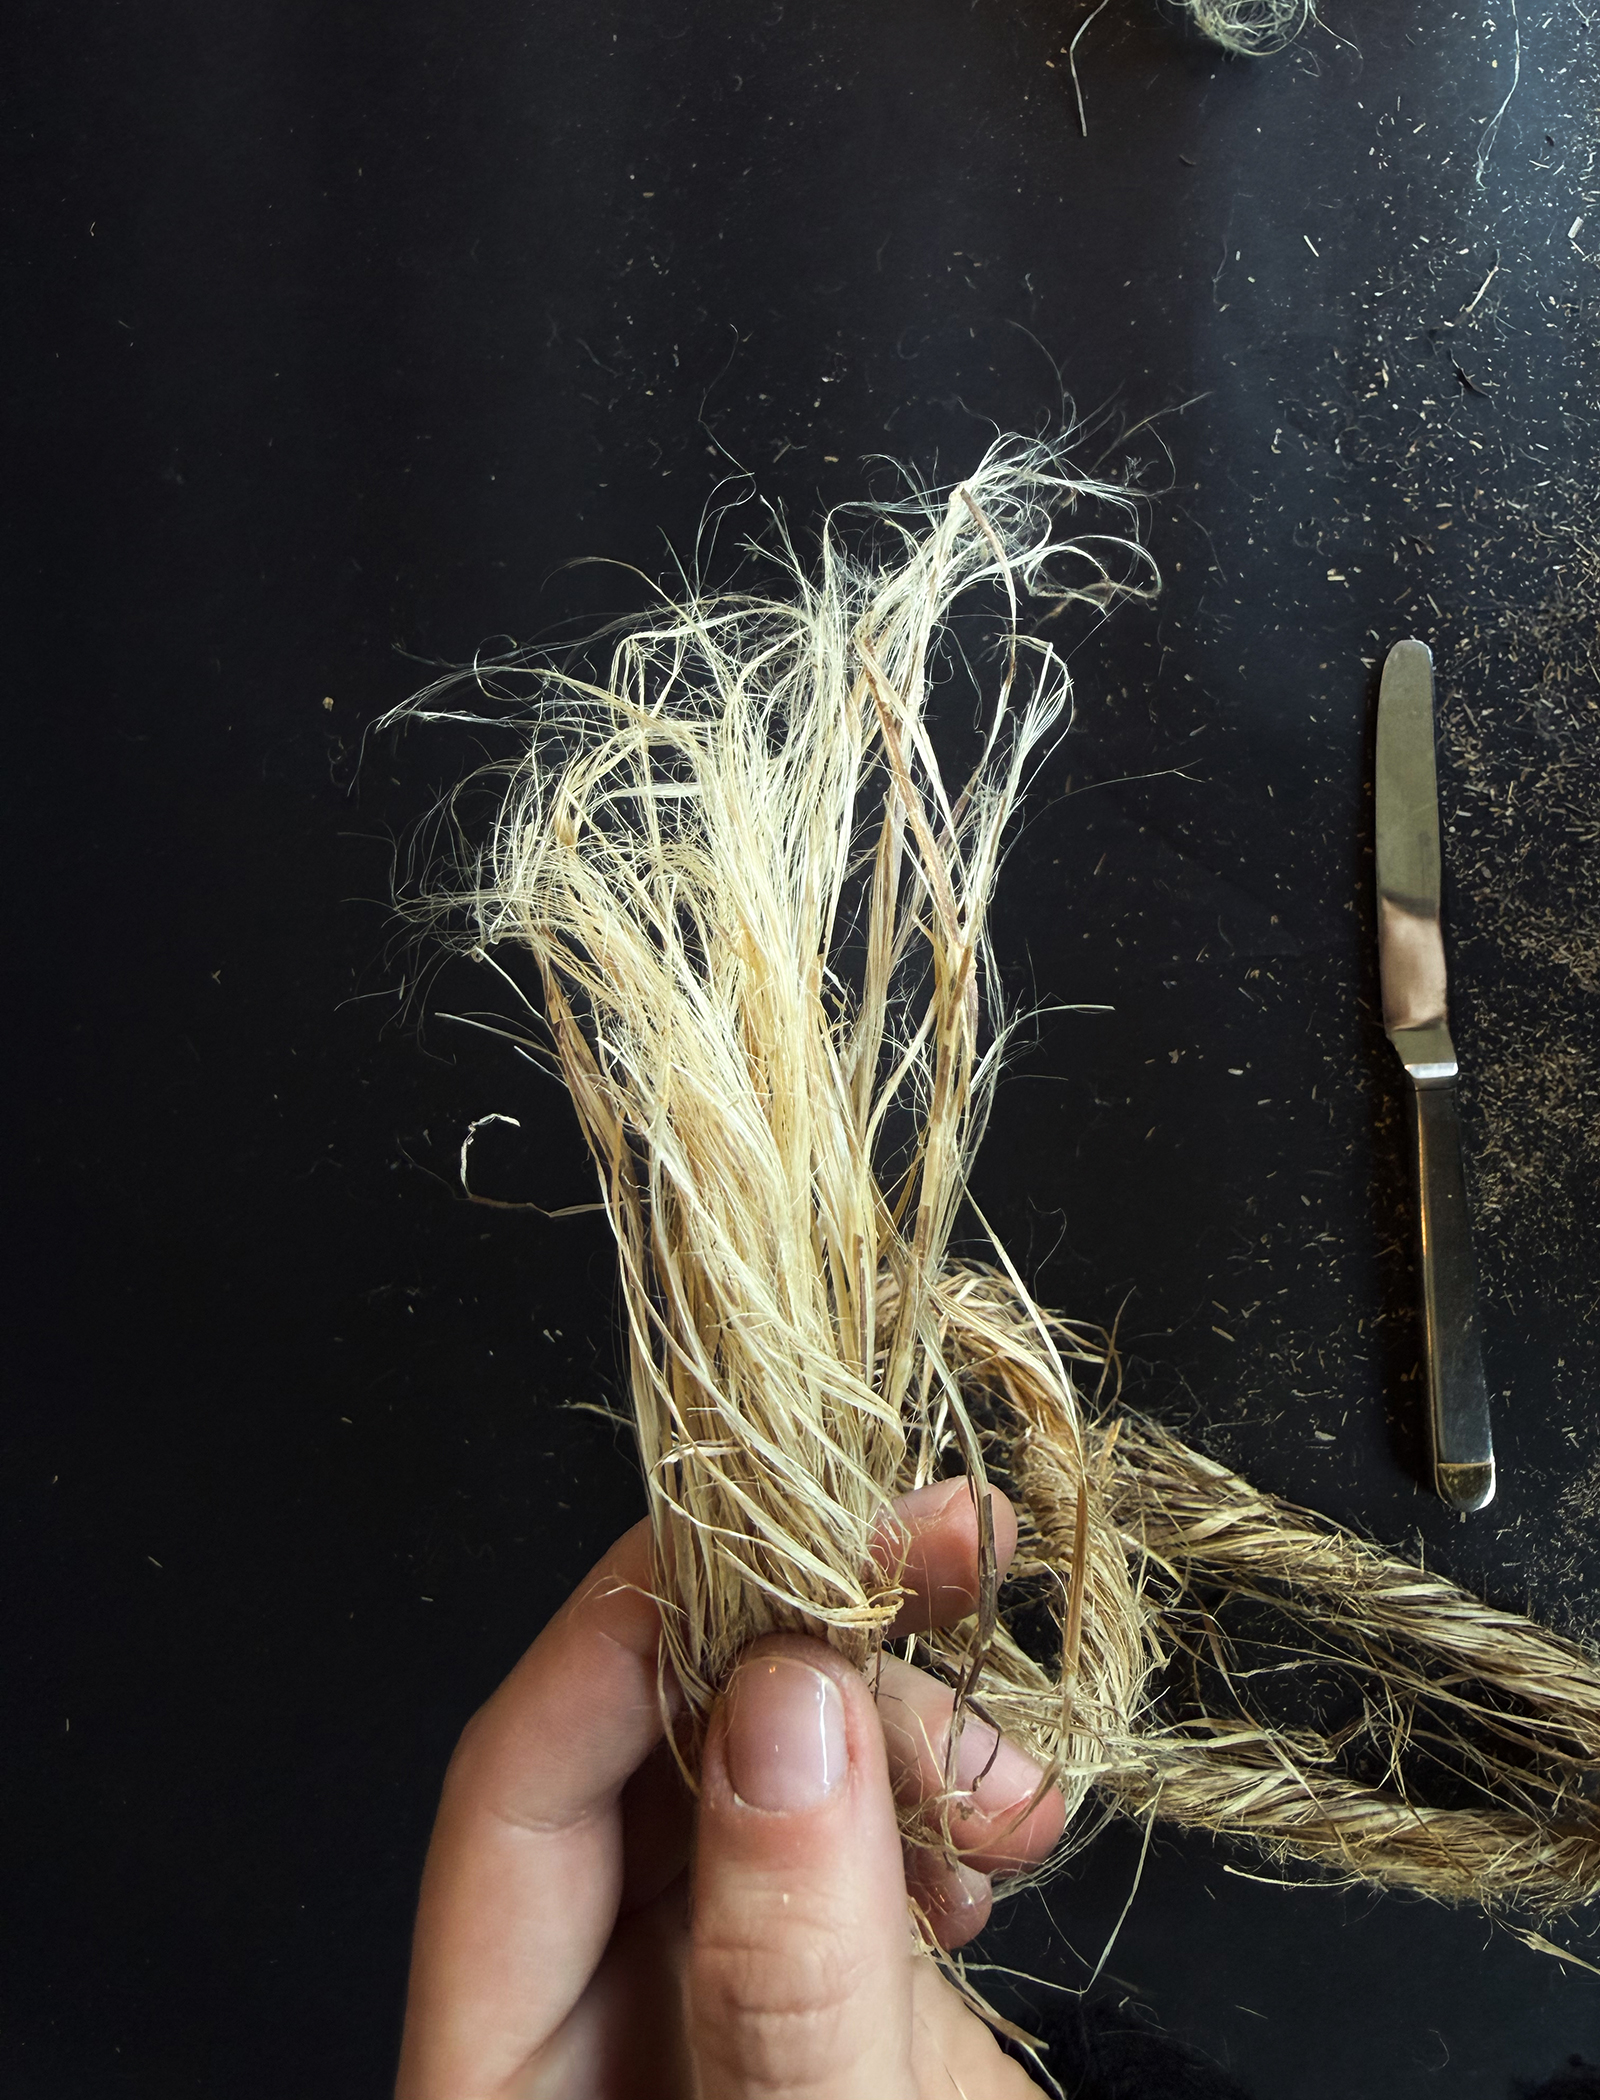
- Here, you can already see that the fibres have become finer after the twirling.
-
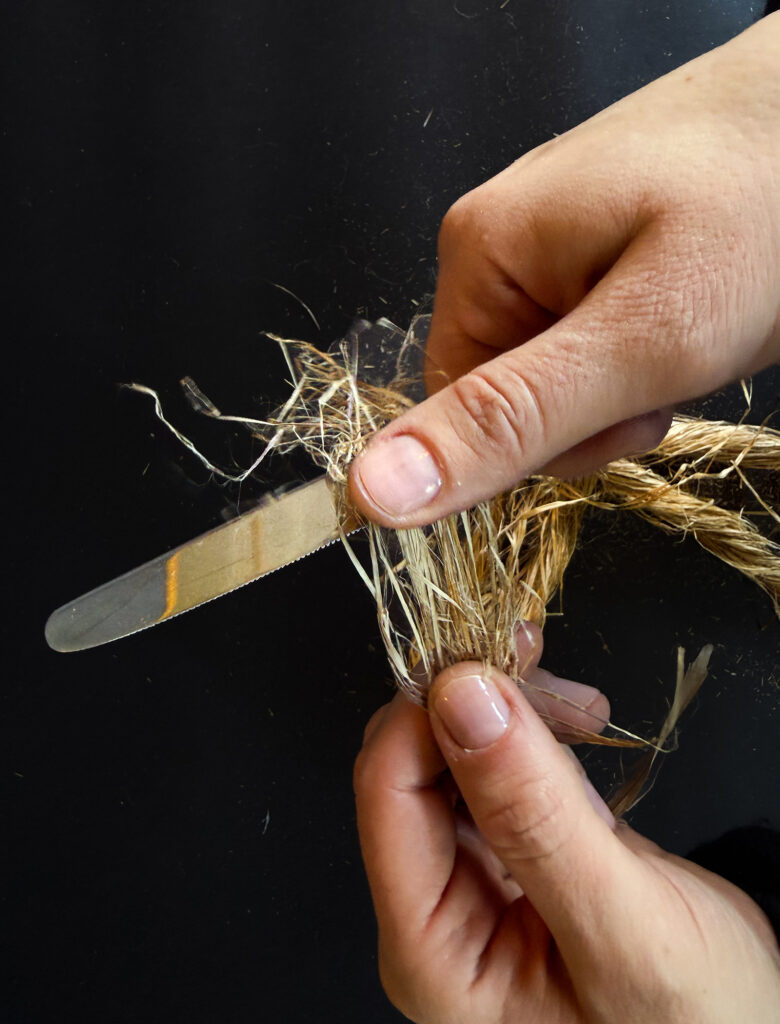
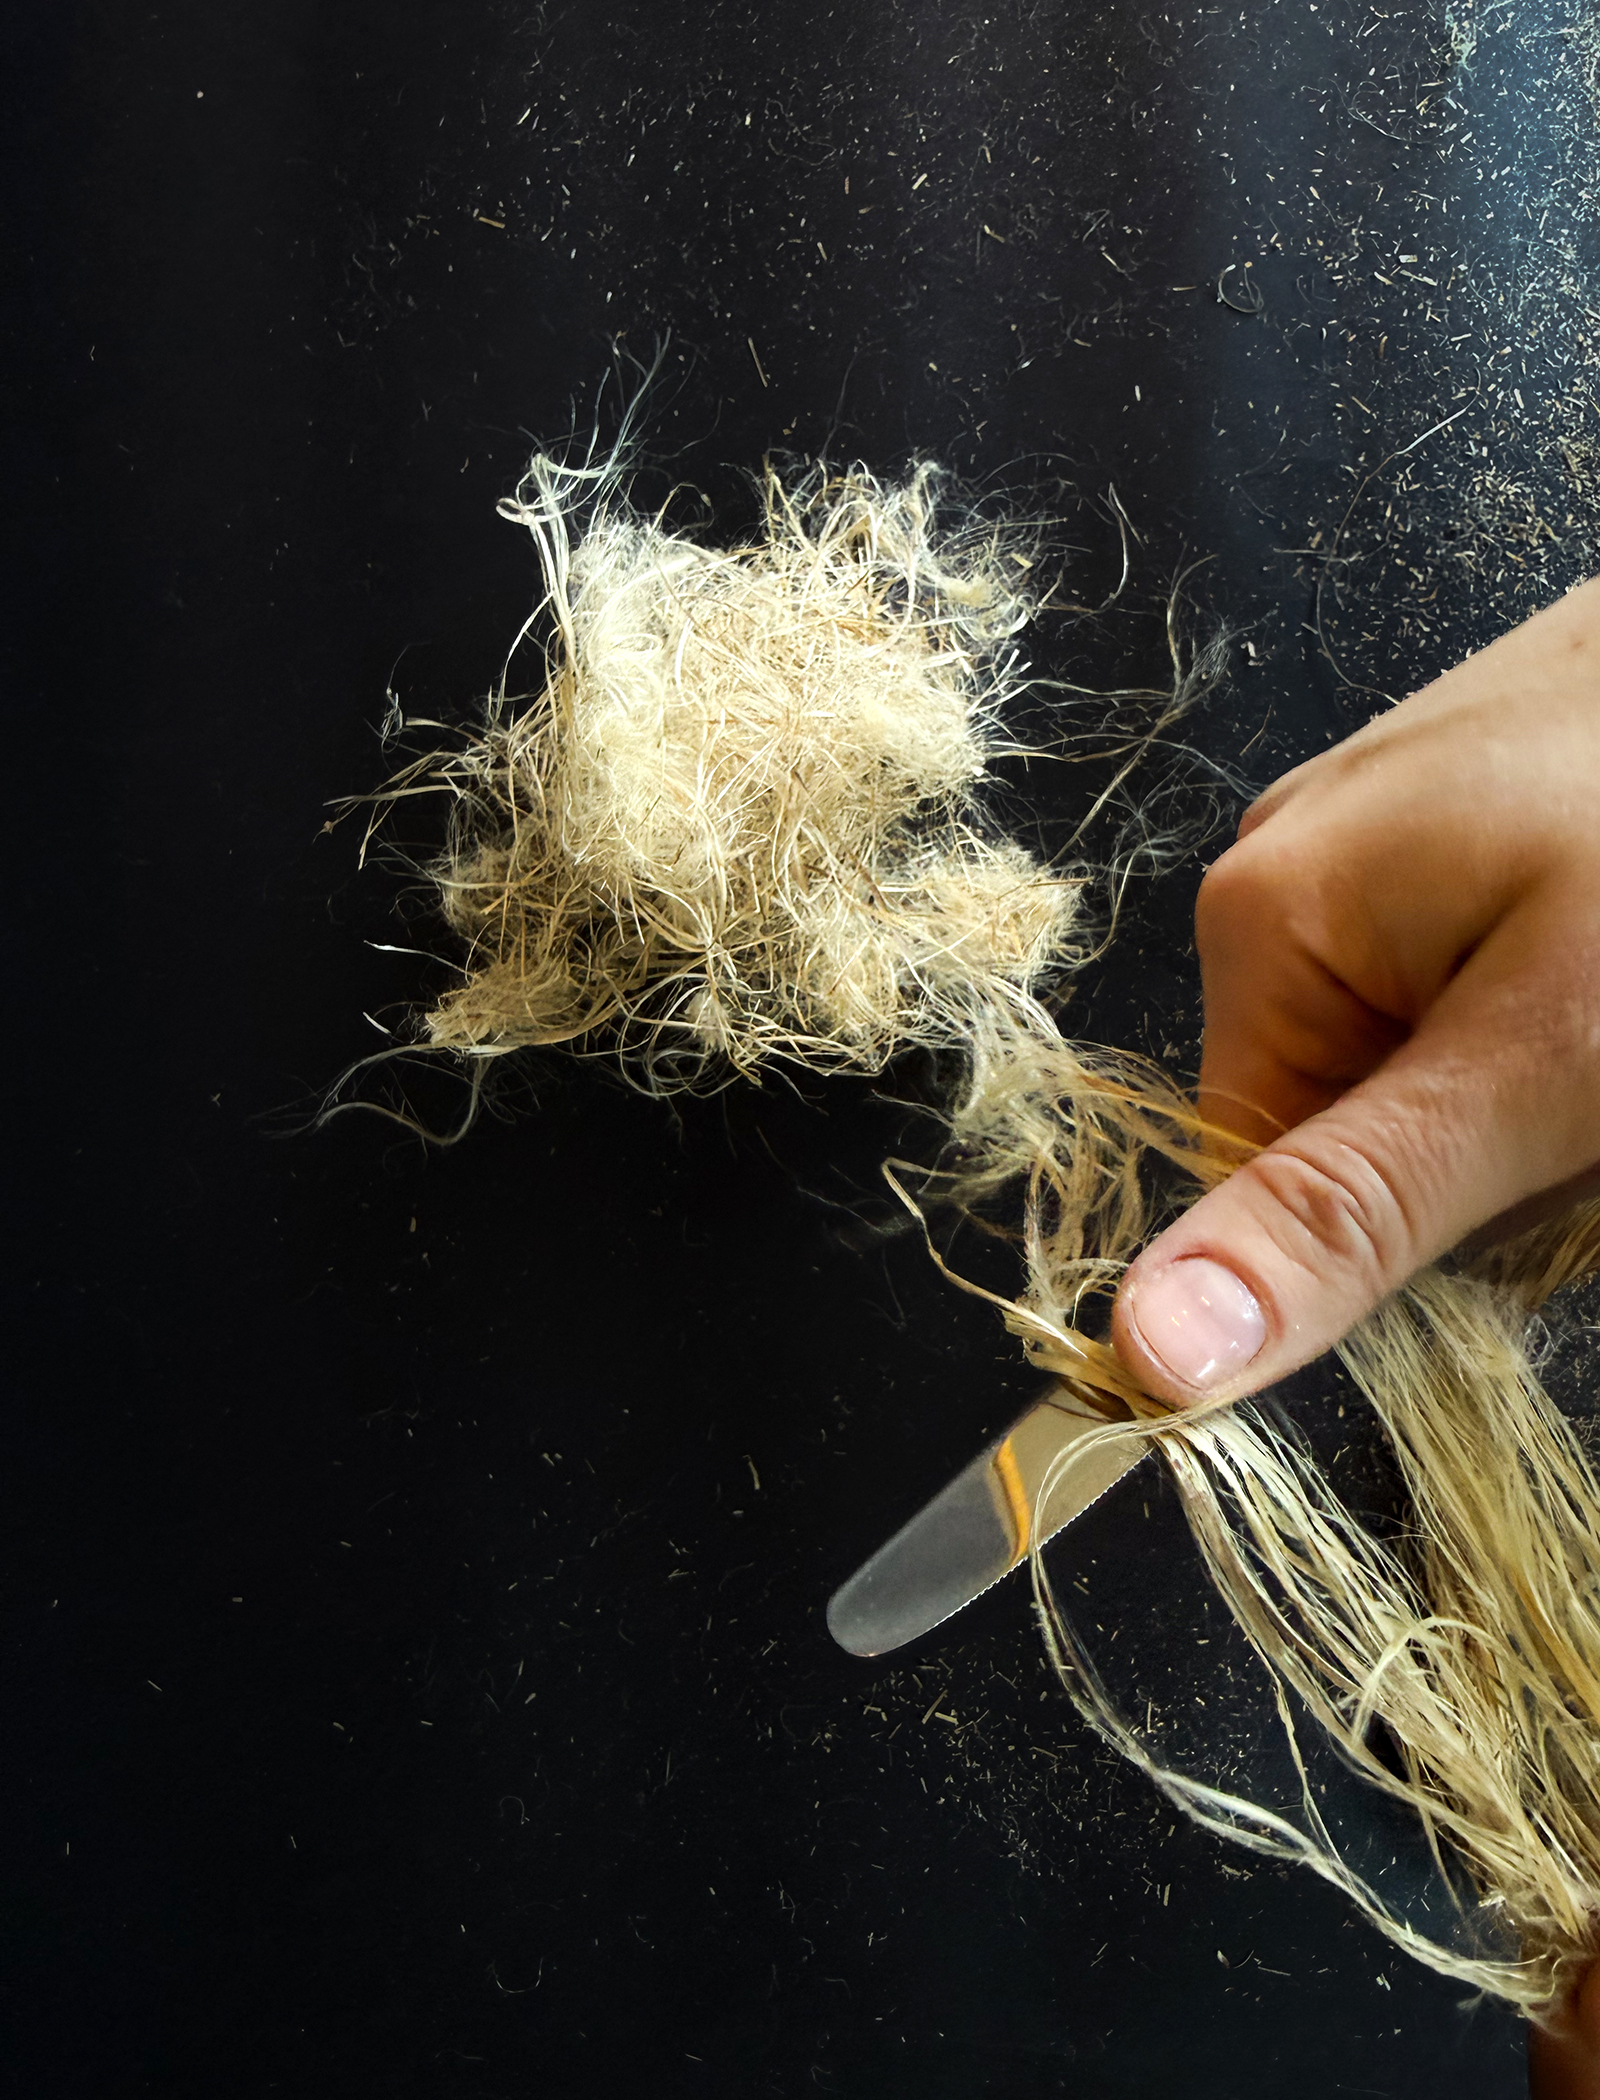
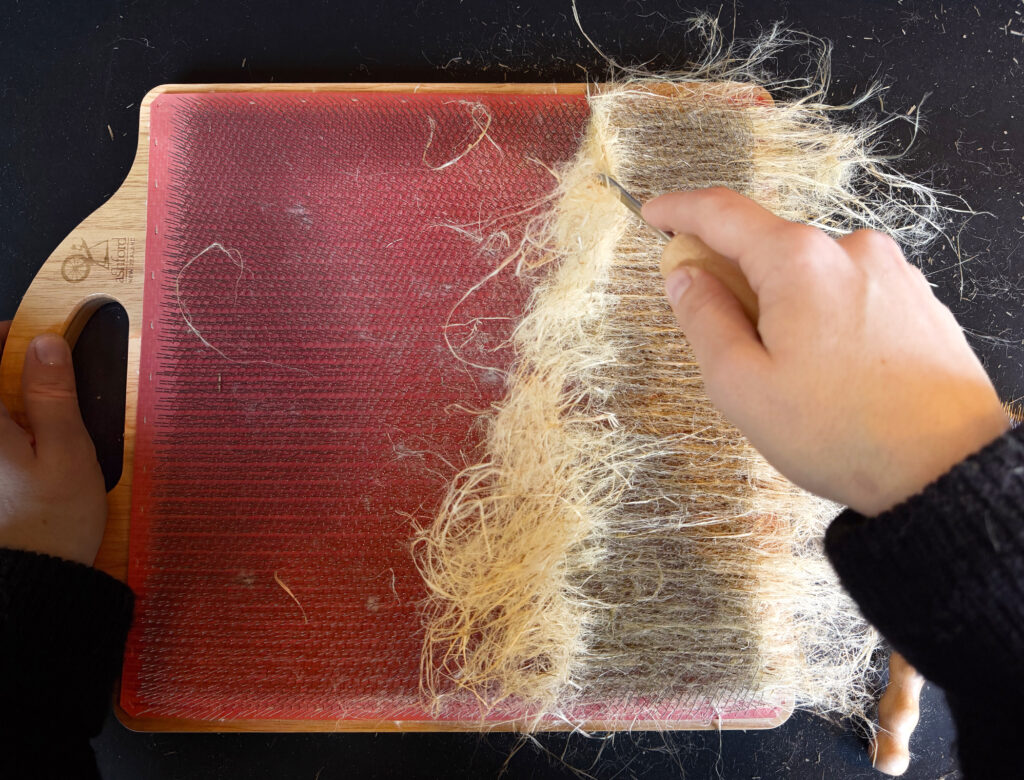
- To continue with the clean up and removal of the remaining wooden parts, you can use a knife.

-
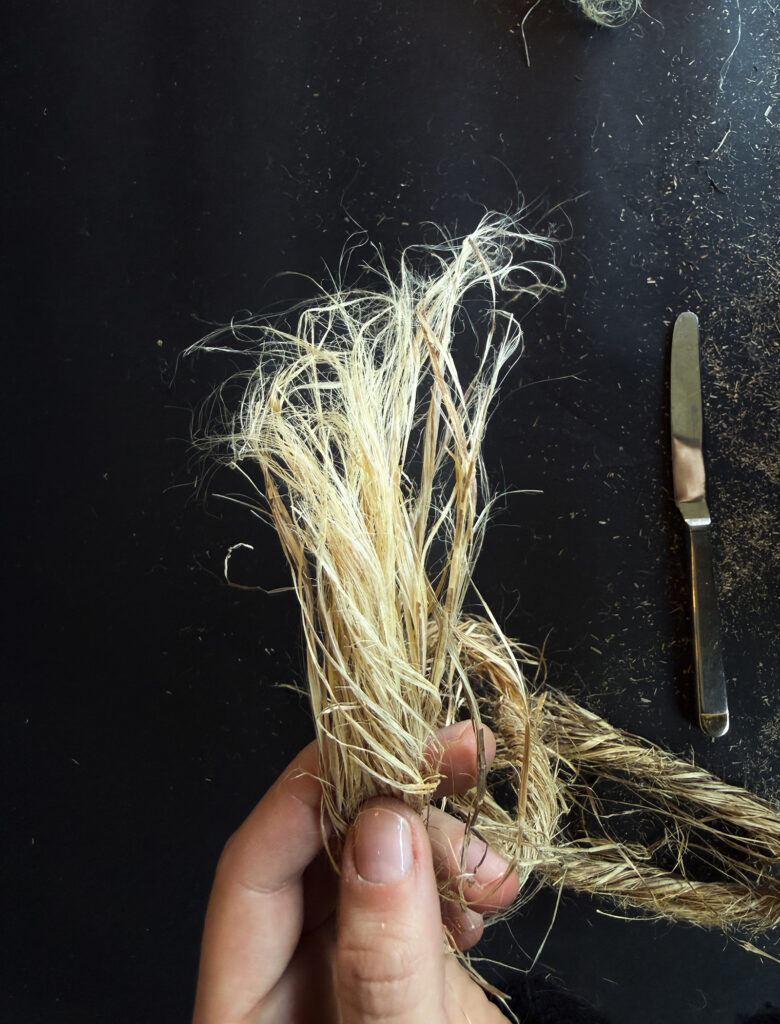
- Here, you can see the effect: the pure fibres become more and more visible.
-
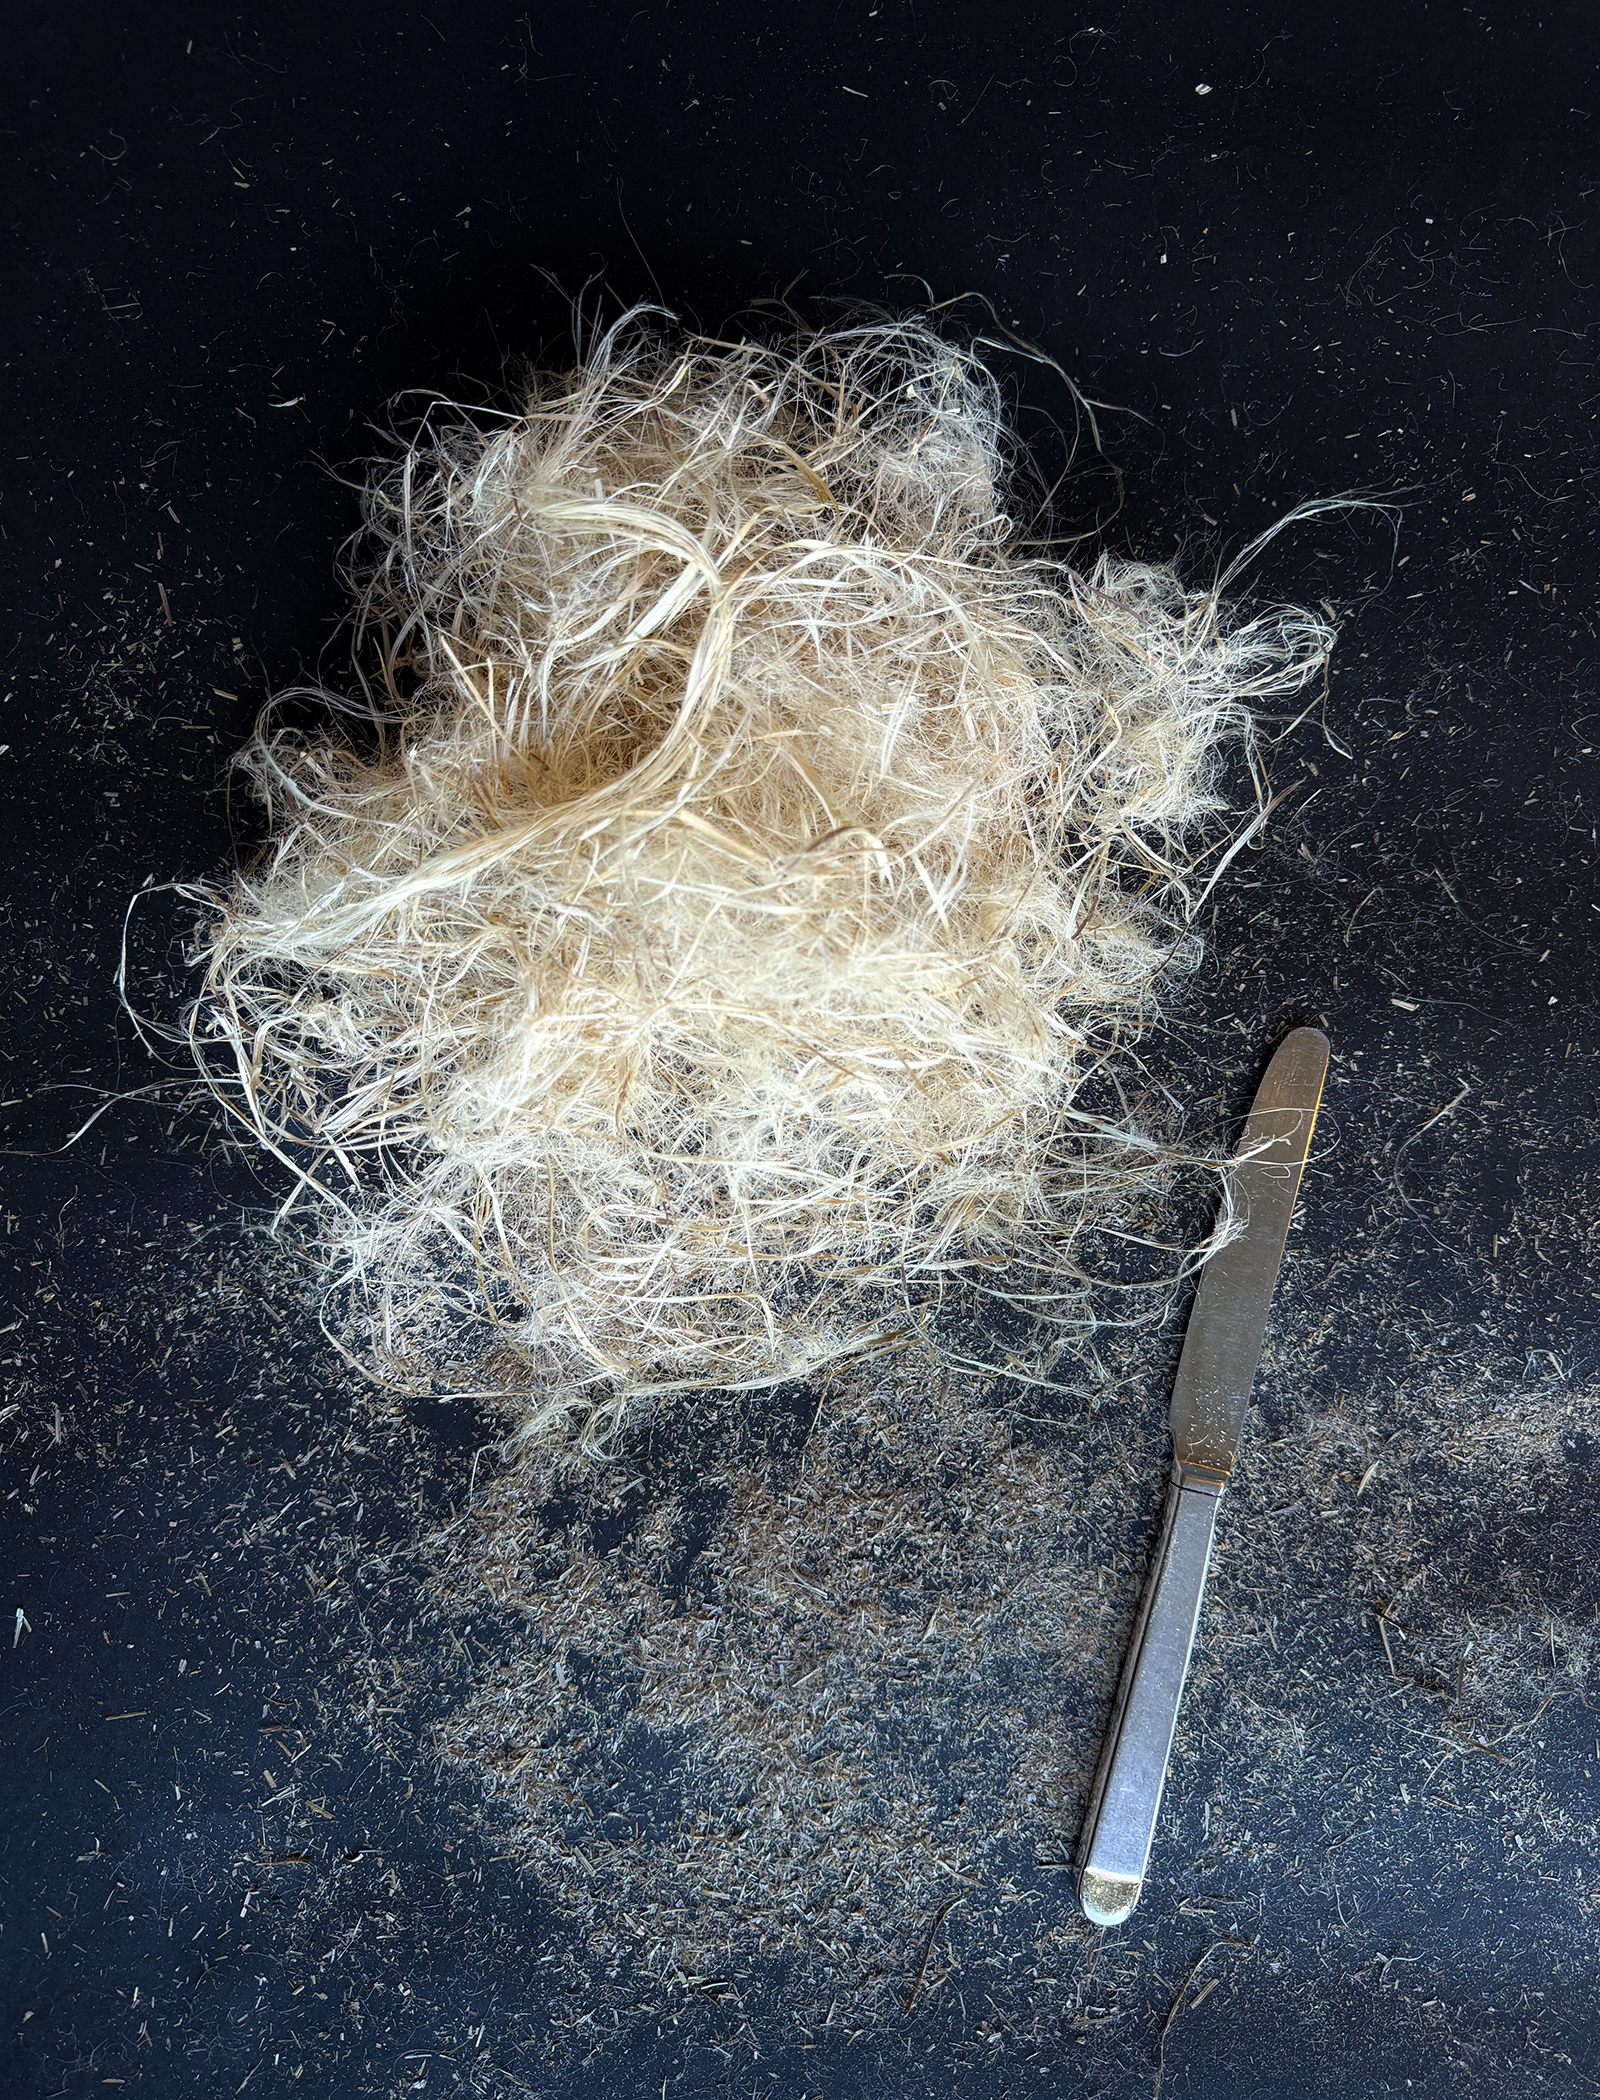
- After the cleaning round with the knife, 9.6g of fibres just remained.

-

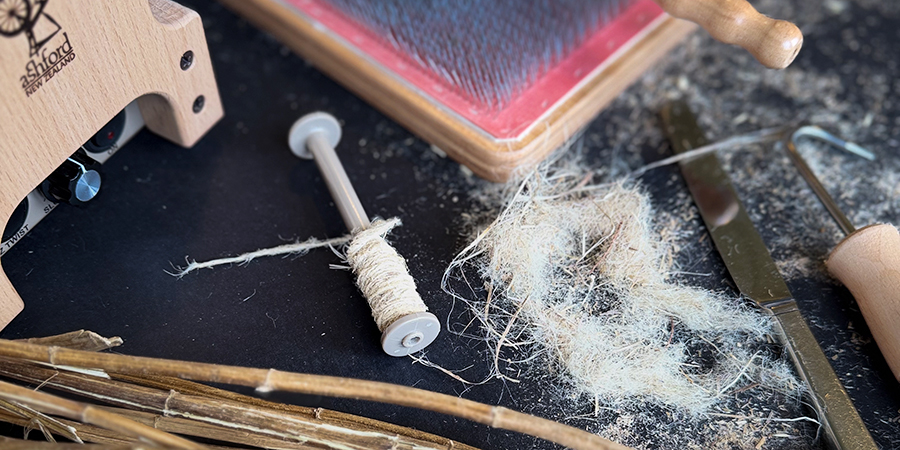
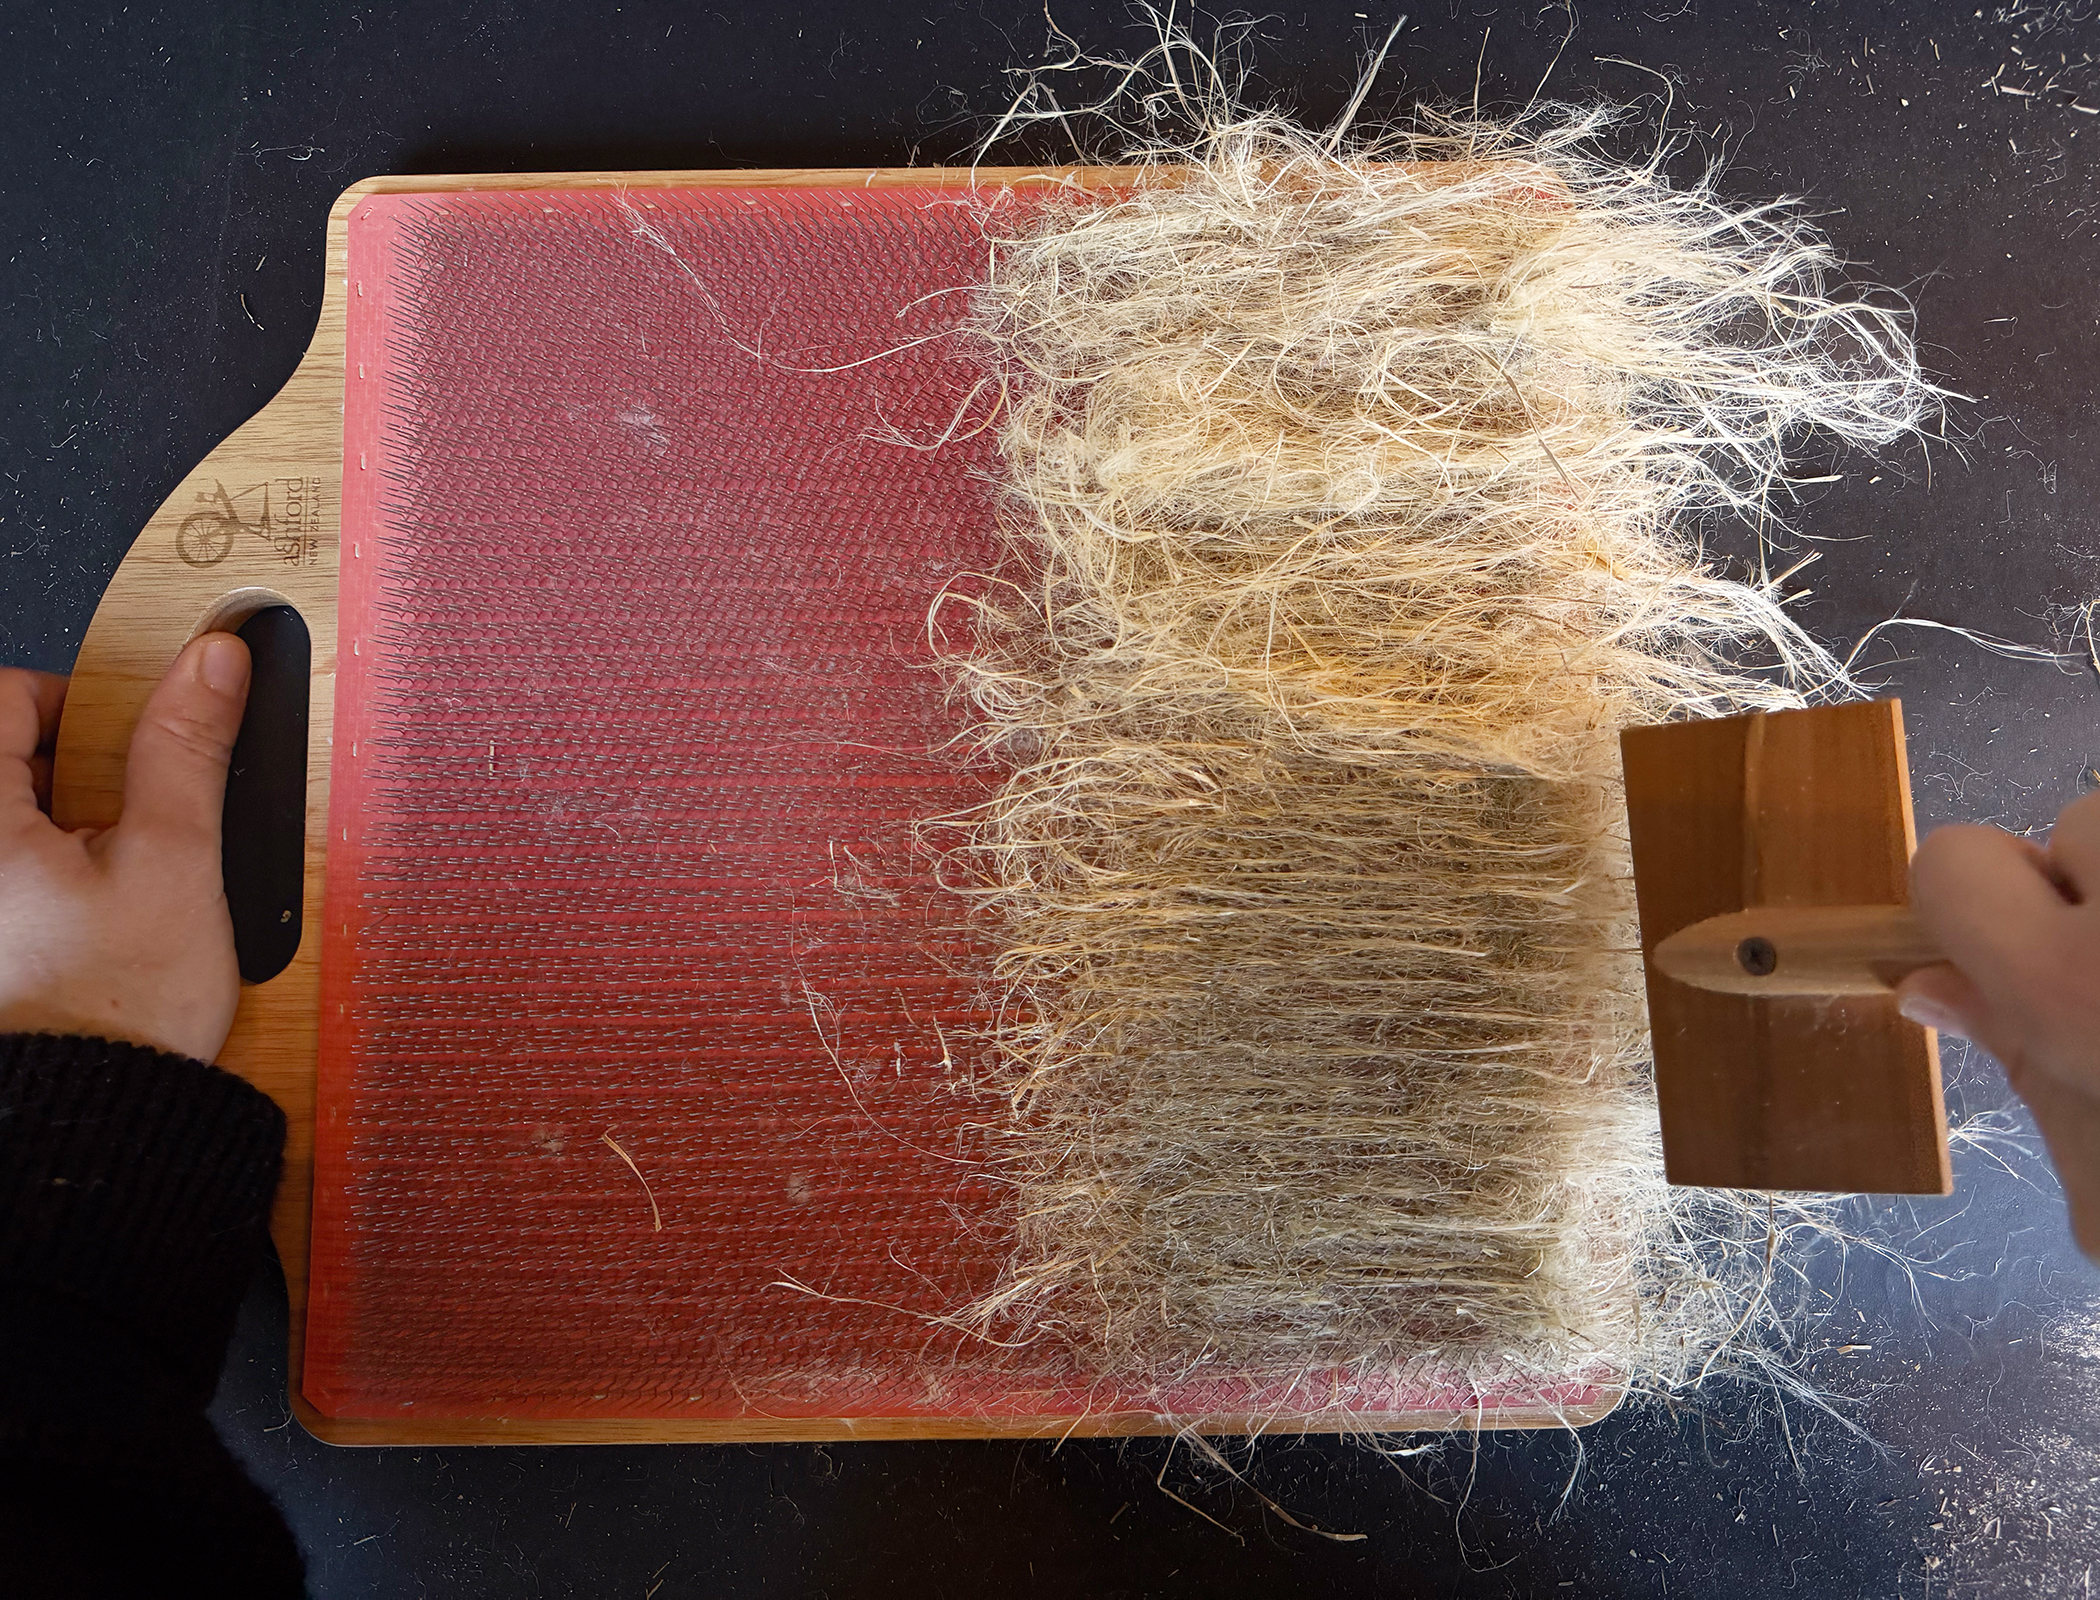
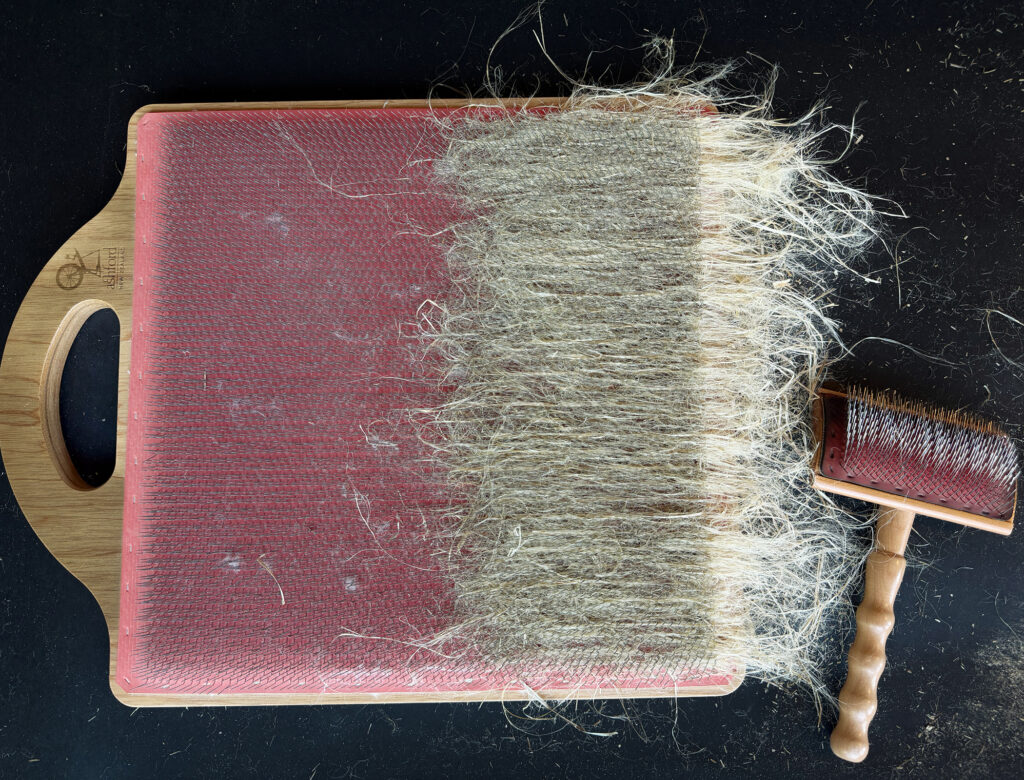
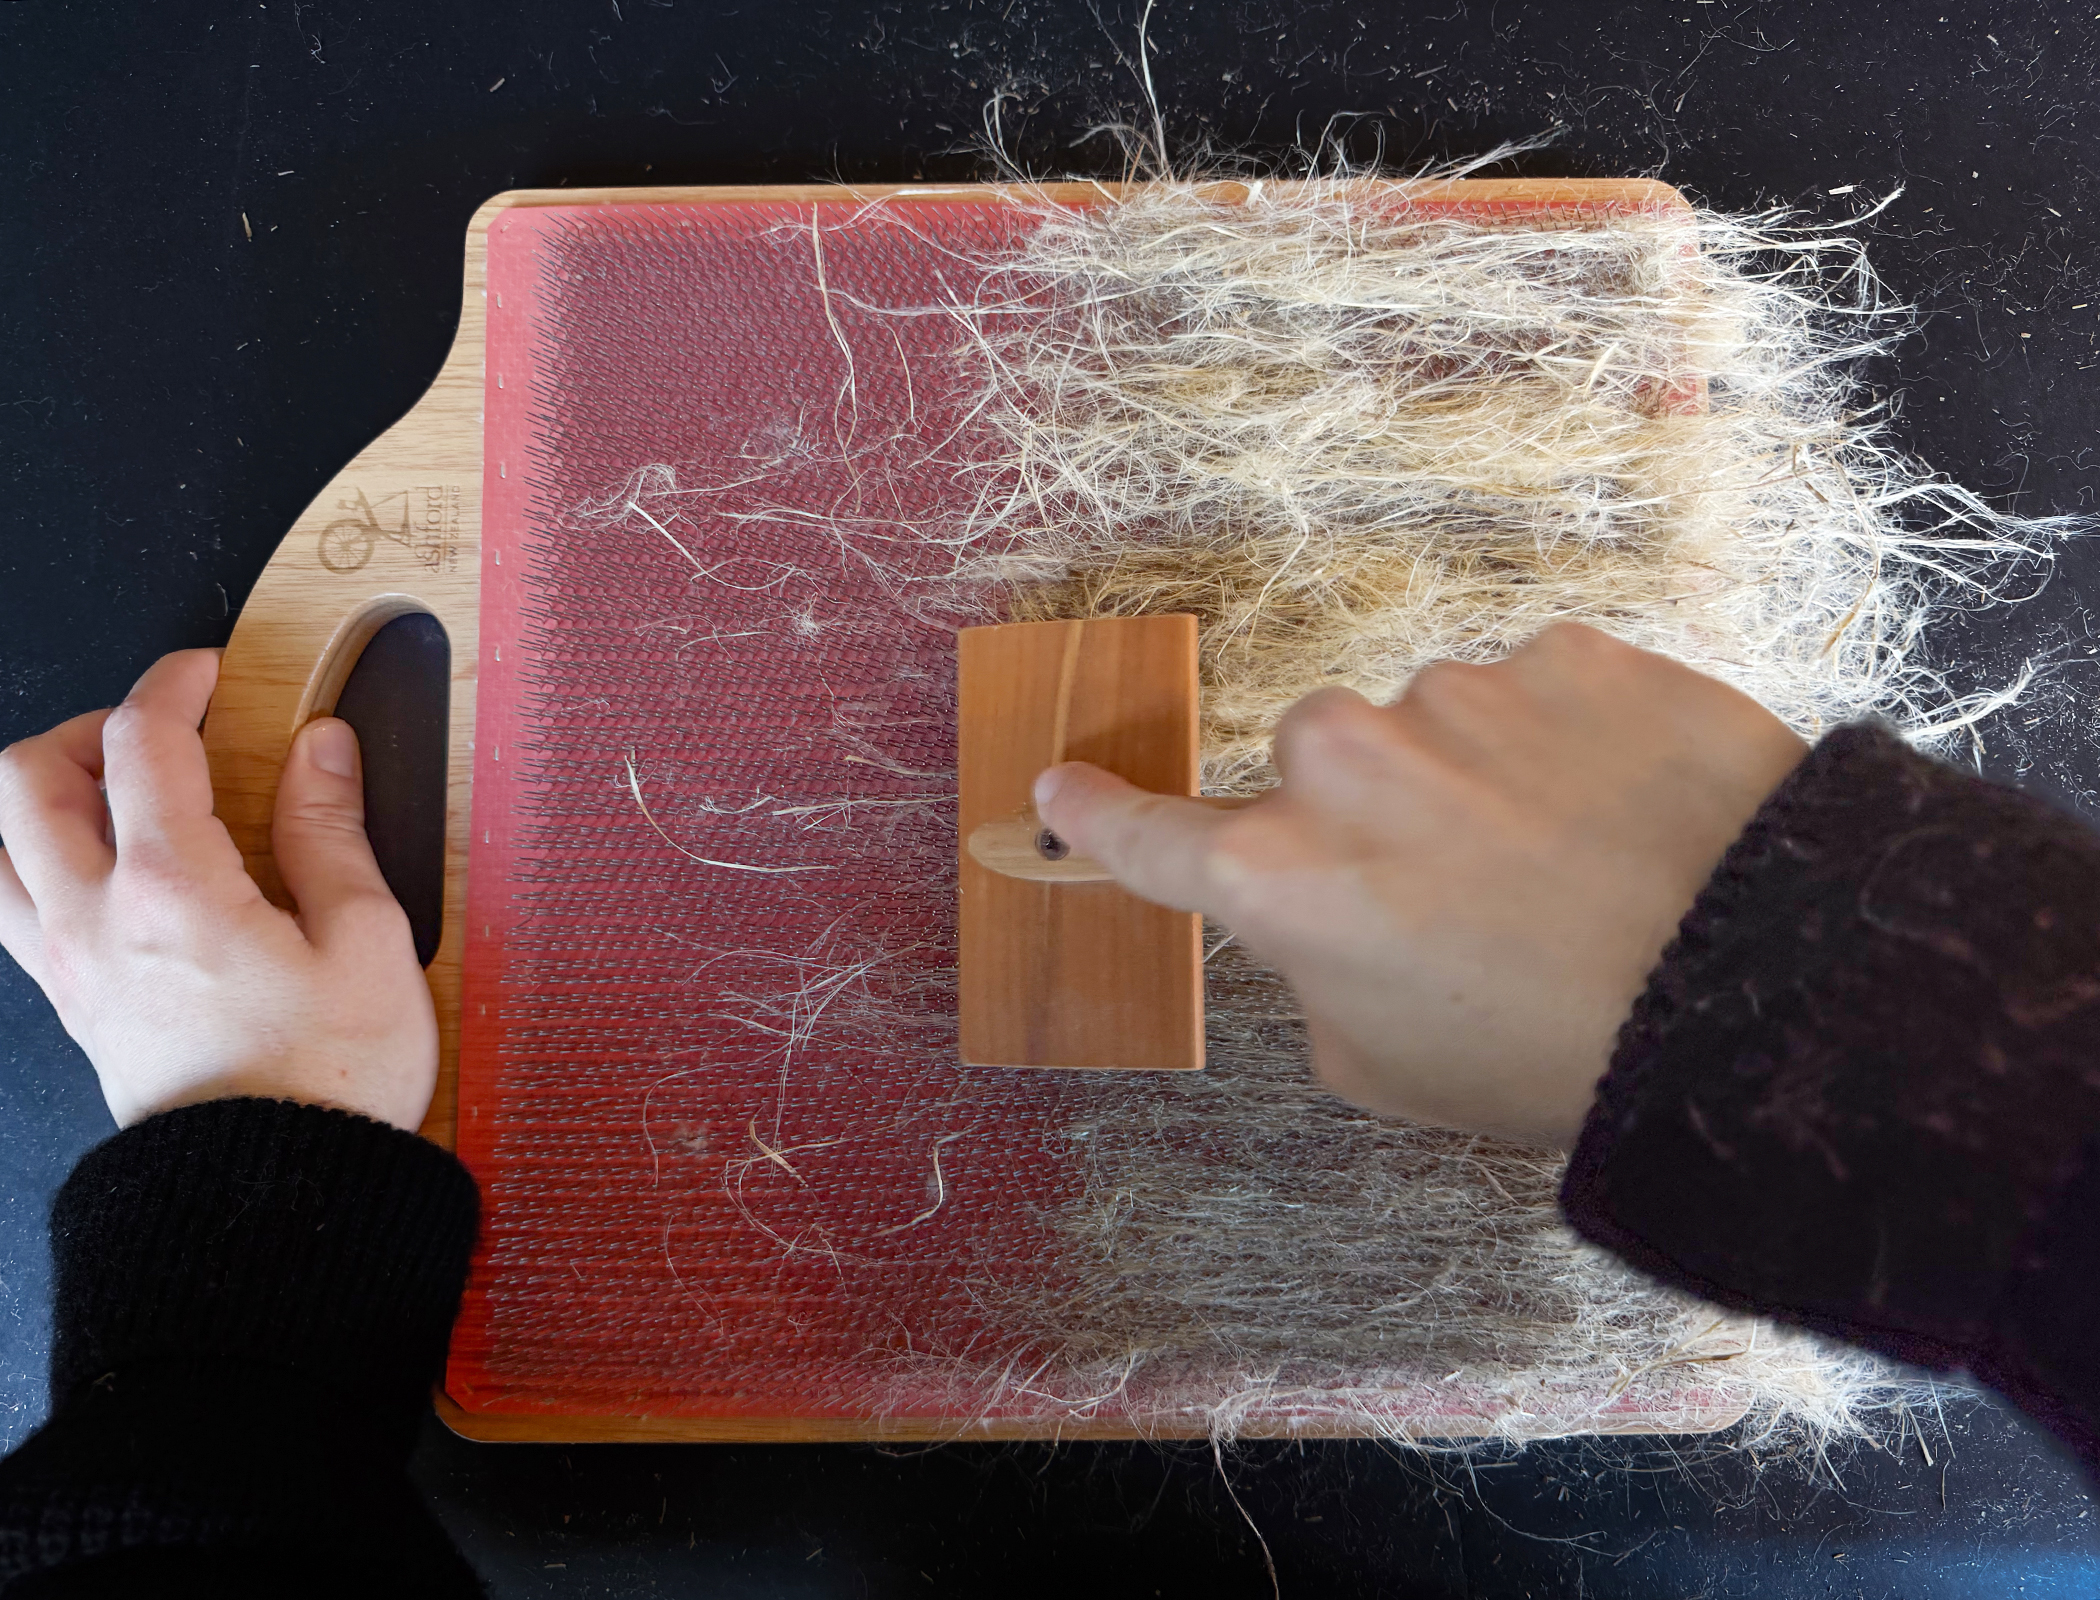
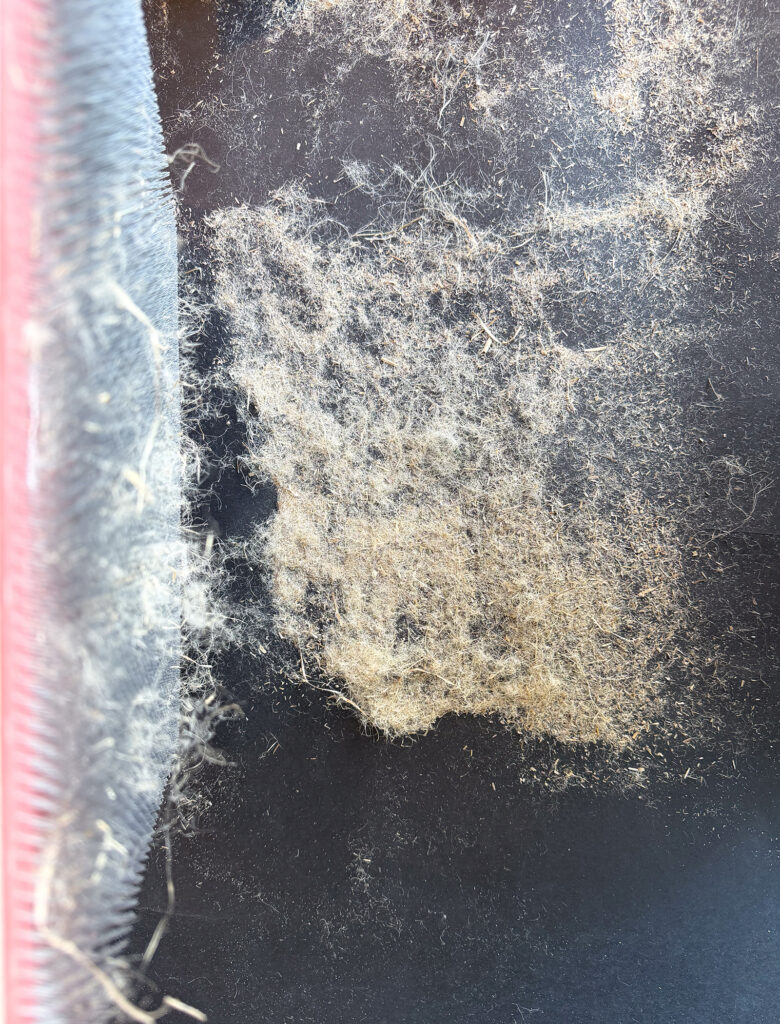
- 1. Here I pulled the fibres through the blending board but carders could also be used.

-

- 2.
-
- 3.
-
- 4.

-

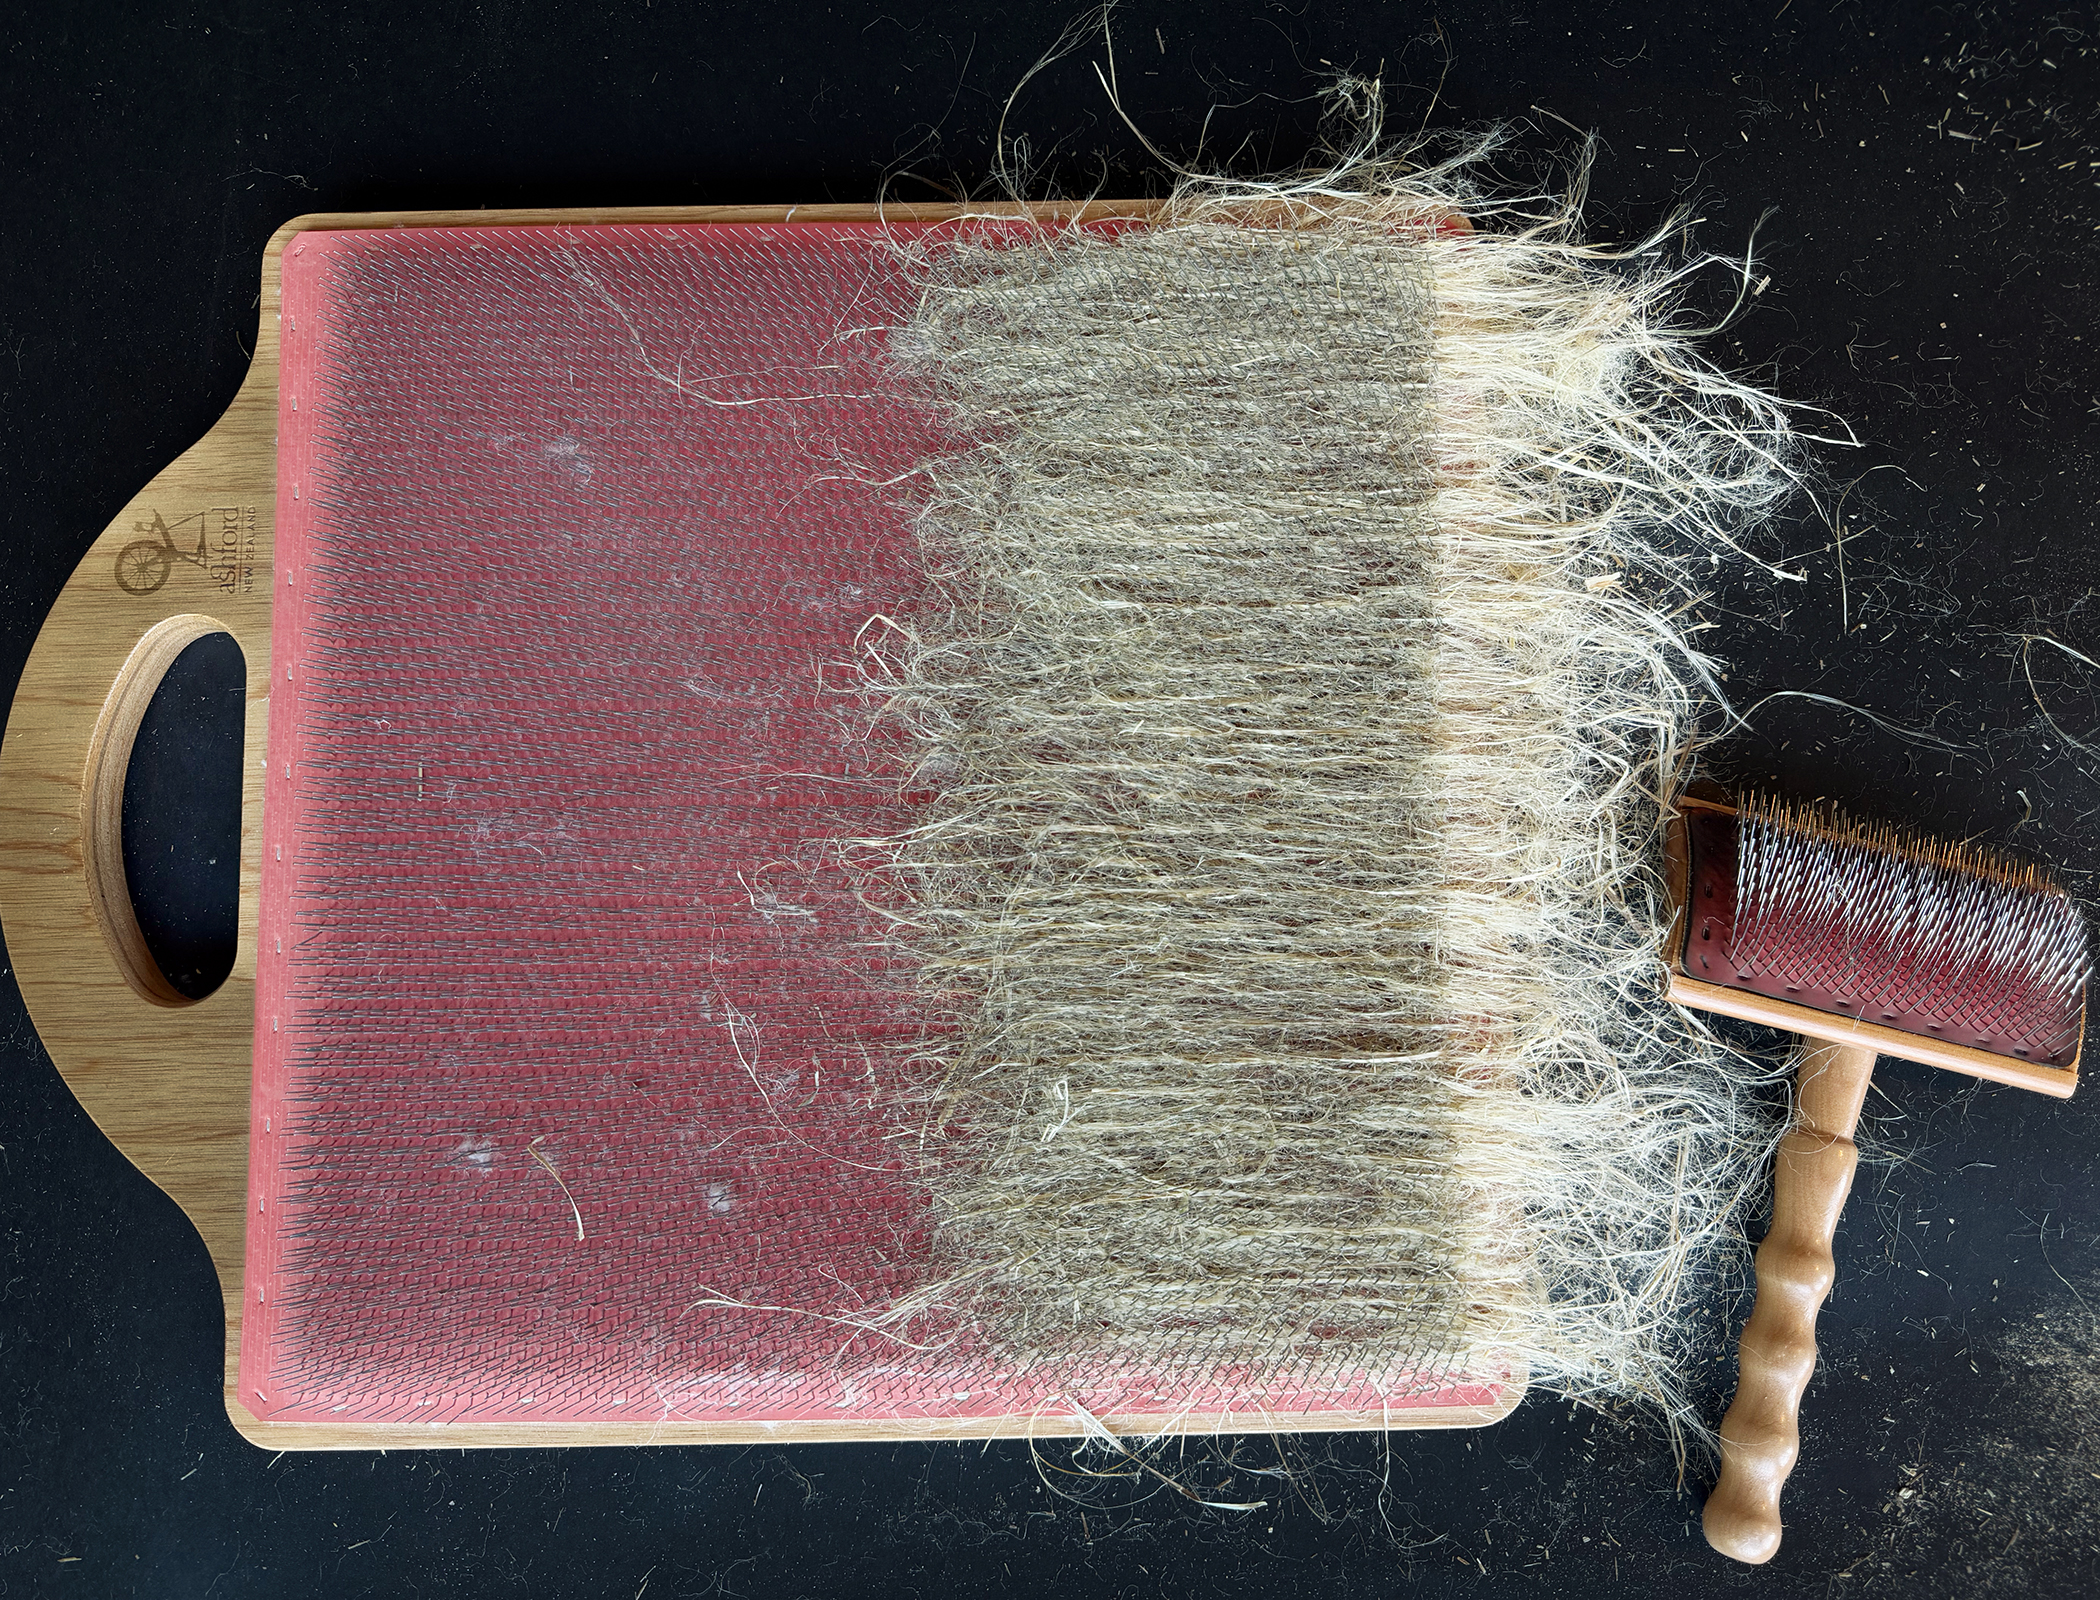
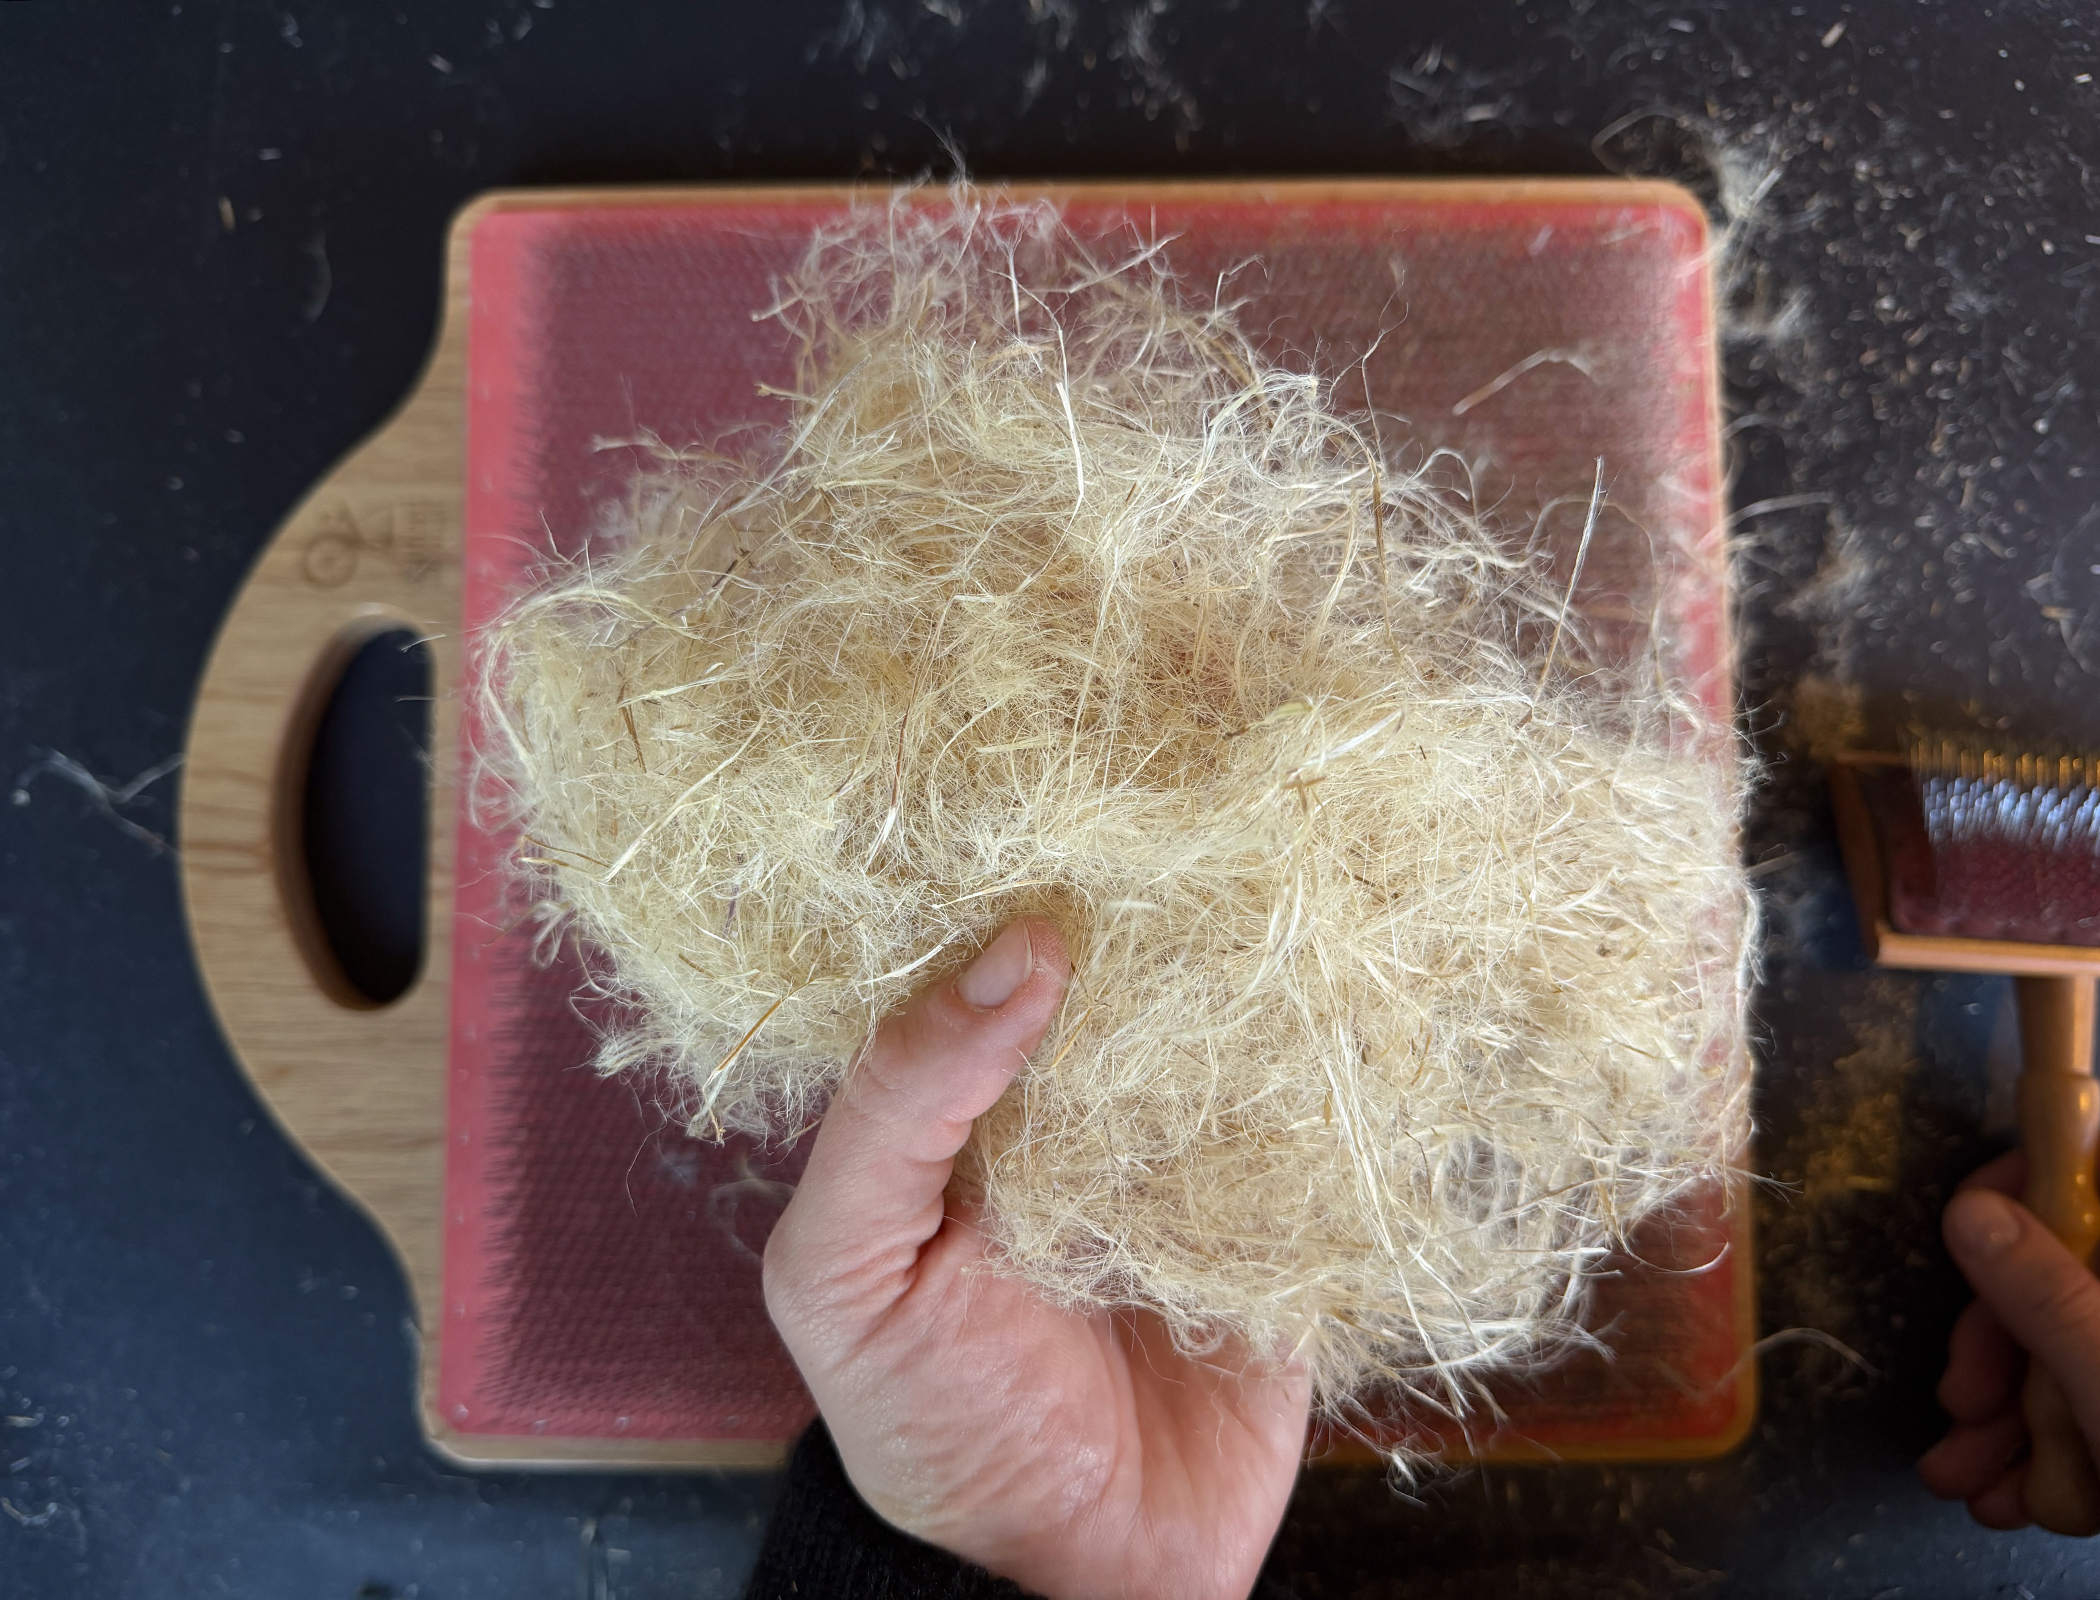
- 5. After the first round of carding with the blending board.
-

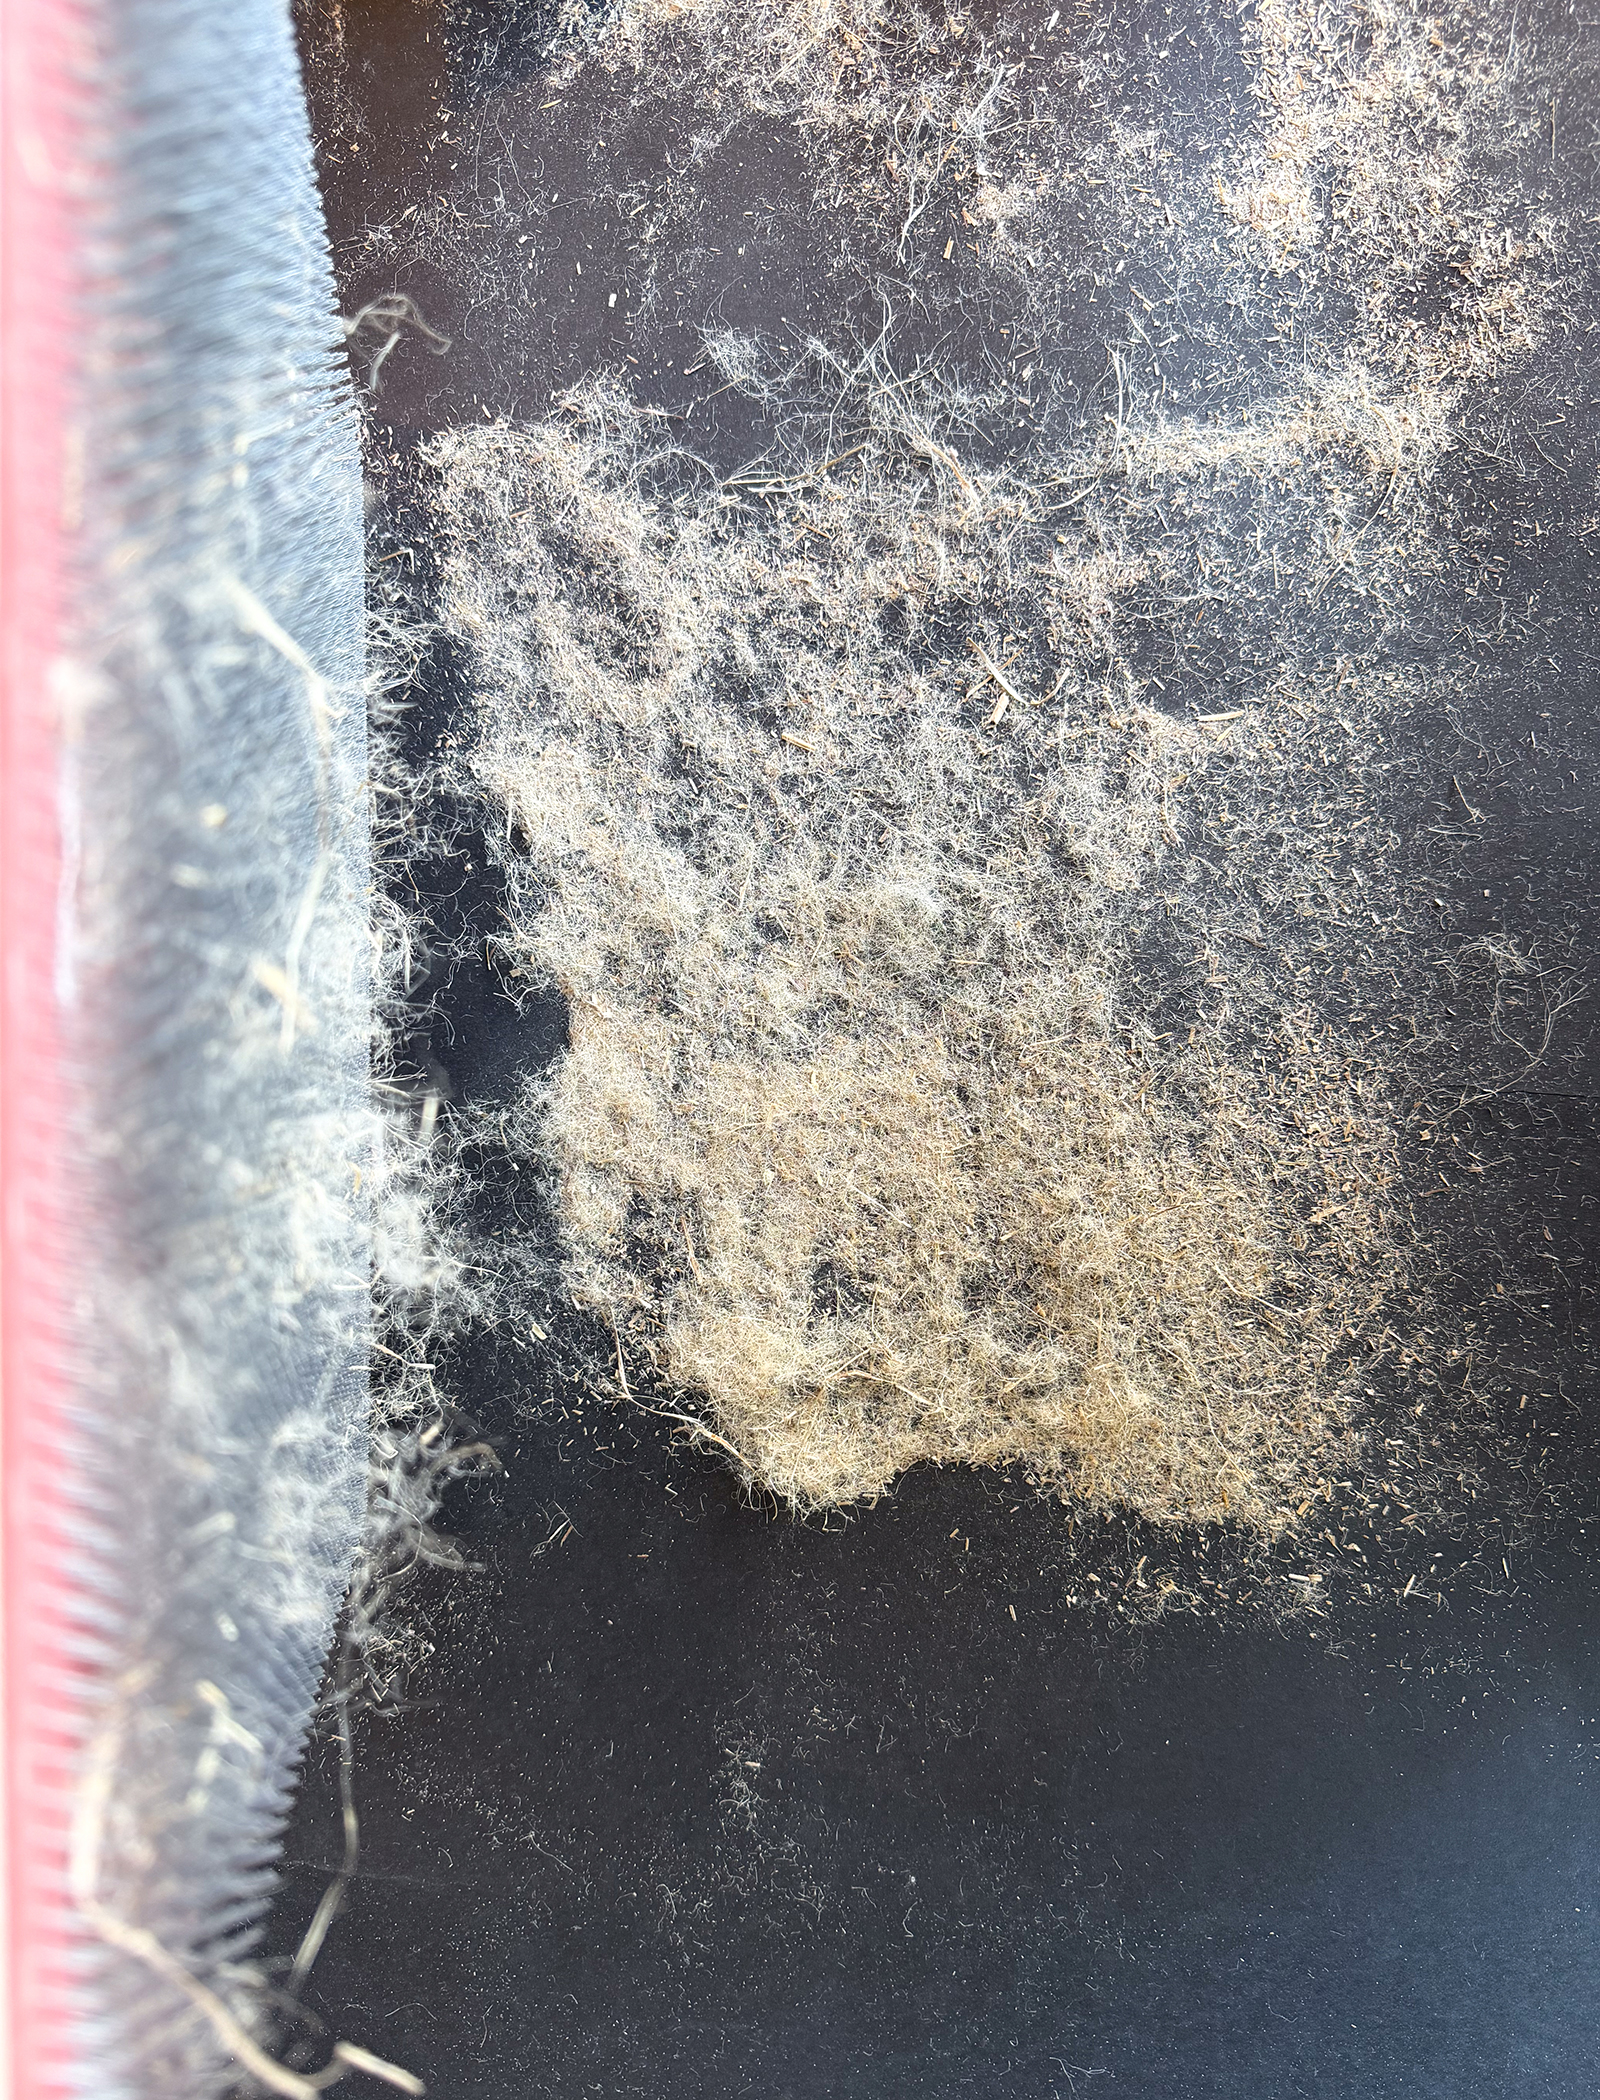
- 6. The procedure can be repeated several times until you are happy with the fibre.
-

- 6.
-

- 7.
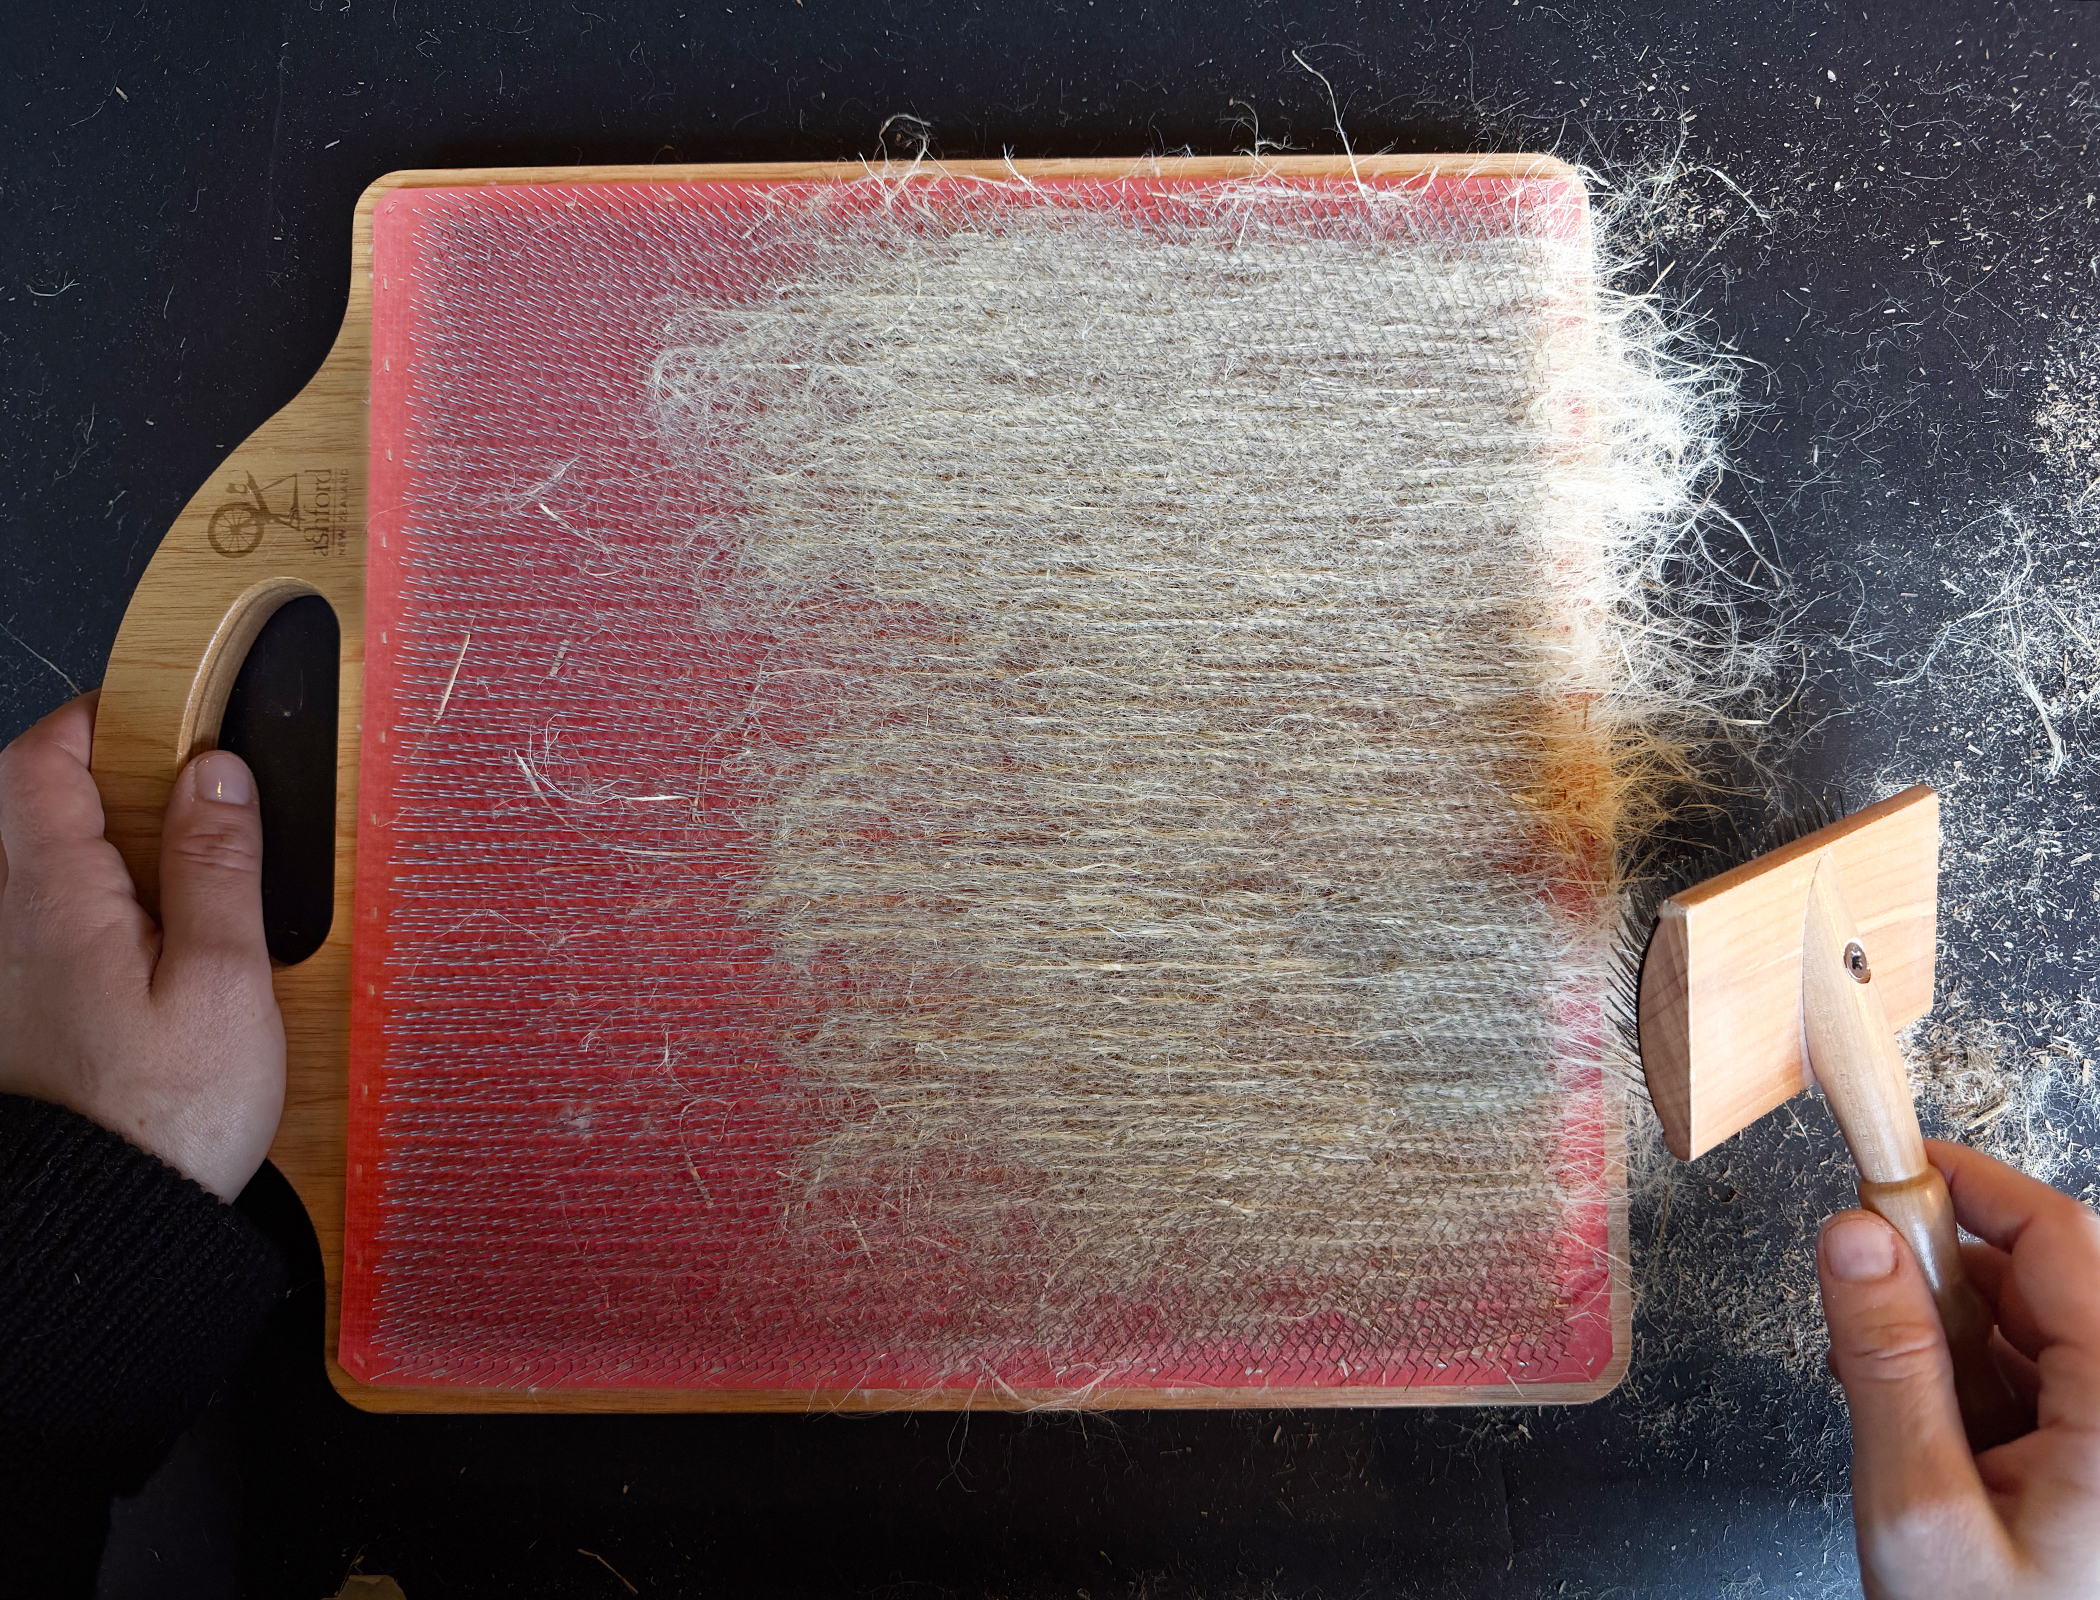
-
- 8.

-
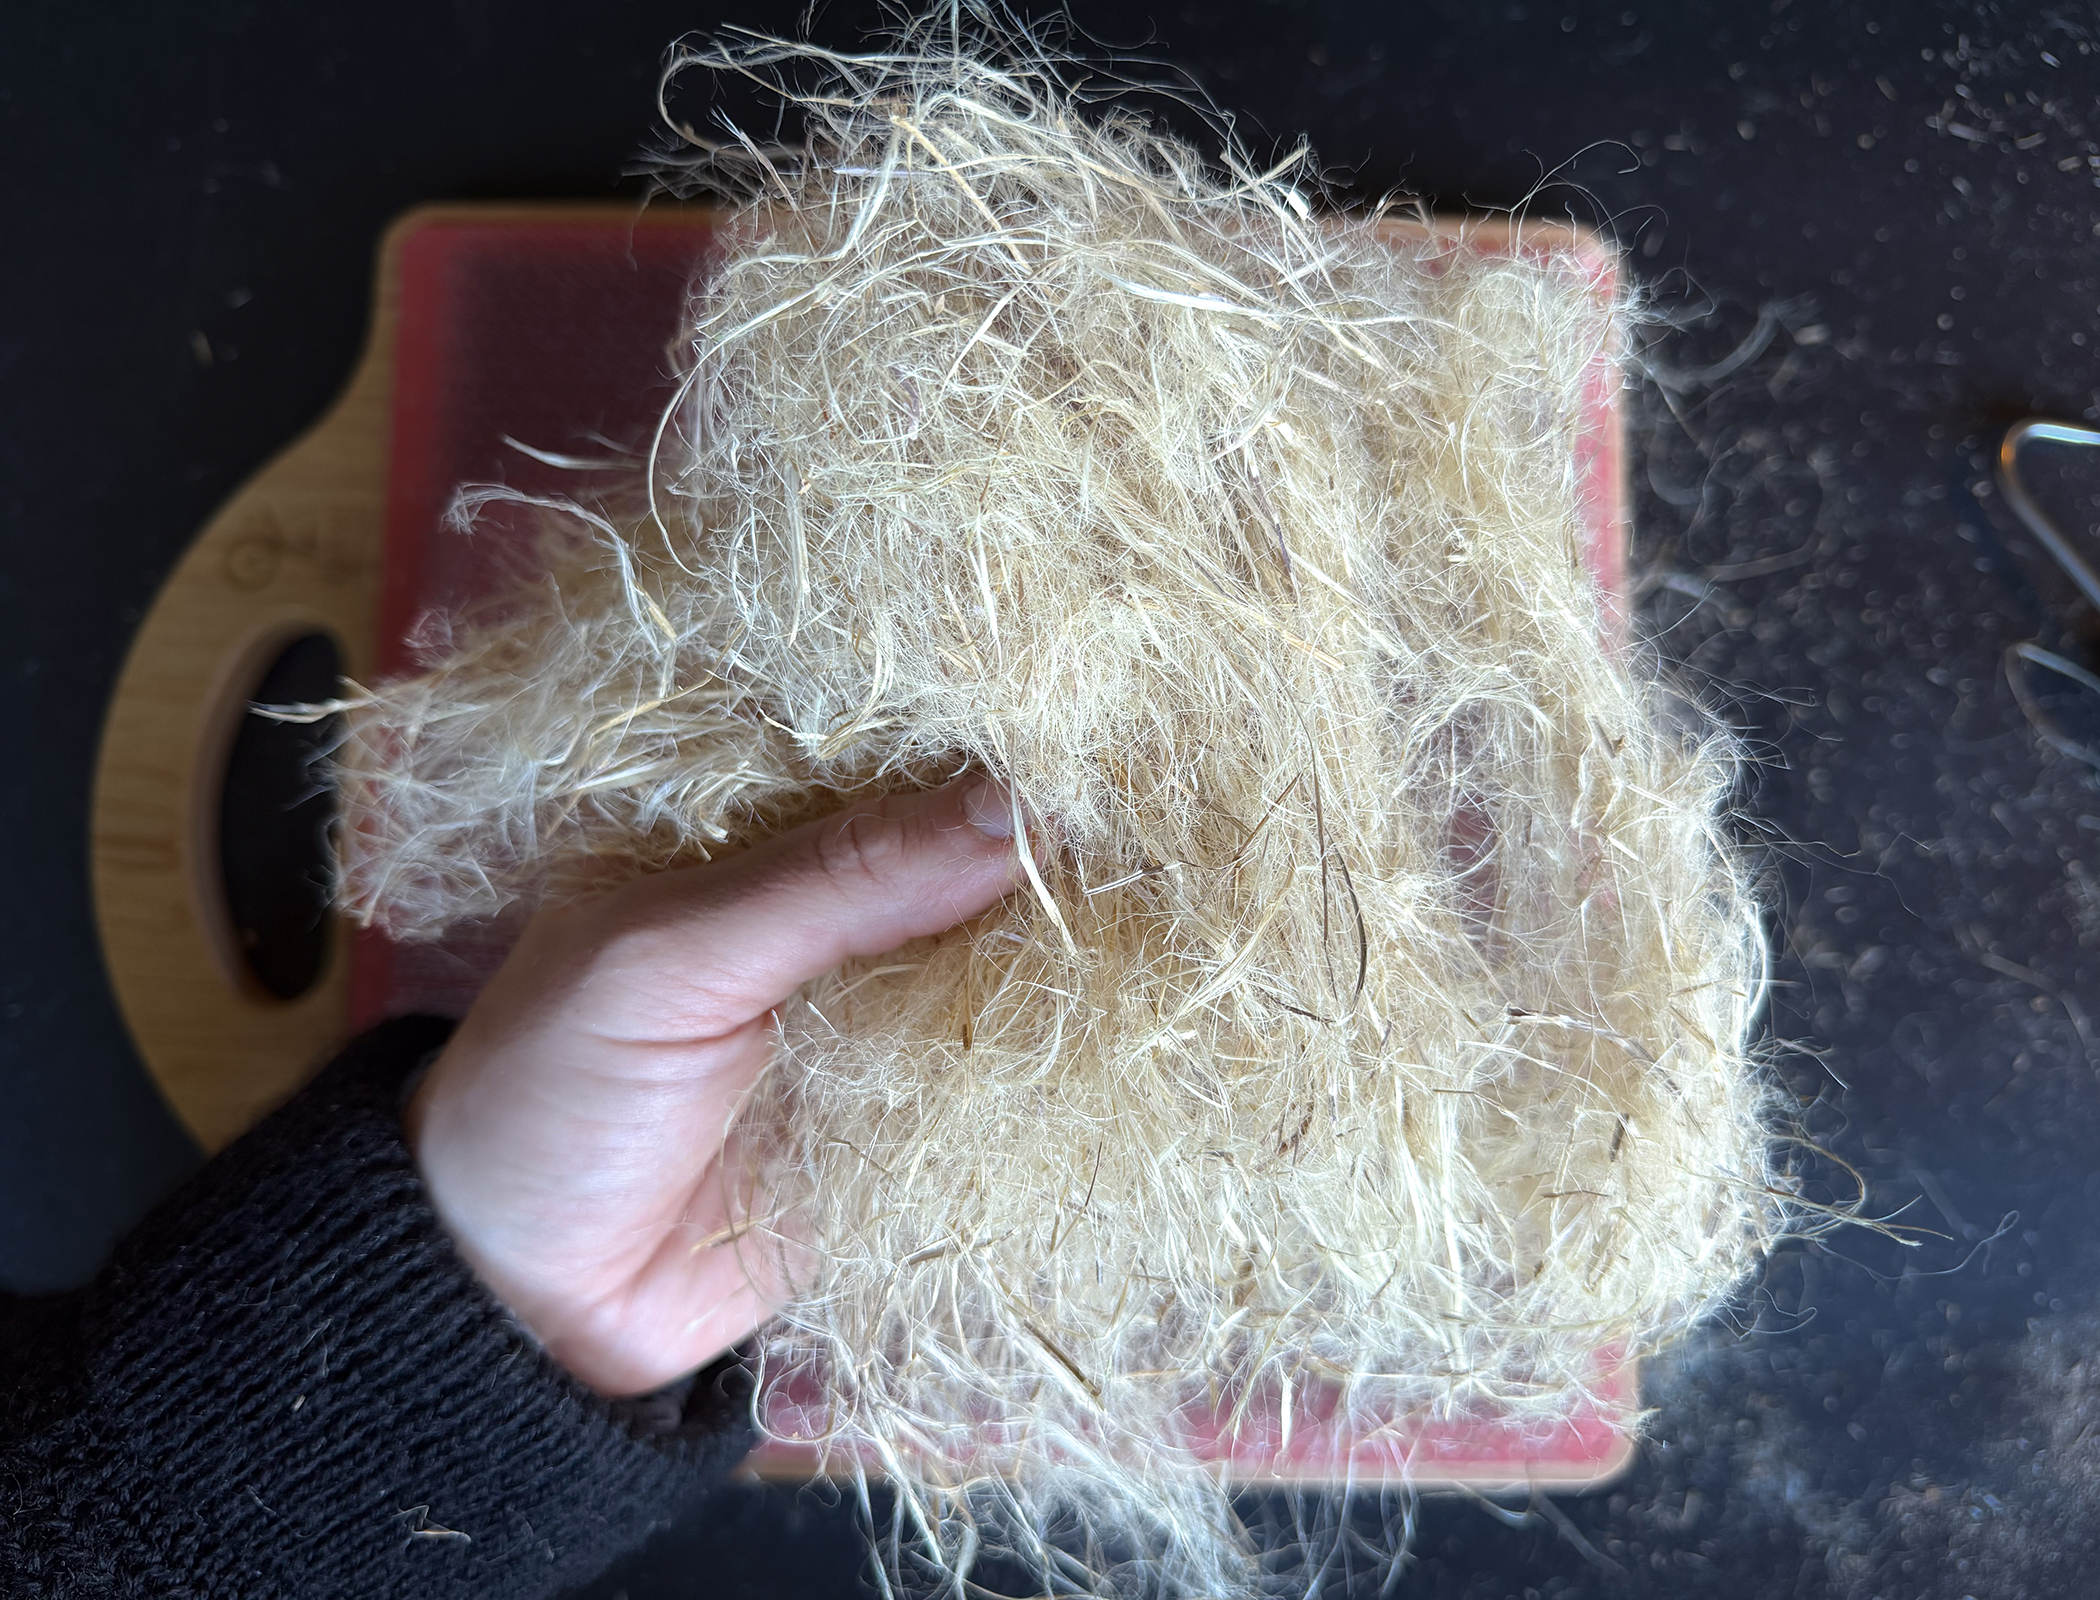
- Here the fine wooden parts that were removed through the combing on the blending board can be seen.
-
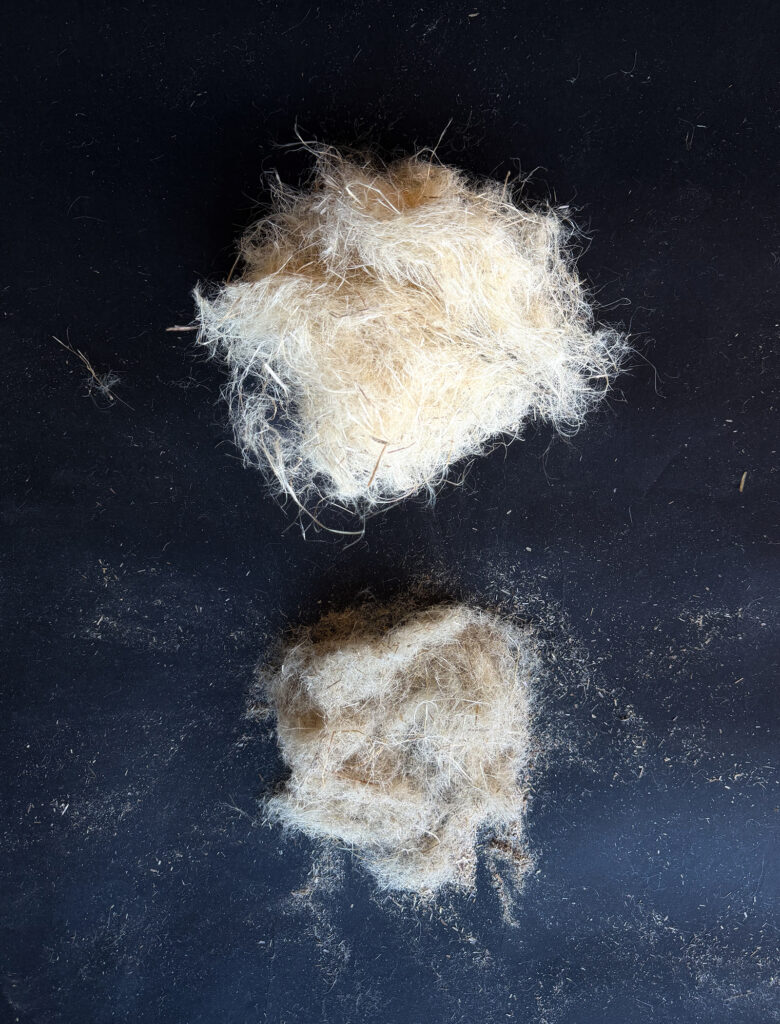
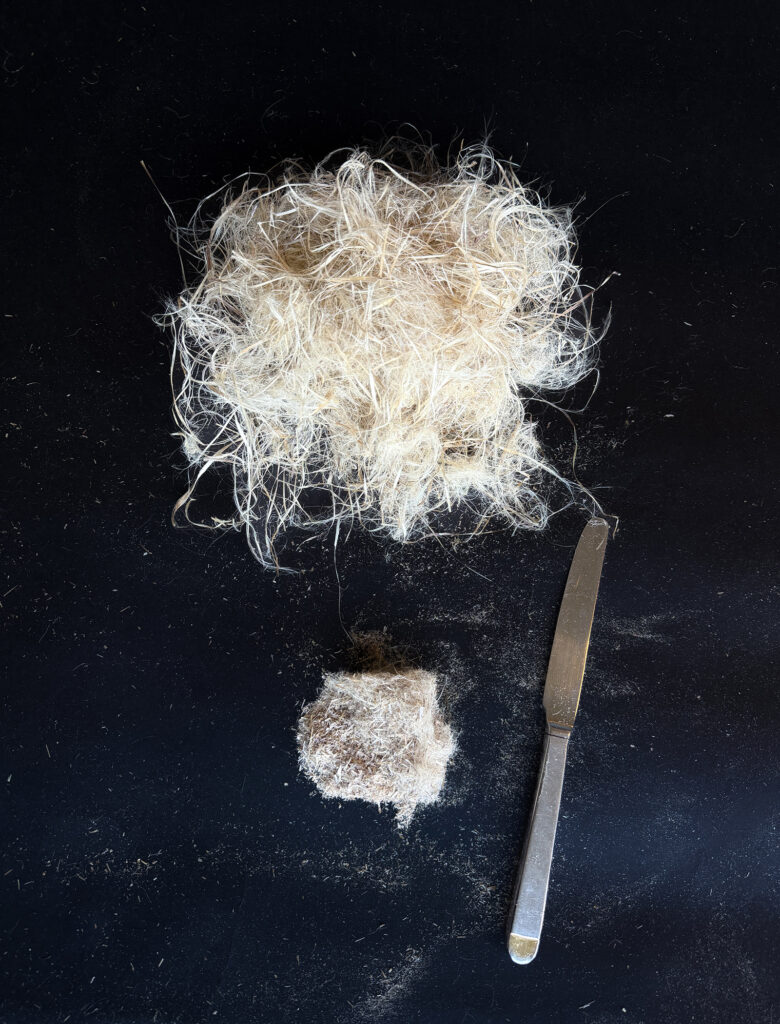
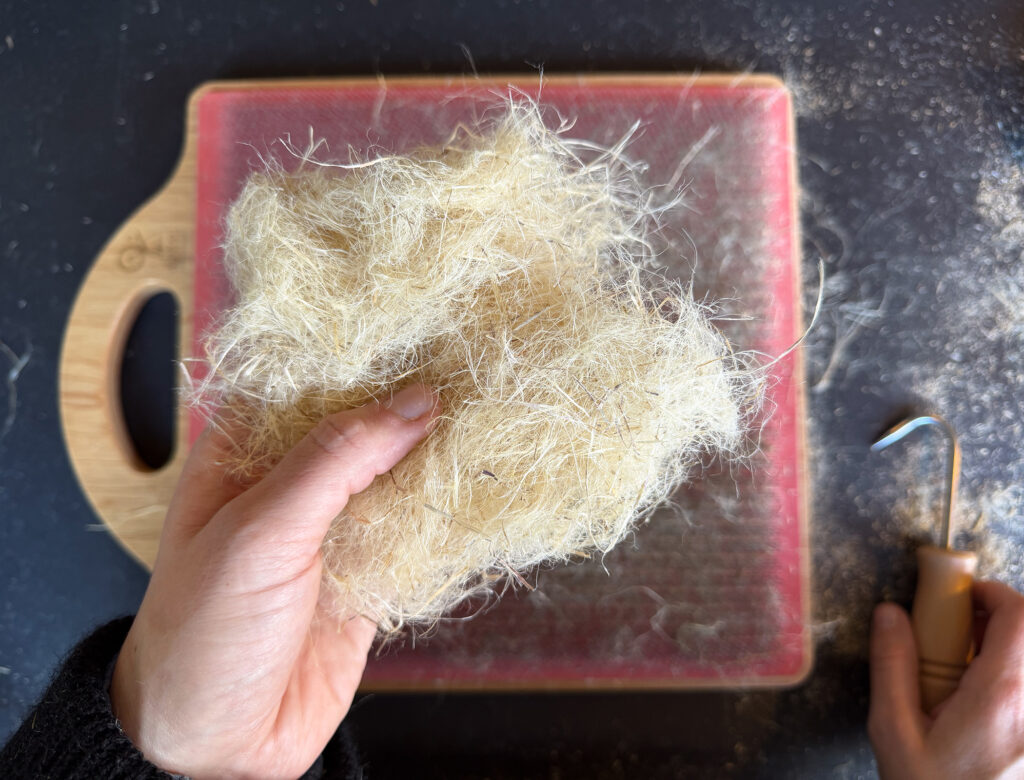
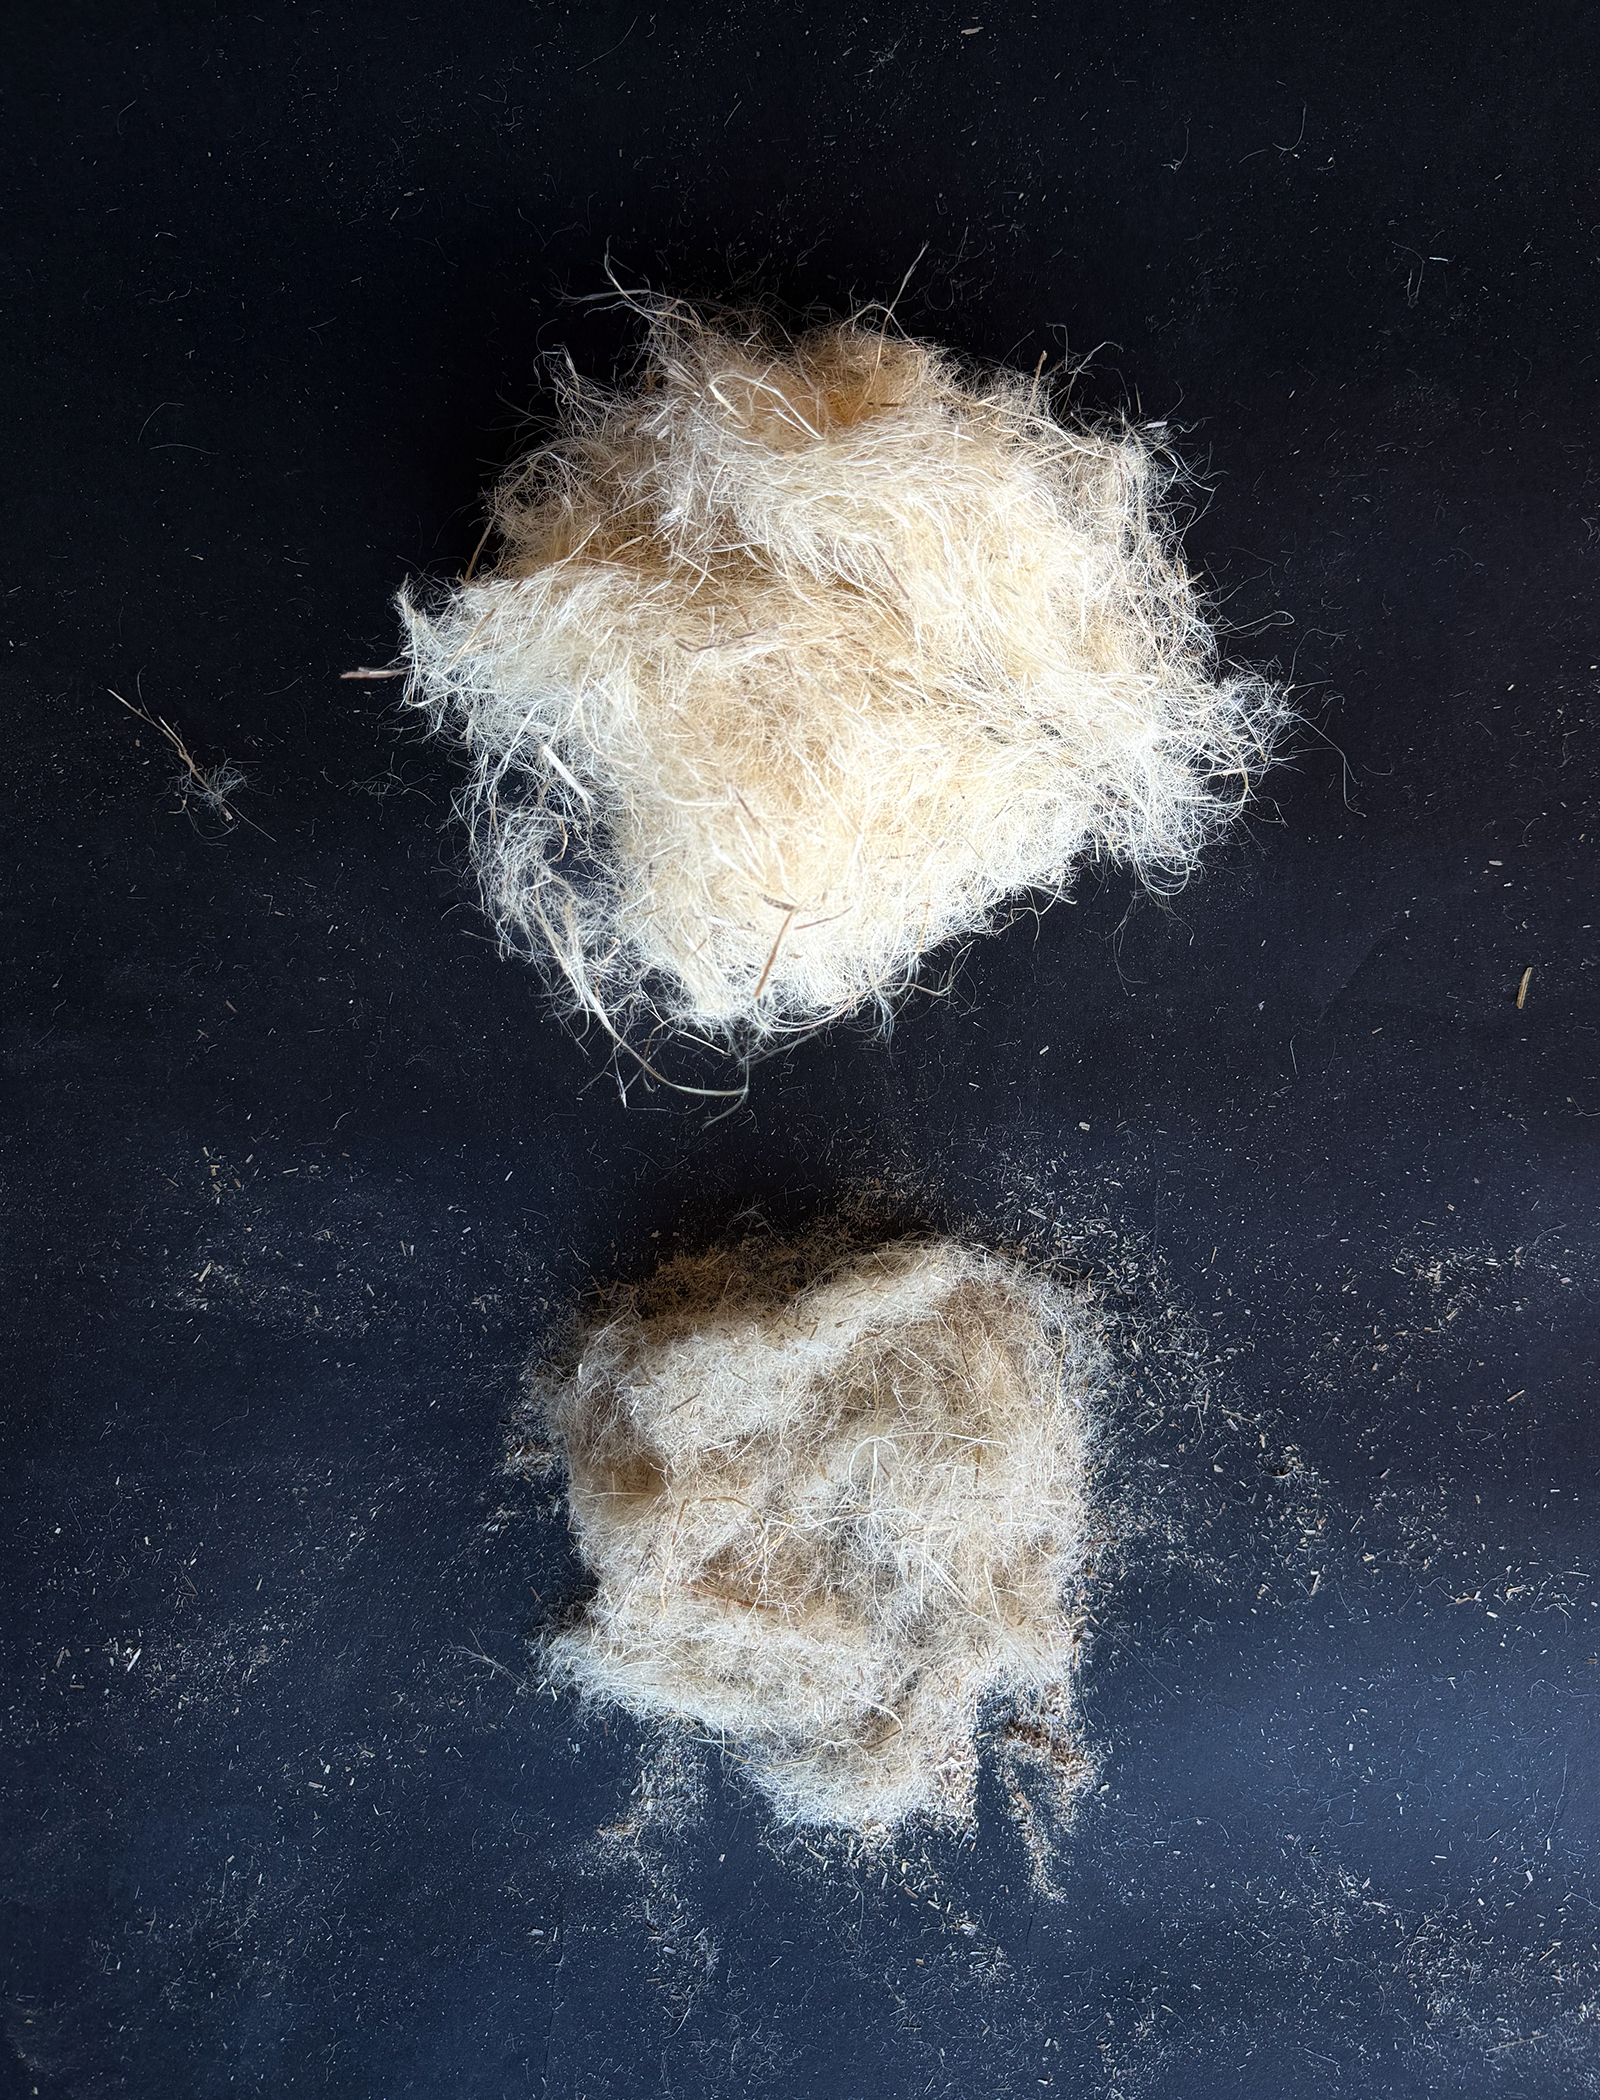
- After three rounds combing the fibres with the blending board, 6.1g of fibres remained.
-
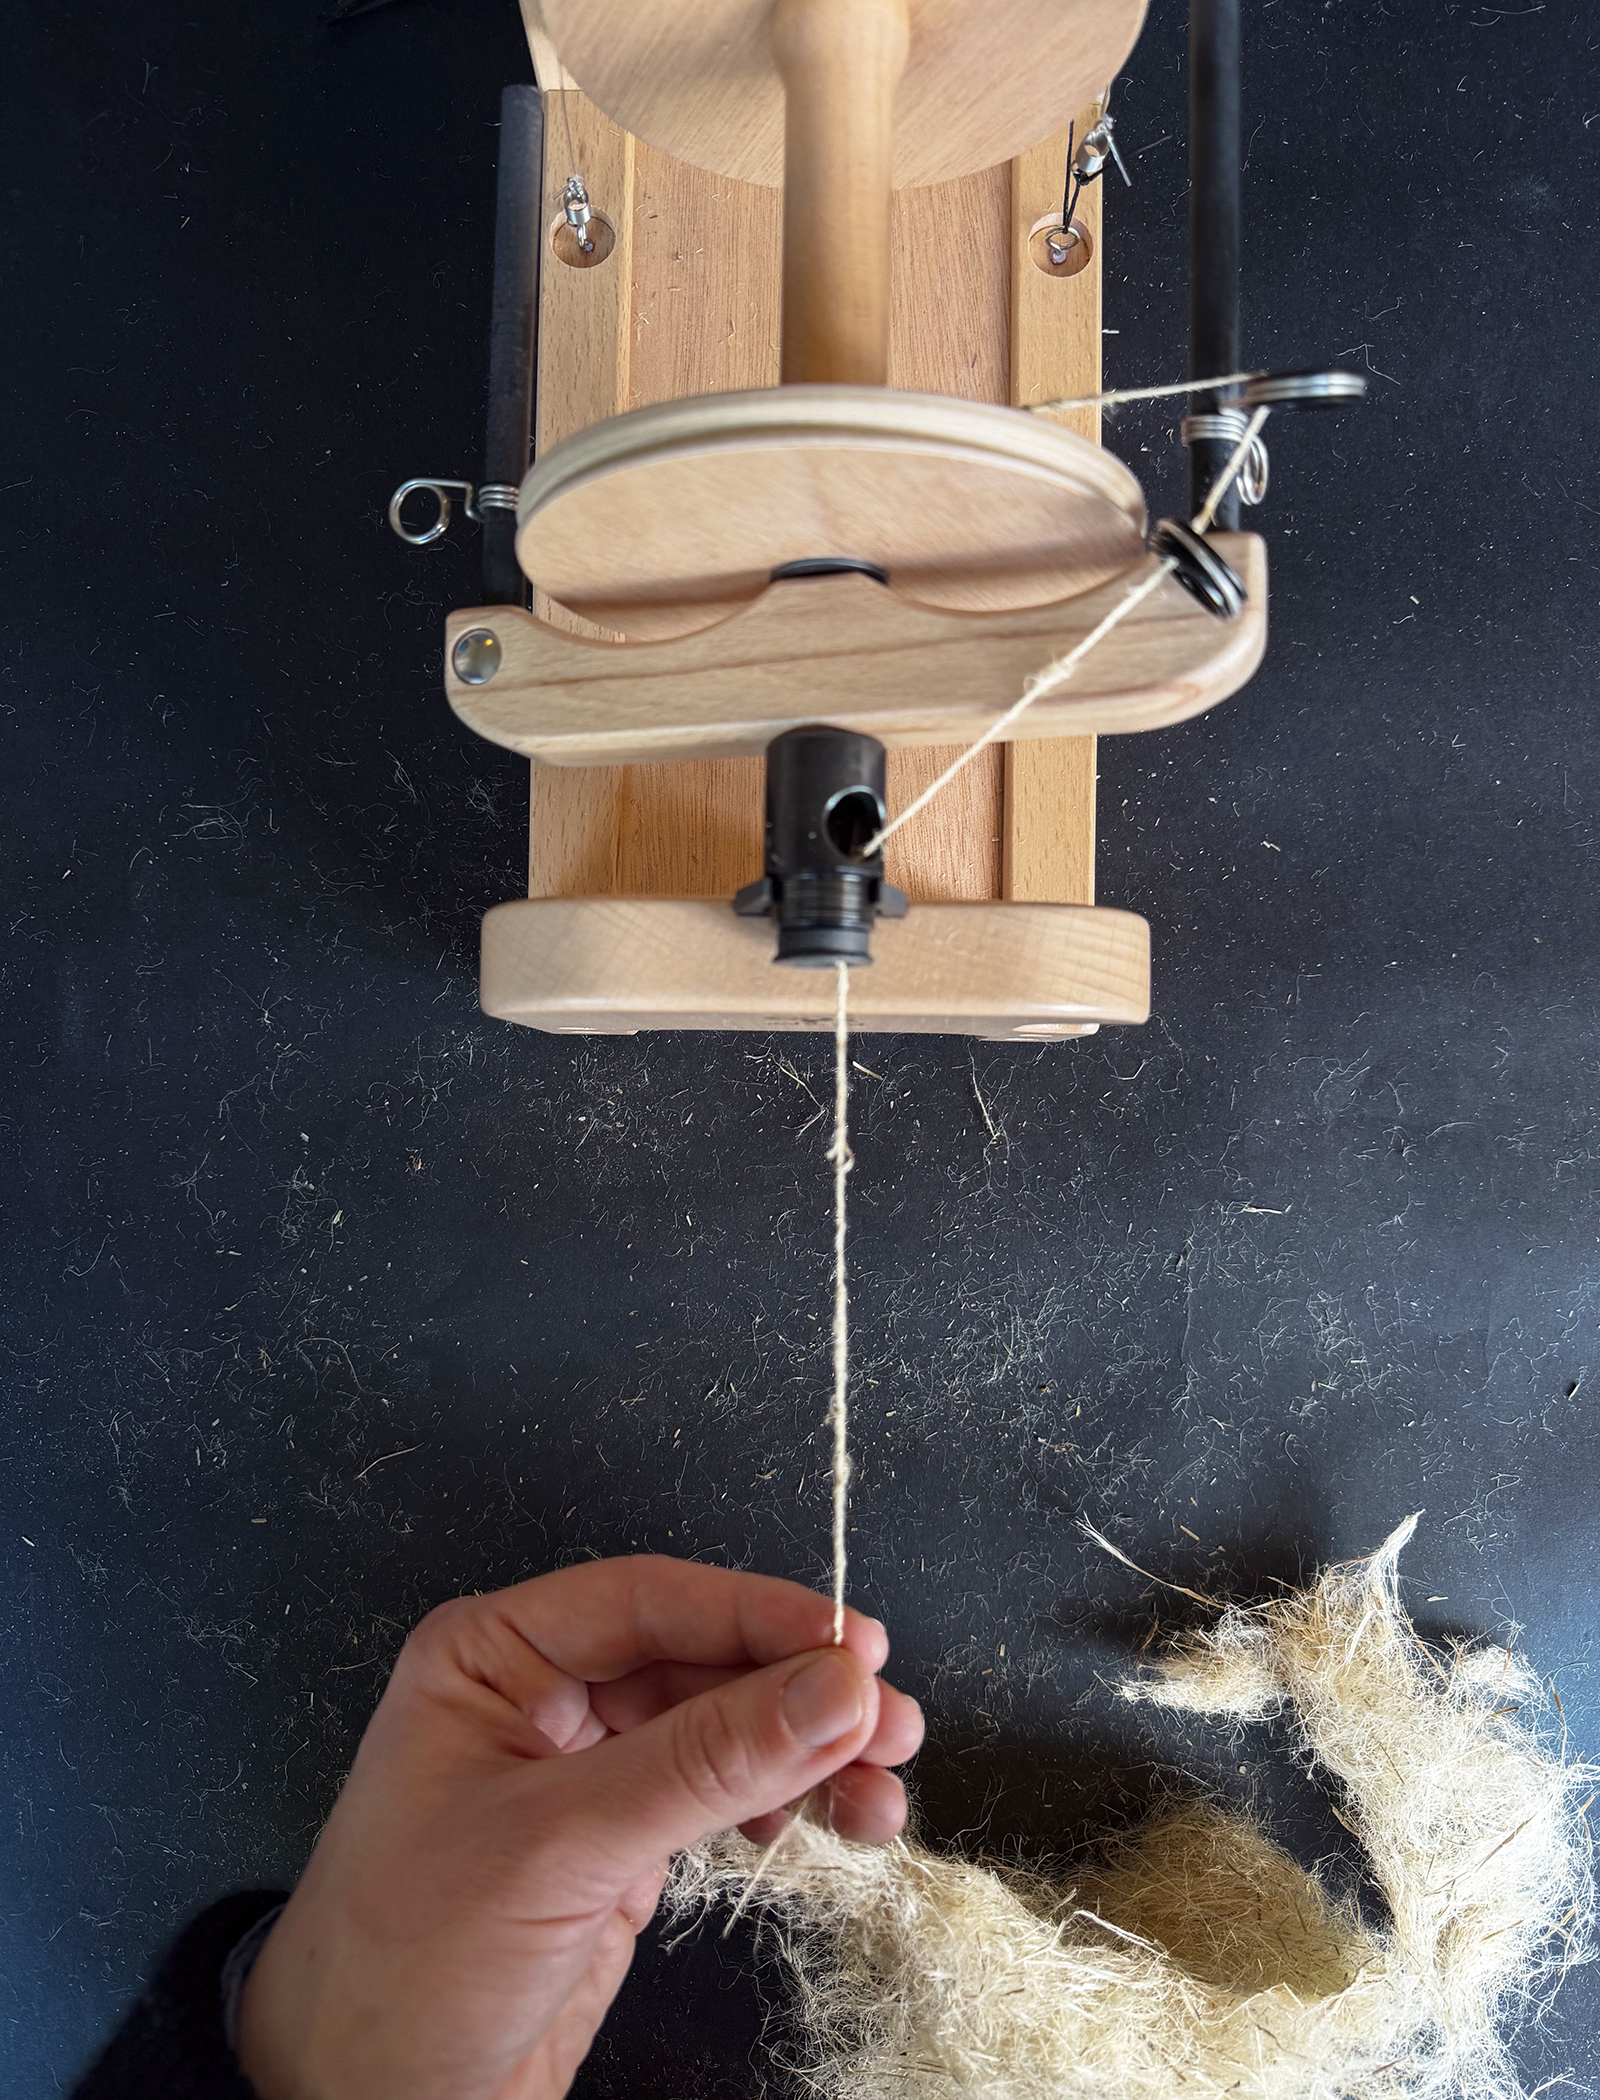
- Here we end up with 1.4g of 1-ply yarn as yield of the harvest.

-
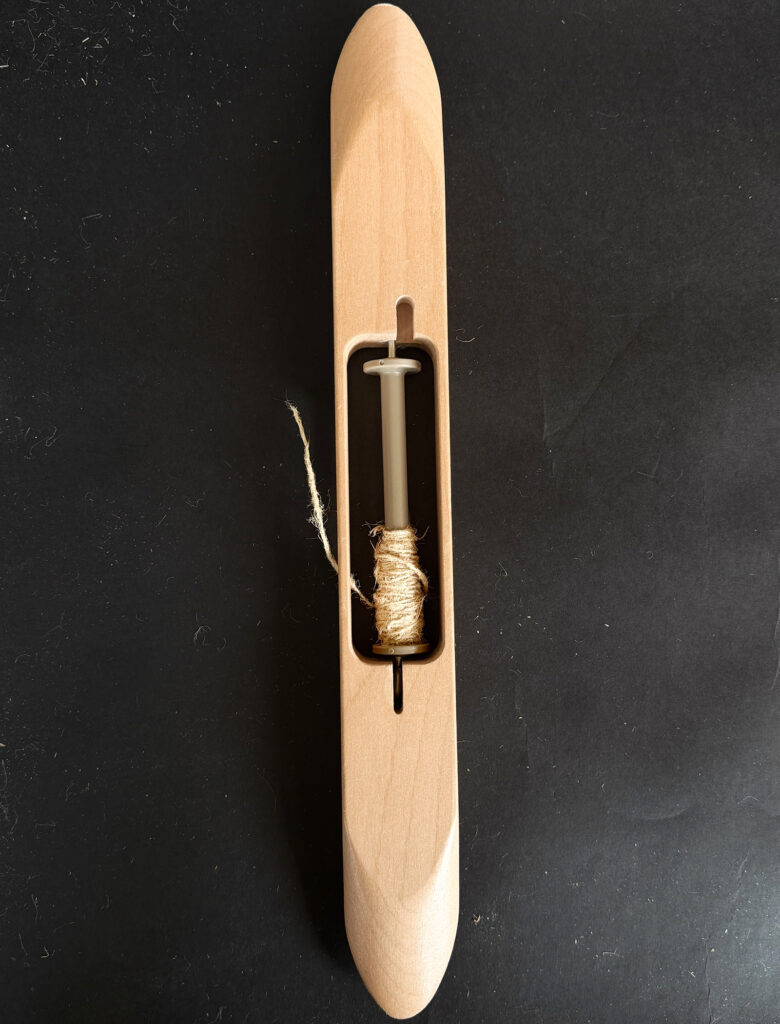
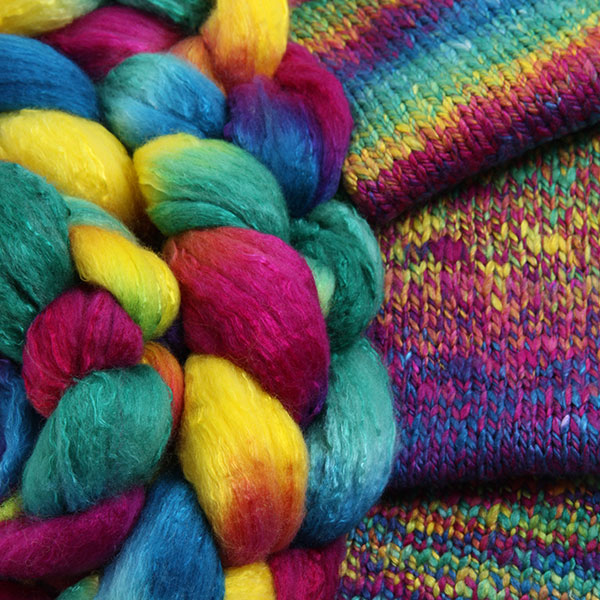
- Stinging nettle yarn ready for weaving.