One warp, one wardrobe
The long story of a long warp. One warp one wardrobe was an idea that I came up with to challenge myself and my loom. If you know me, you probably know that sometimes I just “wing it” rather than working out the full plan before I start something – the ideas sometimes evolve as I go. This particular project didn’t veer too much in the overall plan – placing one warp on my loom to weave fabric for a capsule “one” wardrobe, however the details did change and evolve along the way.
I hope you enjoy reading about this project and I would love to hear from you about your weaving to wear projects or if you have any questions about my project email kate @ ashford.co.nz (without spaces).
The plan:
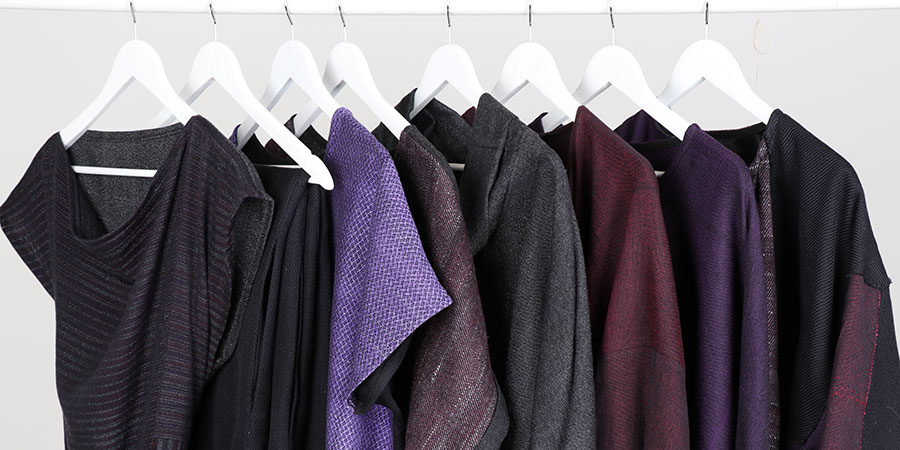
To weave fabric, to sew into clothing that would co-ordinate and work together to create a capsule wardrobe.
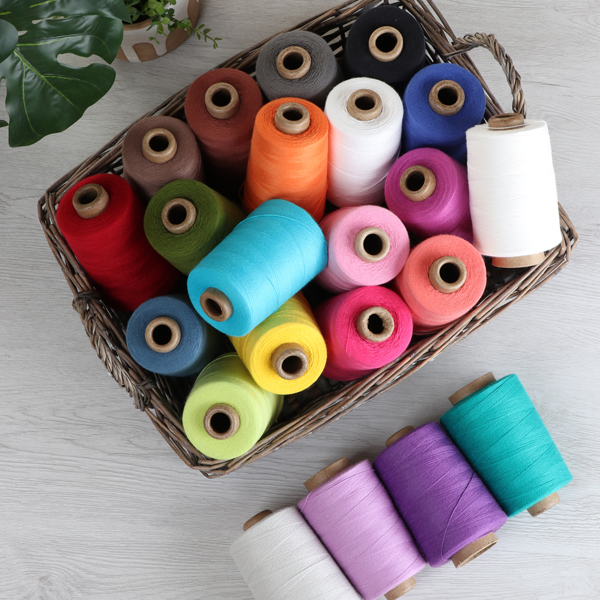
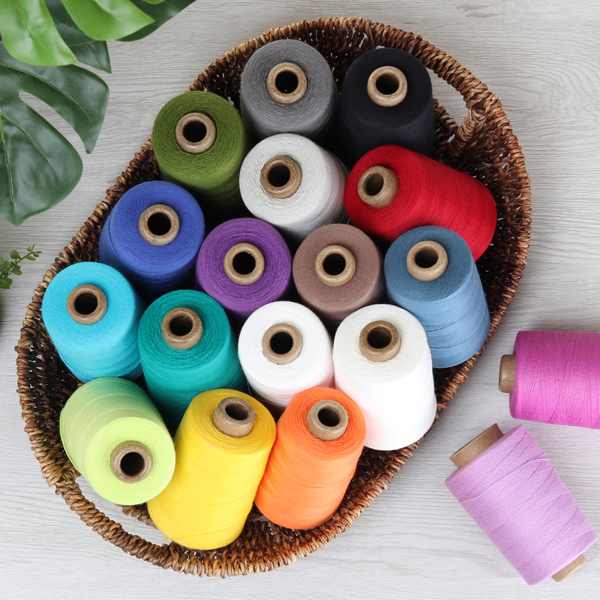
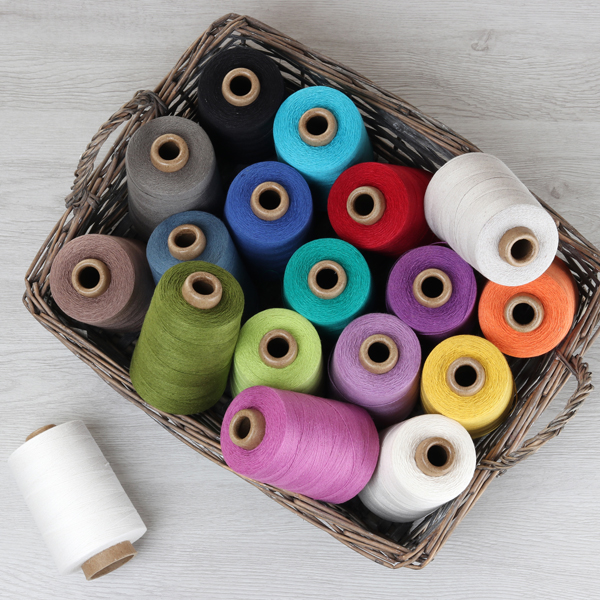
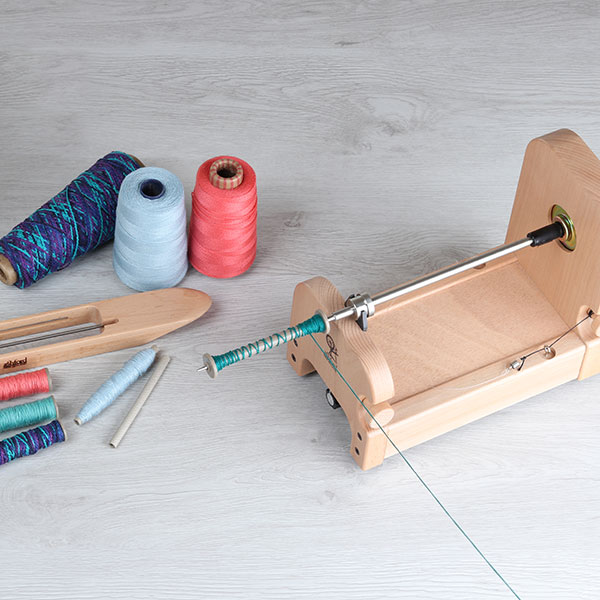
My first thoughts were what yarn to use as the warp – I needed something that would be versatile and work with lots of other yarns so of course I chose black as the colour. I wanted a finished fabric that would be a nice weight for clothing. I narrowed it down to 10/2 cotton and then only had to decide if I wanted to use the mercerised or unmercerised, I went with the shiny mercerised 10/2.
I did not calculate how much warp length I would need – I decided on 30m and would use the fabric to make as many garments as I could. I ended up only using 26m as time was running out.
Loom: Ashford Jack loom
Warp yarn: Ashford 10/2 Mercerised Cotton
Warp length: 30m (33yds)
Width in reed: 37″
Fabric finished width after waashing: 36″
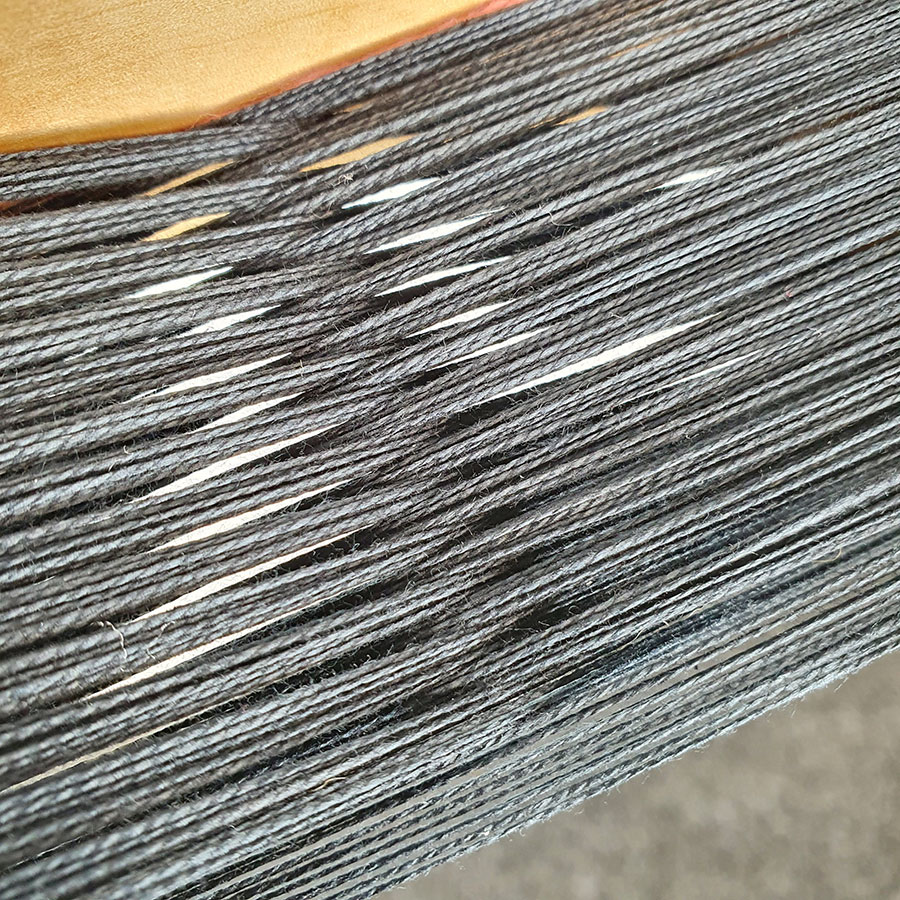
Sett: 24epi – double sleyed in a 12dpi reed
Threading: Straight 1,2,3,4,5,6,7,8
You might be wondering how I wound a warp 30m long when my warping frame is only 11m? I added some extensions to my frame.
-
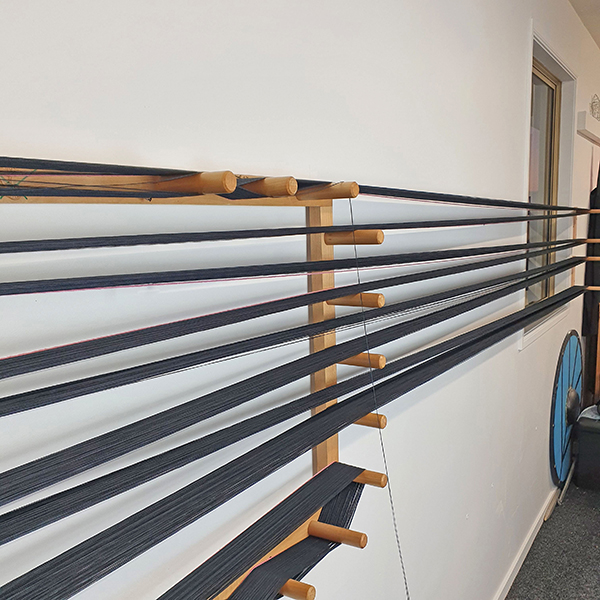
- Getting creative with my warping frame to fit 30m
-
- Raddle cross
-
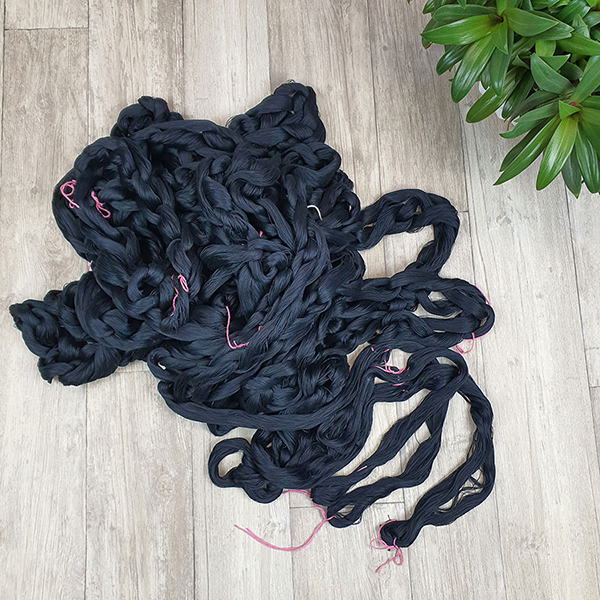
- 30m warp ready to beam!
-
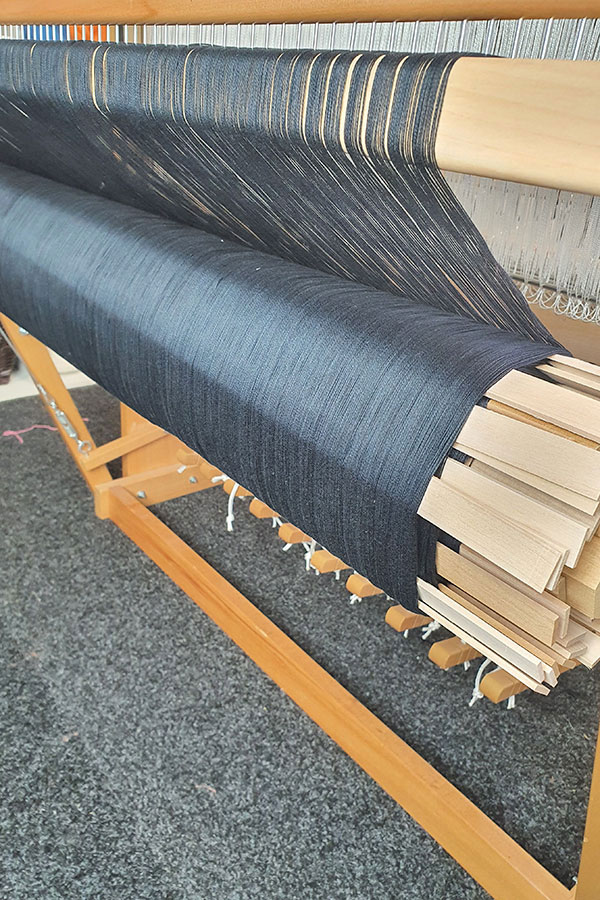
- Beamed
-
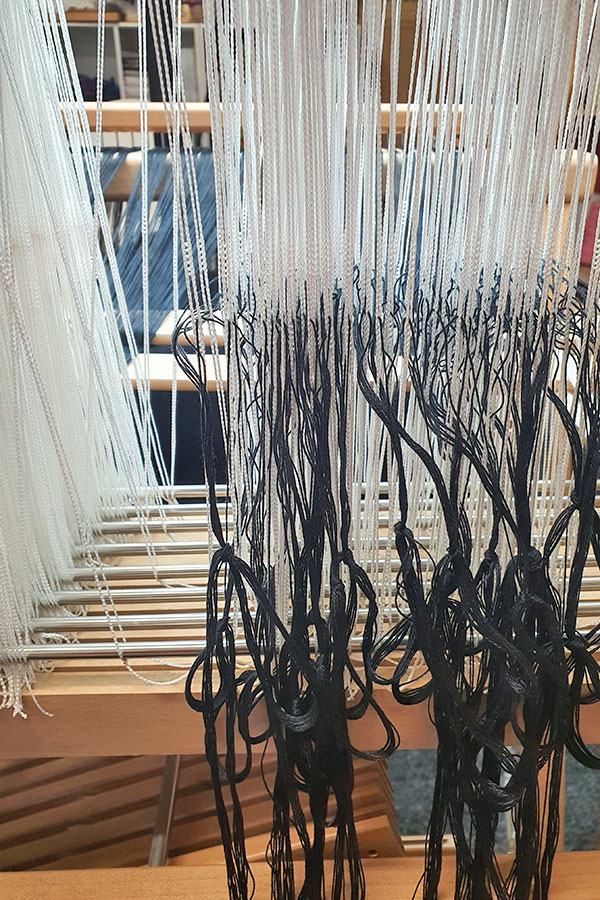
- Threading
-
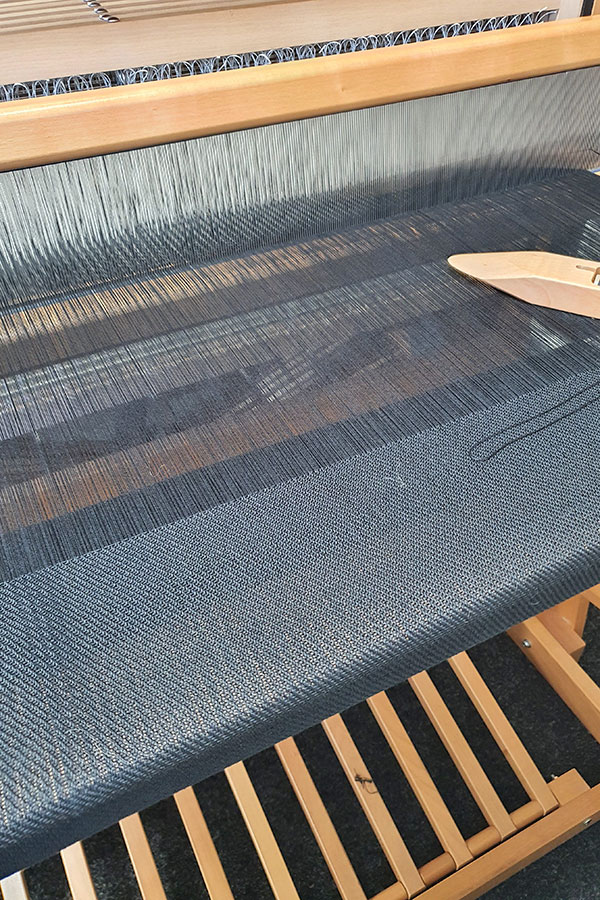
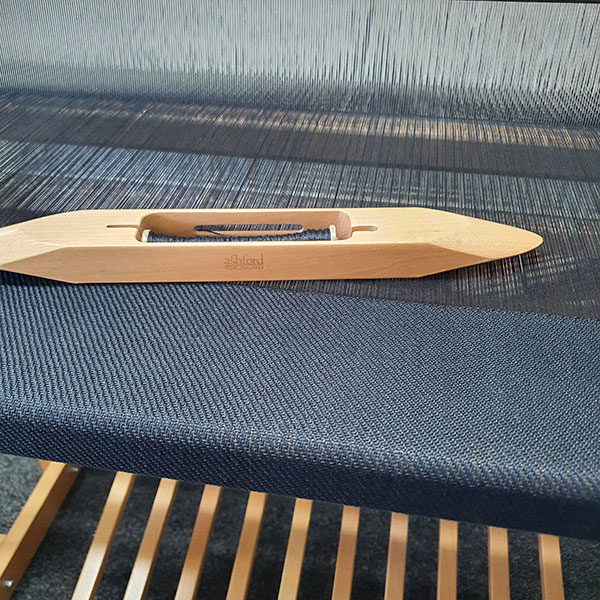
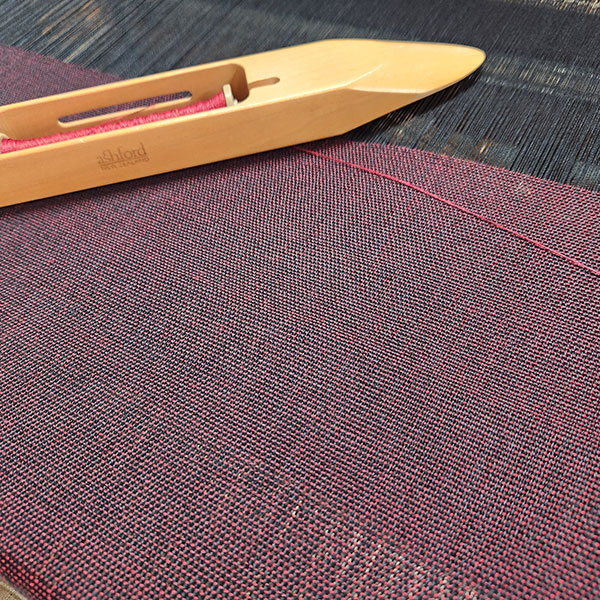
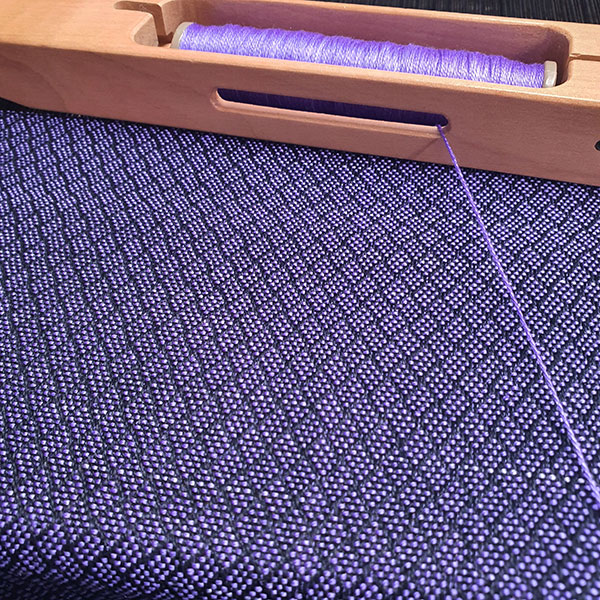
- Weaving
-
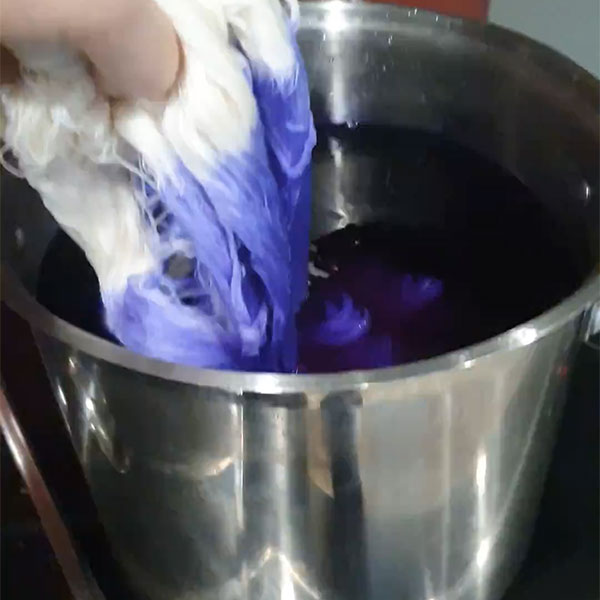
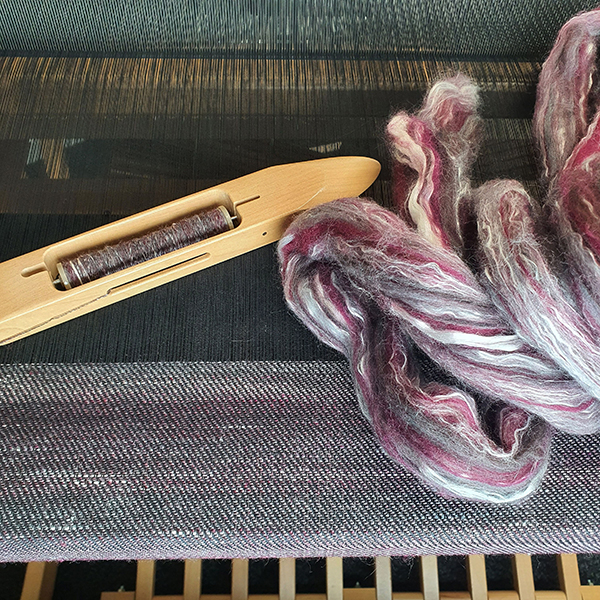
- Hand dyed silk
-
- Hand spun singles
-
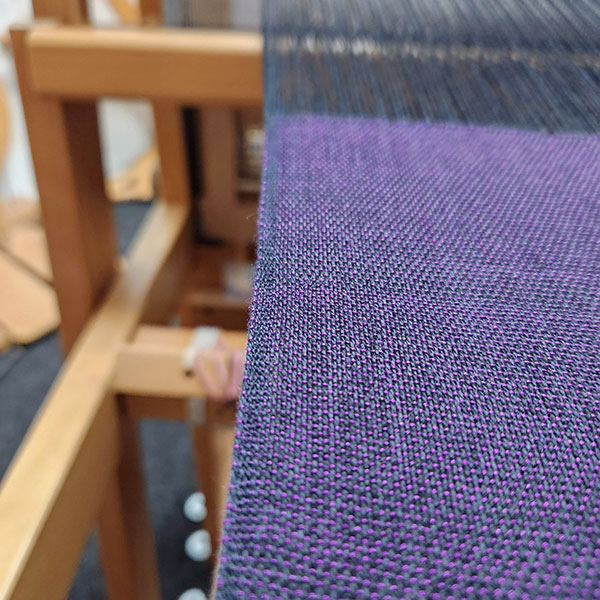
- Beautiful twill
-
- Tencel
-
- Hand dyed silk weft
-
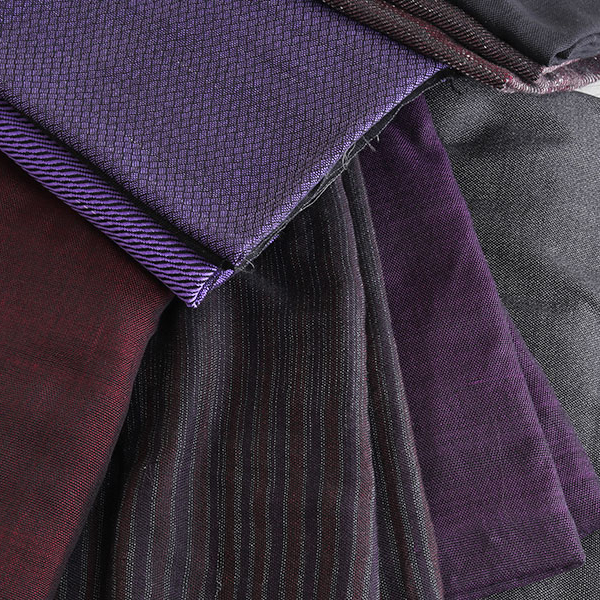
- Satisfying selvedges!
-
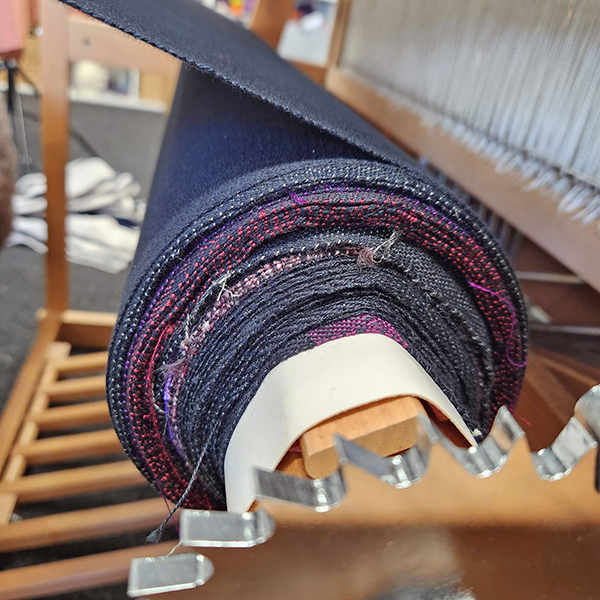
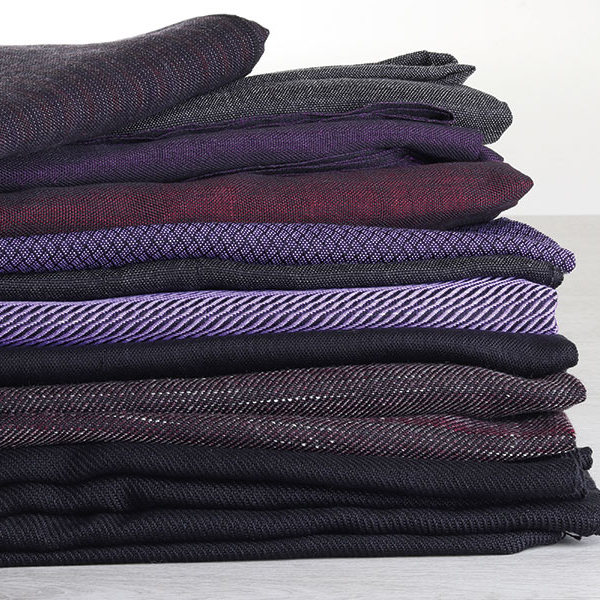
- A big happy roll of fabric
-
- Satisfying
-
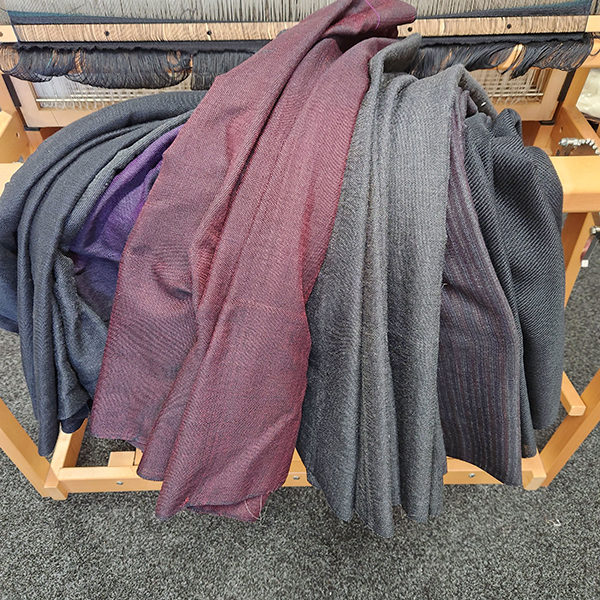
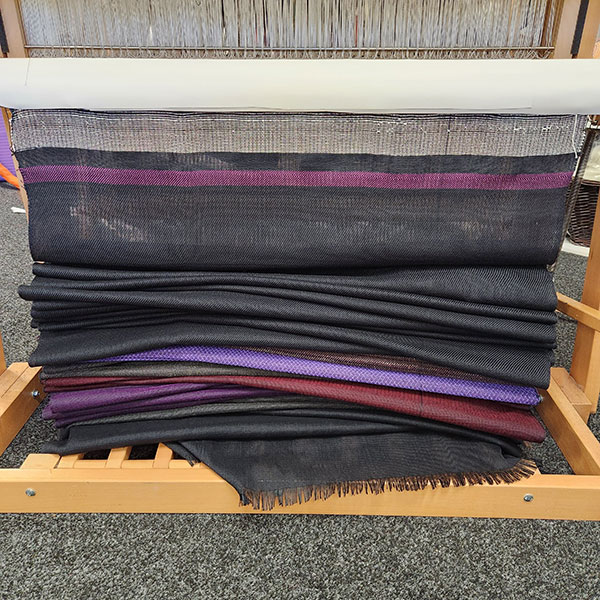
- Yardage!
-
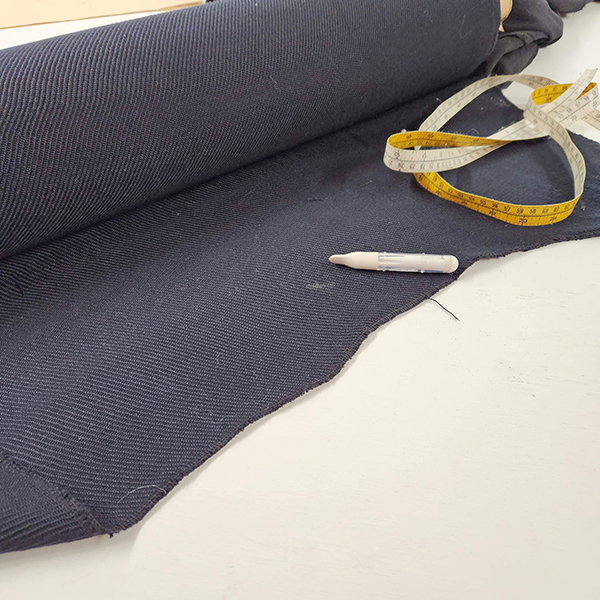
- Washed, dried, pressed…
-
- and ready to sew
-
- Twill!
-
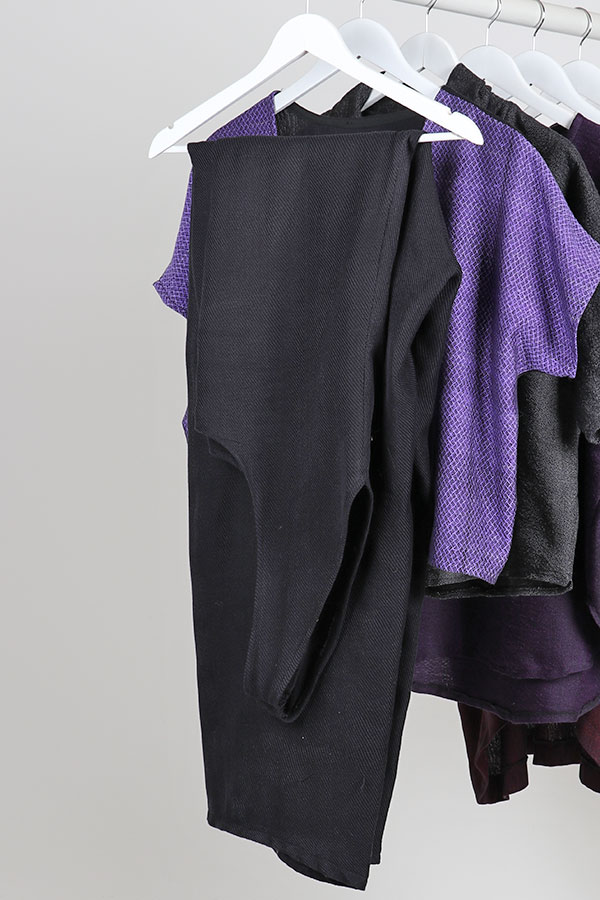
- Jumpsuit…
-
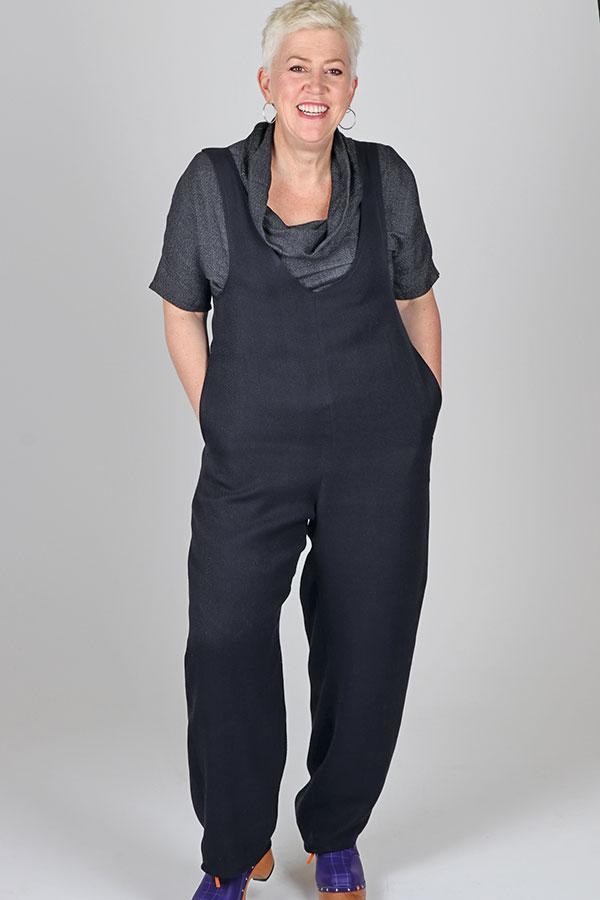
- with pockets!
-
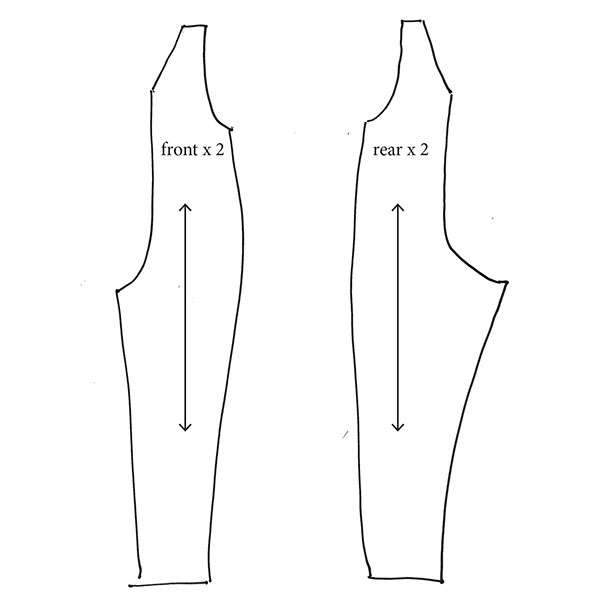
- 2 x each pattern piece
-
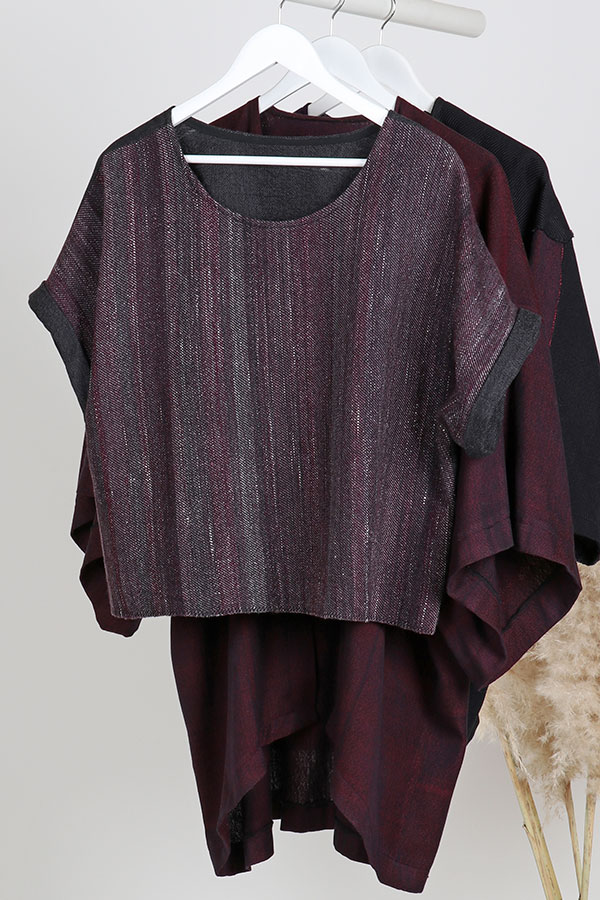
- Hand spun weft
-
- Hand dyed silk weft
-
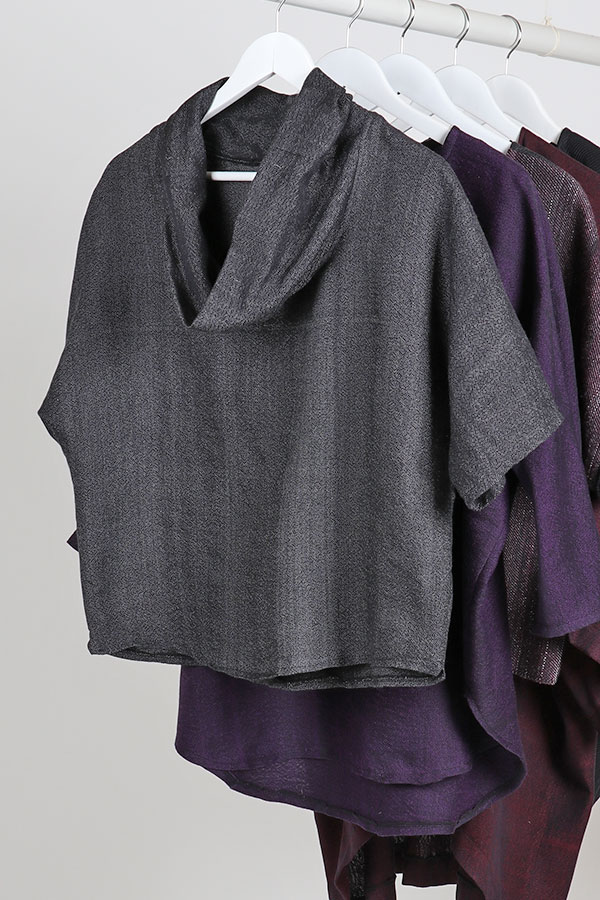
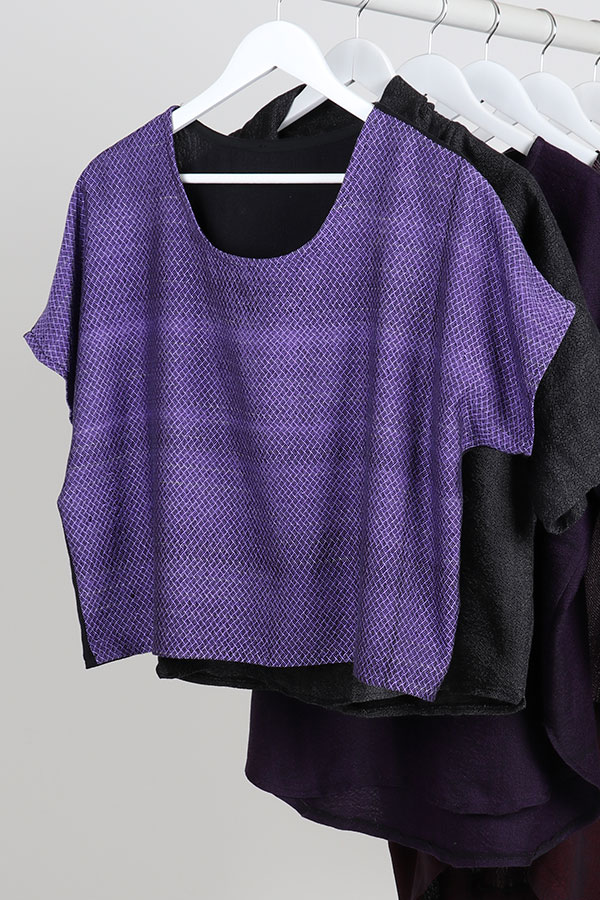
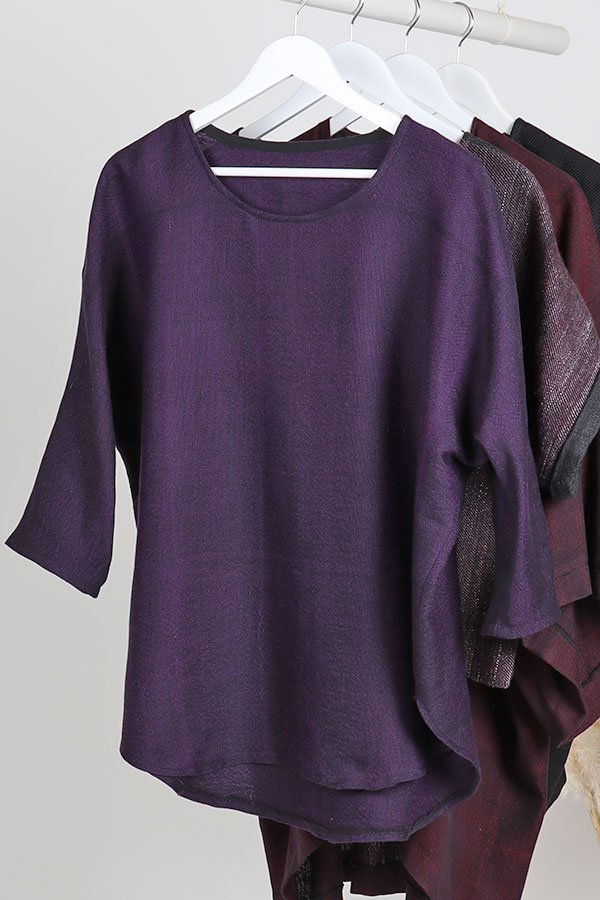
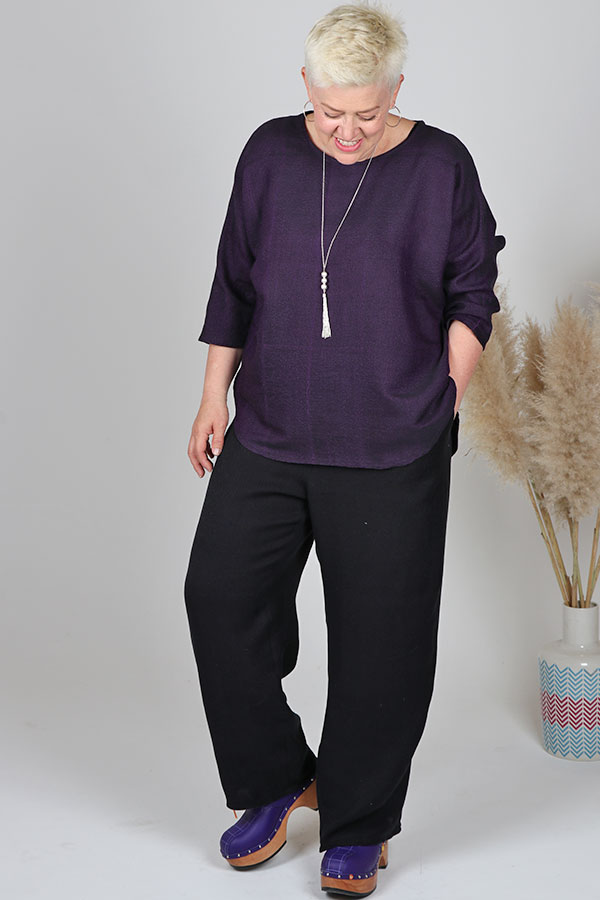
- Cowl neck top
-

- Bias neck line
-
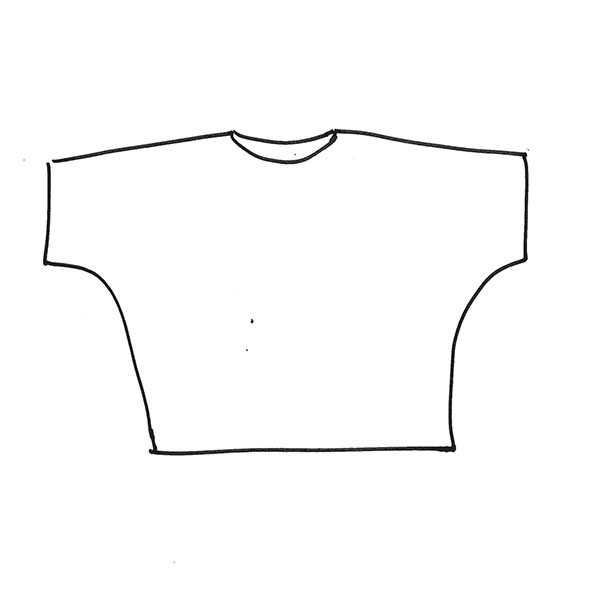
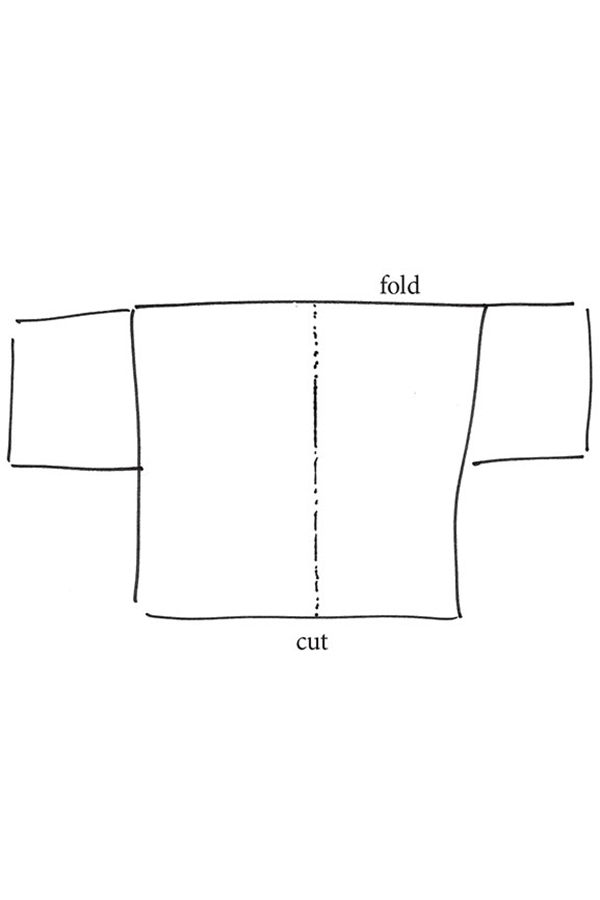
- General pattern shape
-
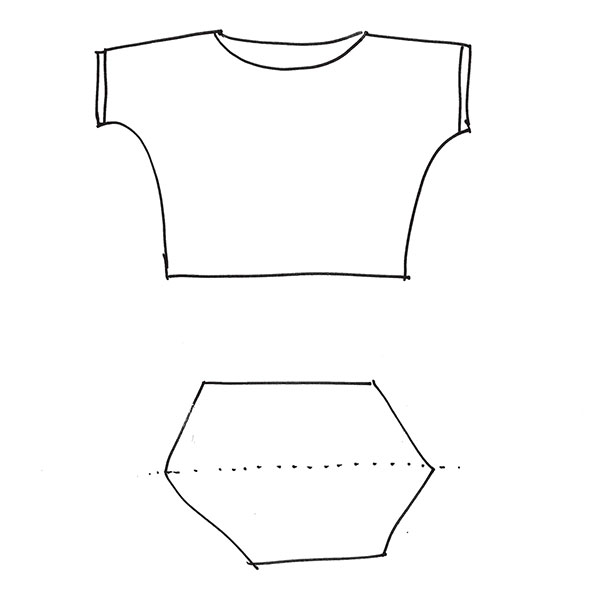
- Cowl neck, folded down
-
- Shift dress with tie
-
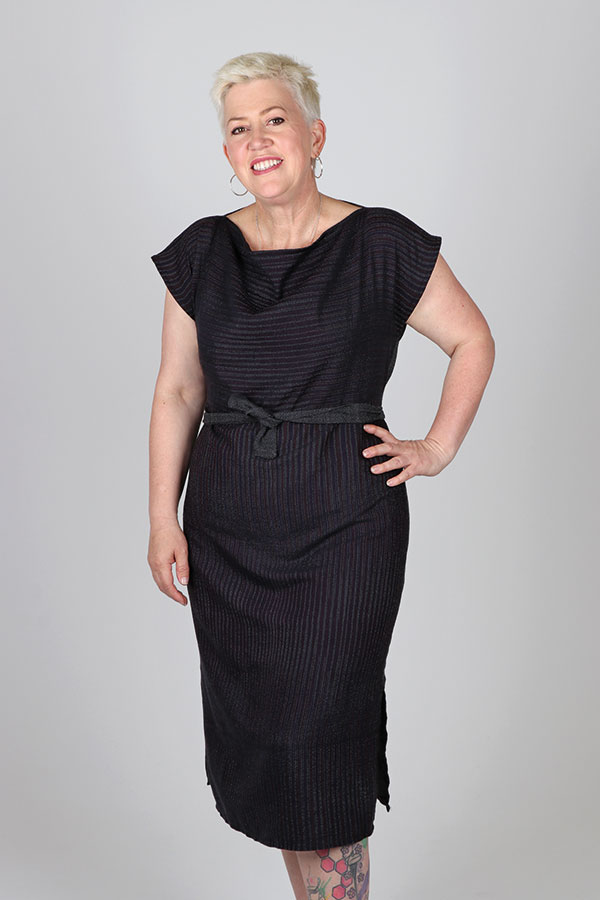
- Simple but functional and stylish
-
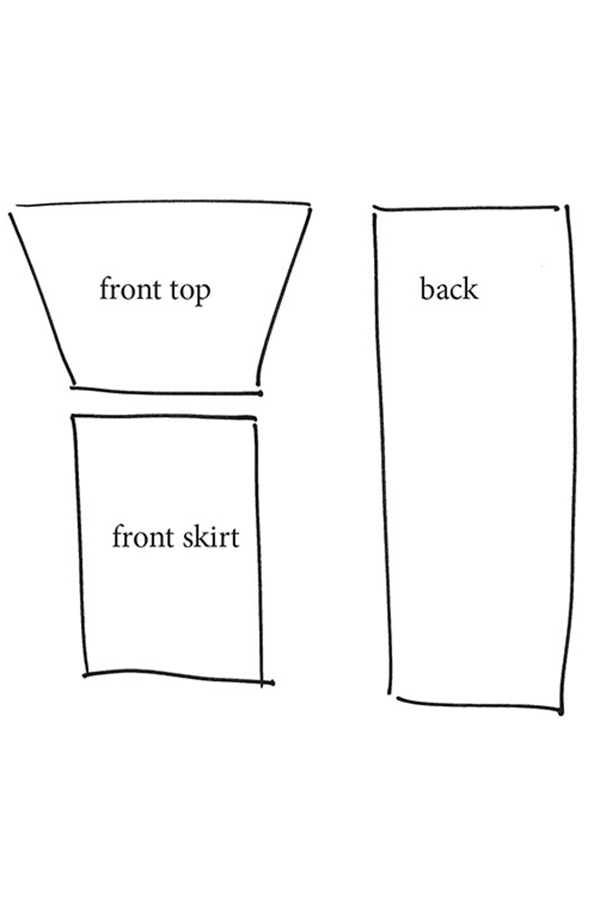
- The drapey neckline comes from the wider front sewn at shoulders to the back
-
- The tencel weft in the fabric feels amazing!
-
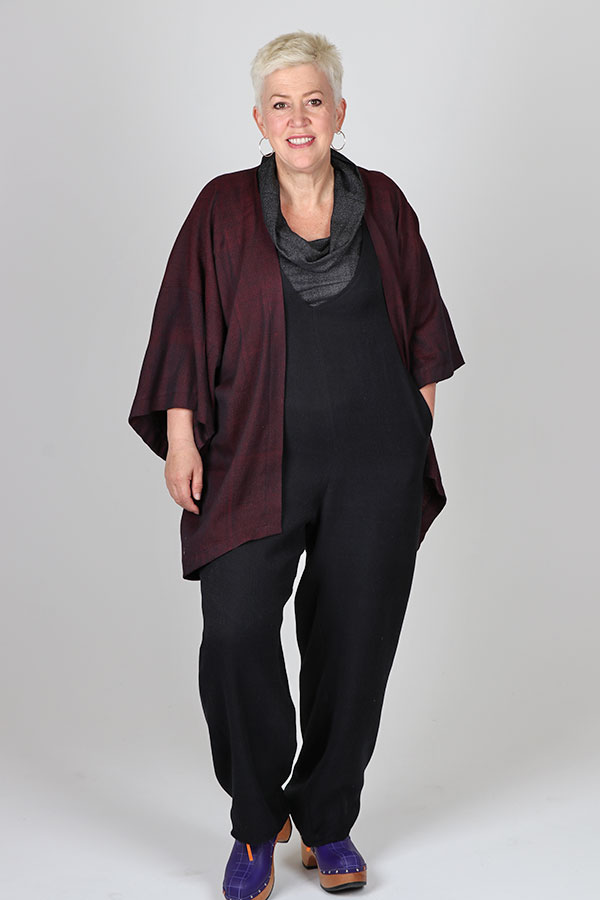
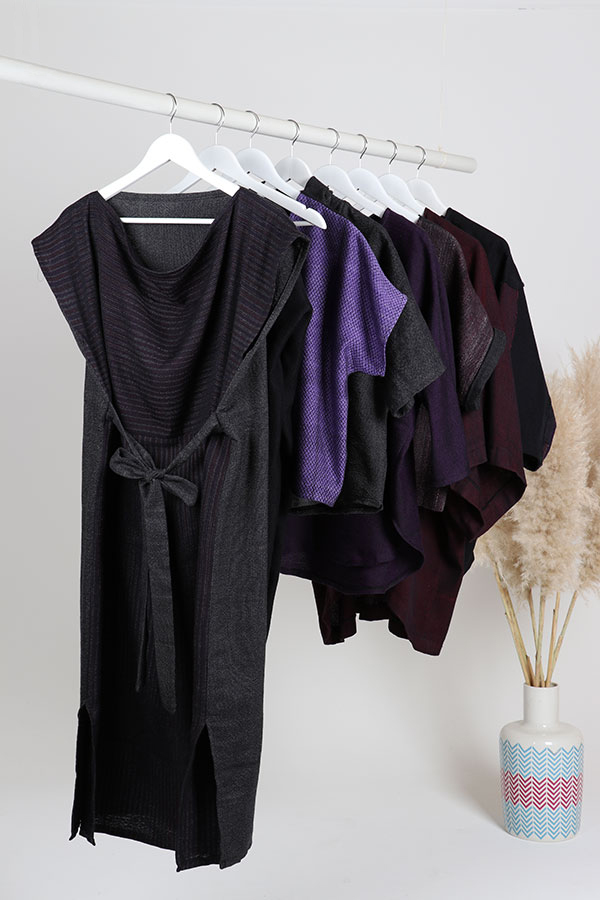
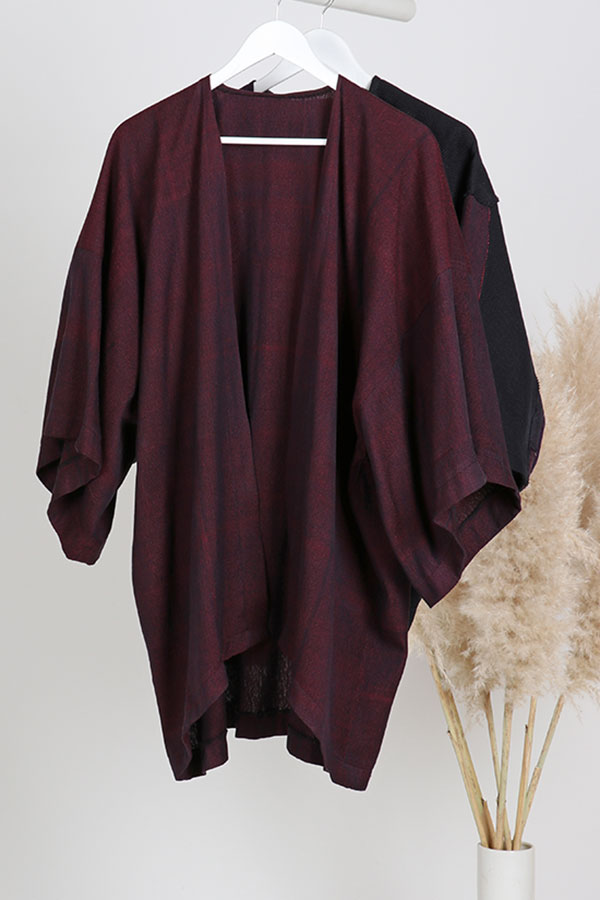
- Layering up the cowl neck top and the jumpsuit with the kimono jacket
-
- Simple shape
-
- Casual and comfy
-
- Super comfortable to wear
-
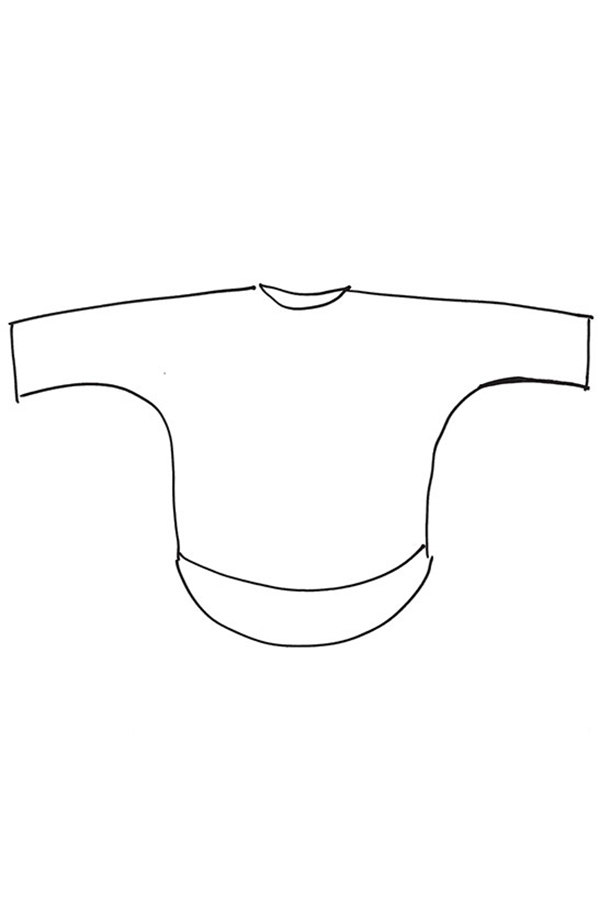
- The same simple shape
-
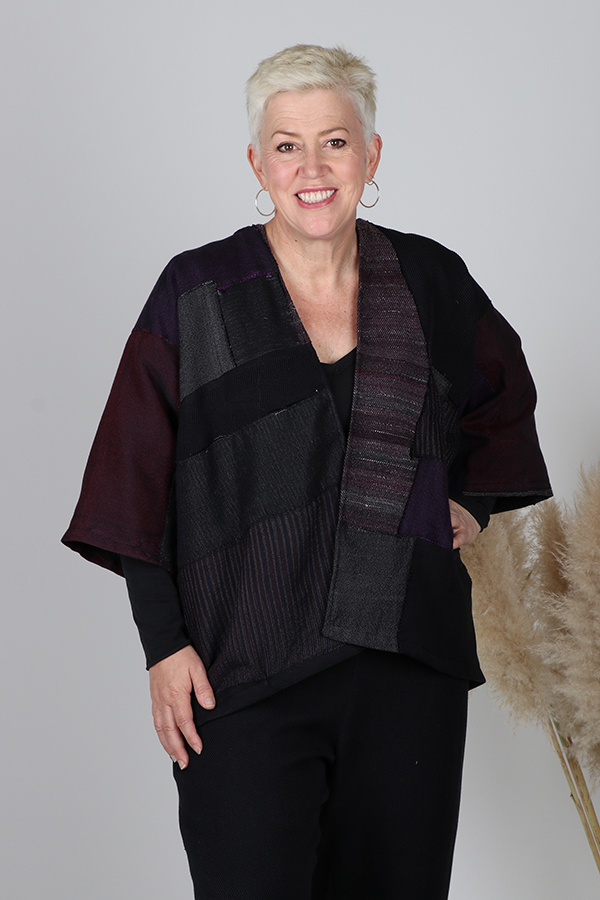
- The scrappy bog jacket
-
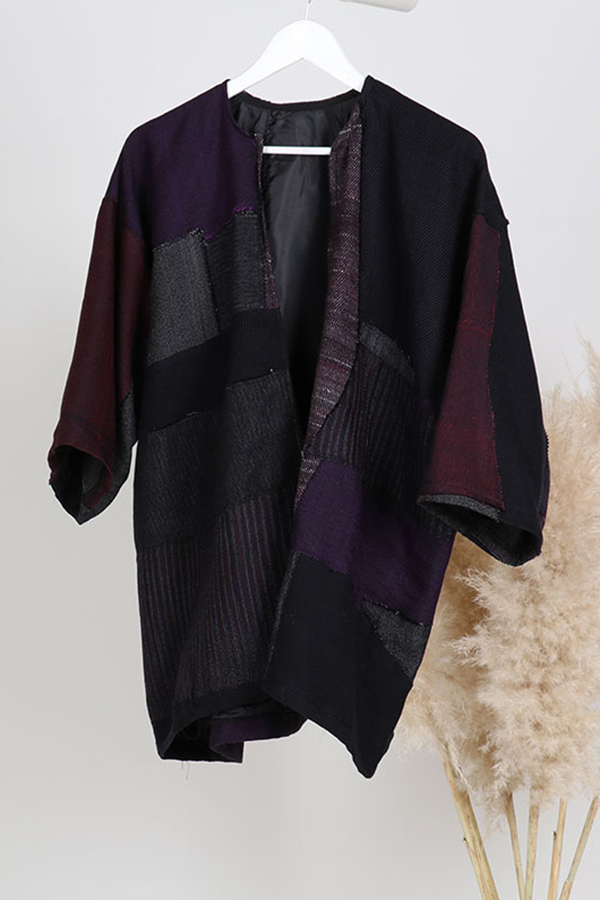
- The scrappy bog jacket
-
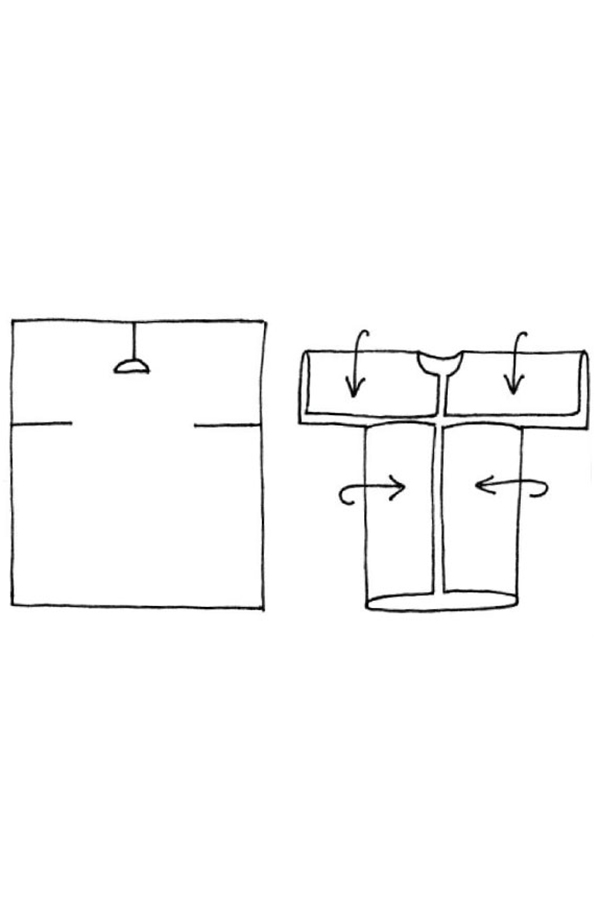
- A very smart concept