Heavenly Comfort – Felted Slippers
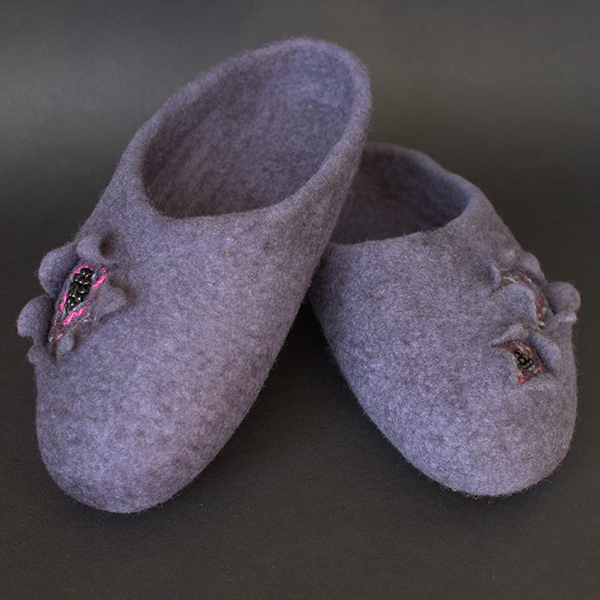
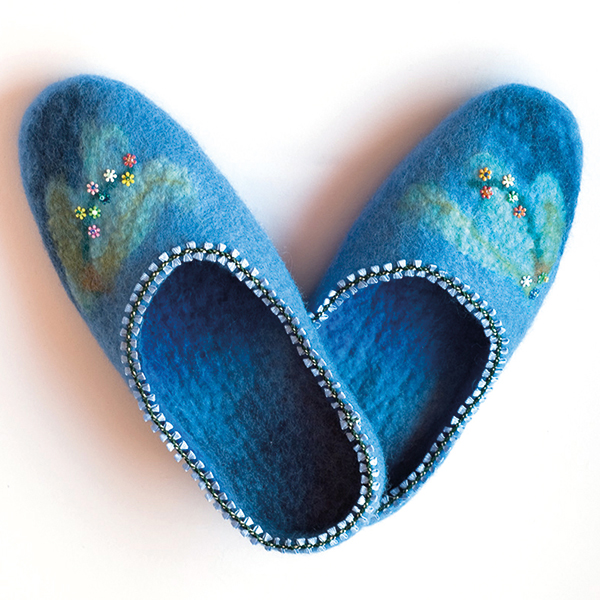
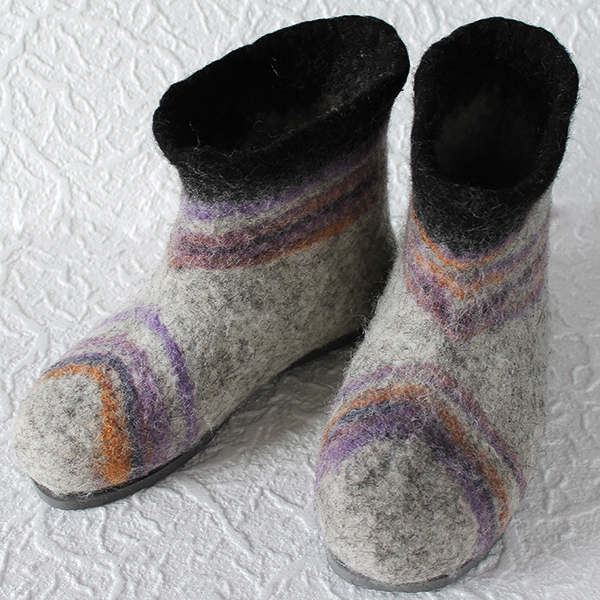
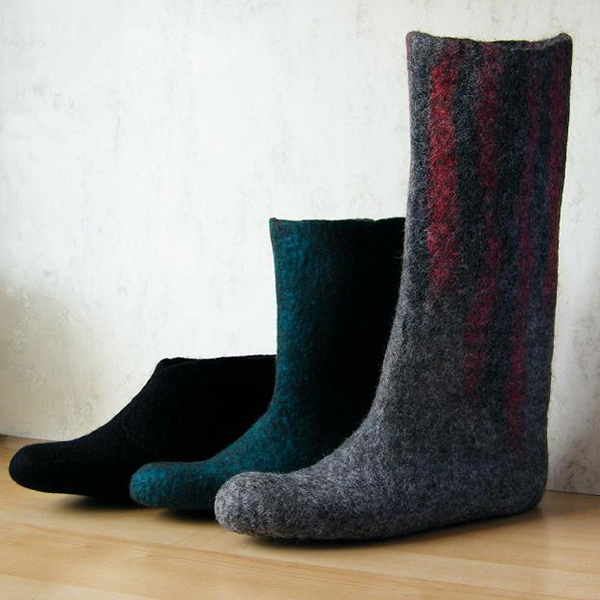
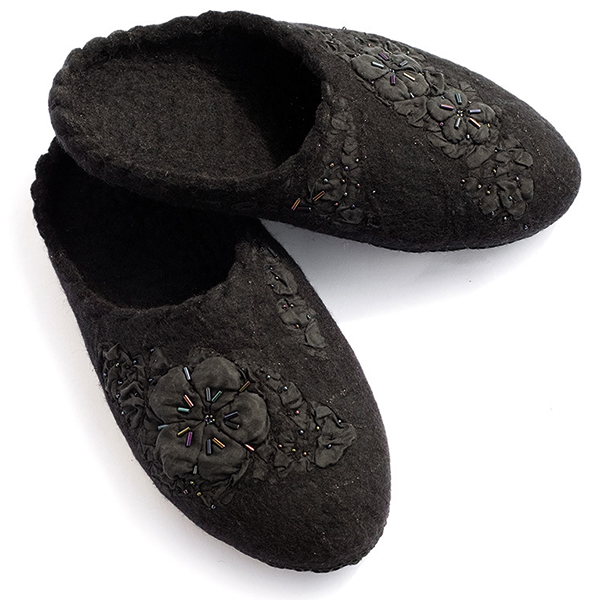
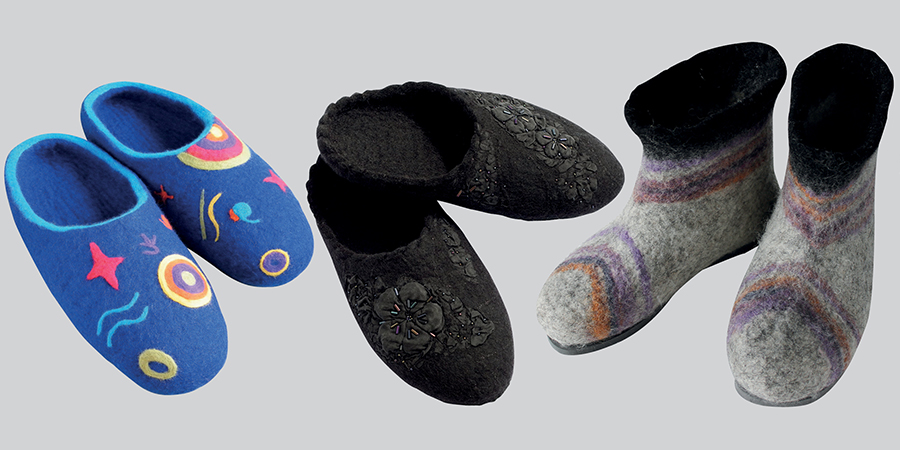
Making your own felted slippers is a fun and rewarding process that transforms unspun wool fibres, with a little soap and water, into warm, durable and custom-fit footwear.
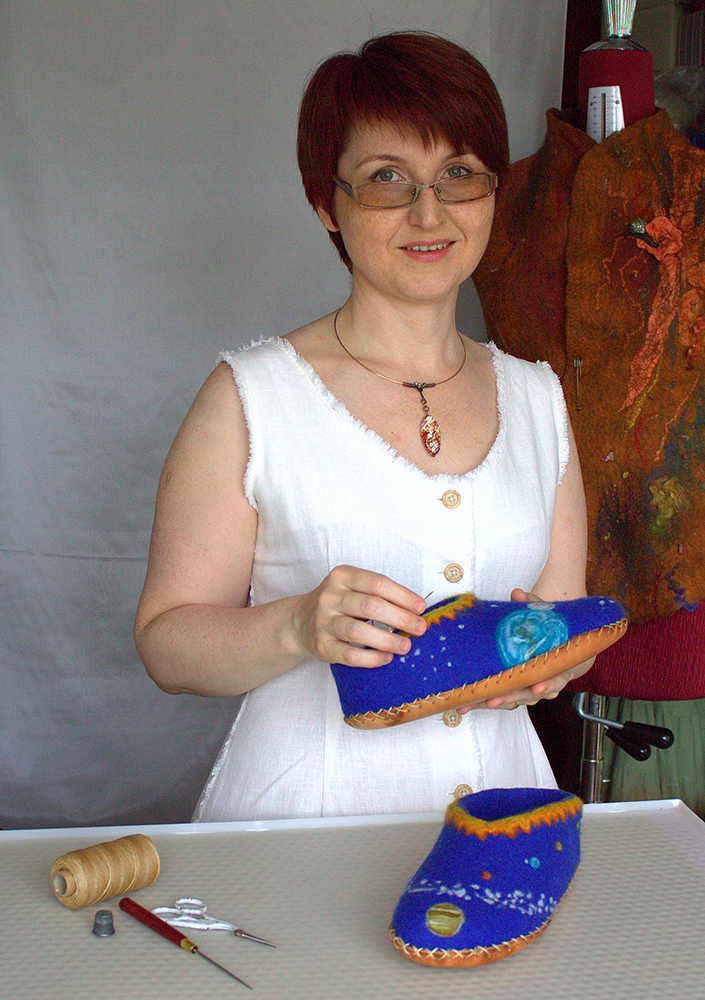
Featured in The Wheel, Issue 27, Katerina Kubesova makes it easy with these step-by-step instructions and photos.
Enjoy!

Kate
Weave structure: Plain weave
Bowl of water, towel, and soap
Waterproof flexible material for the template (like firm plastic) approx. 50 x 40cm (20 x 16″)
Tape measure, scissors, felt tip pen
Bubble wrap approx. 80 x 40cm (32 x 16″)
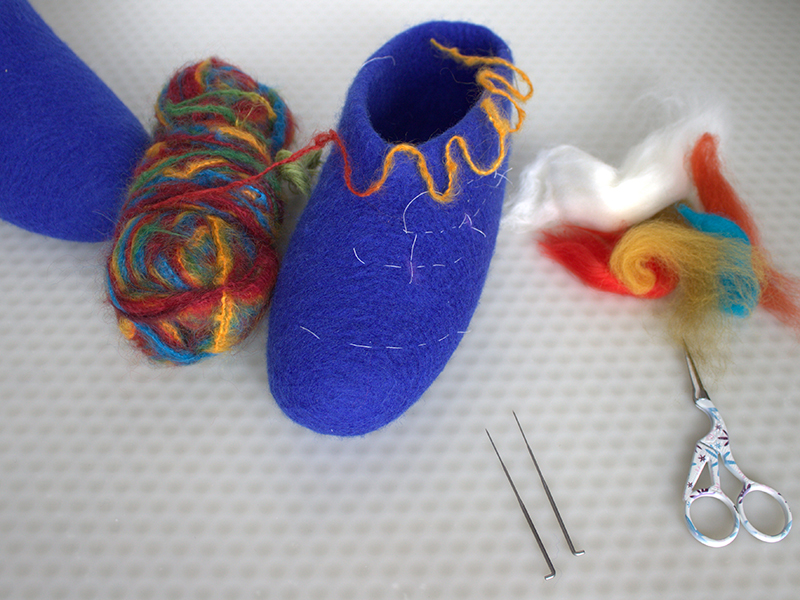
Felting needles and coloured Merino sliver for decoration
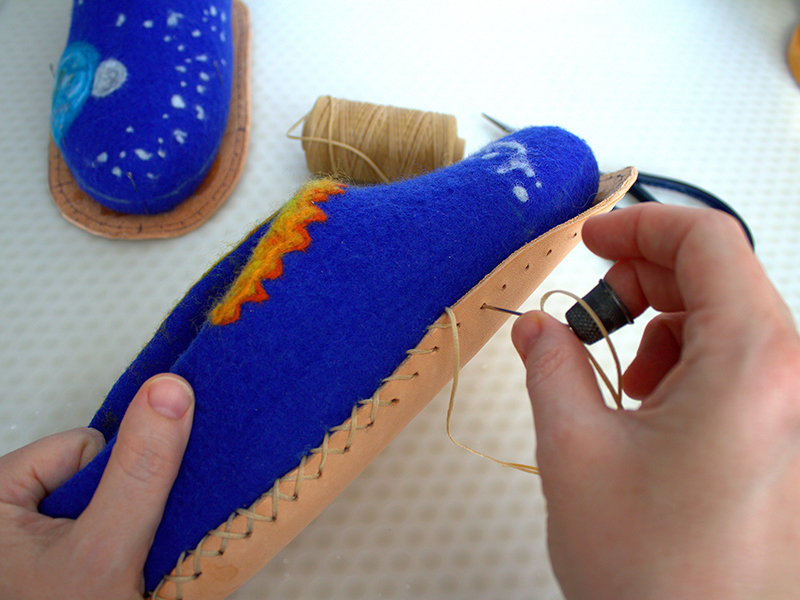
Strong leather for the sole, wax thread and shoemaker’s needle
Felting board and roller
Rubber gloves for protecting your hands
Before you start this project I recommend you felt a sample using your materials to determine the shrinkage coefficient.
Draw a square approx. 30 x 30cm (12 x 12″). Cover it with 10 – 18 crisscrossed layers of the sliver. Wet the layers with warm soapy water and felt into a firm layer approx. 4 – 5mm (¼”) thick. The thicker and stronger the felt is the longer your slippers will last.
After felting the sample square, measure the size and establish the coefficient of shrinkage.
Making the template
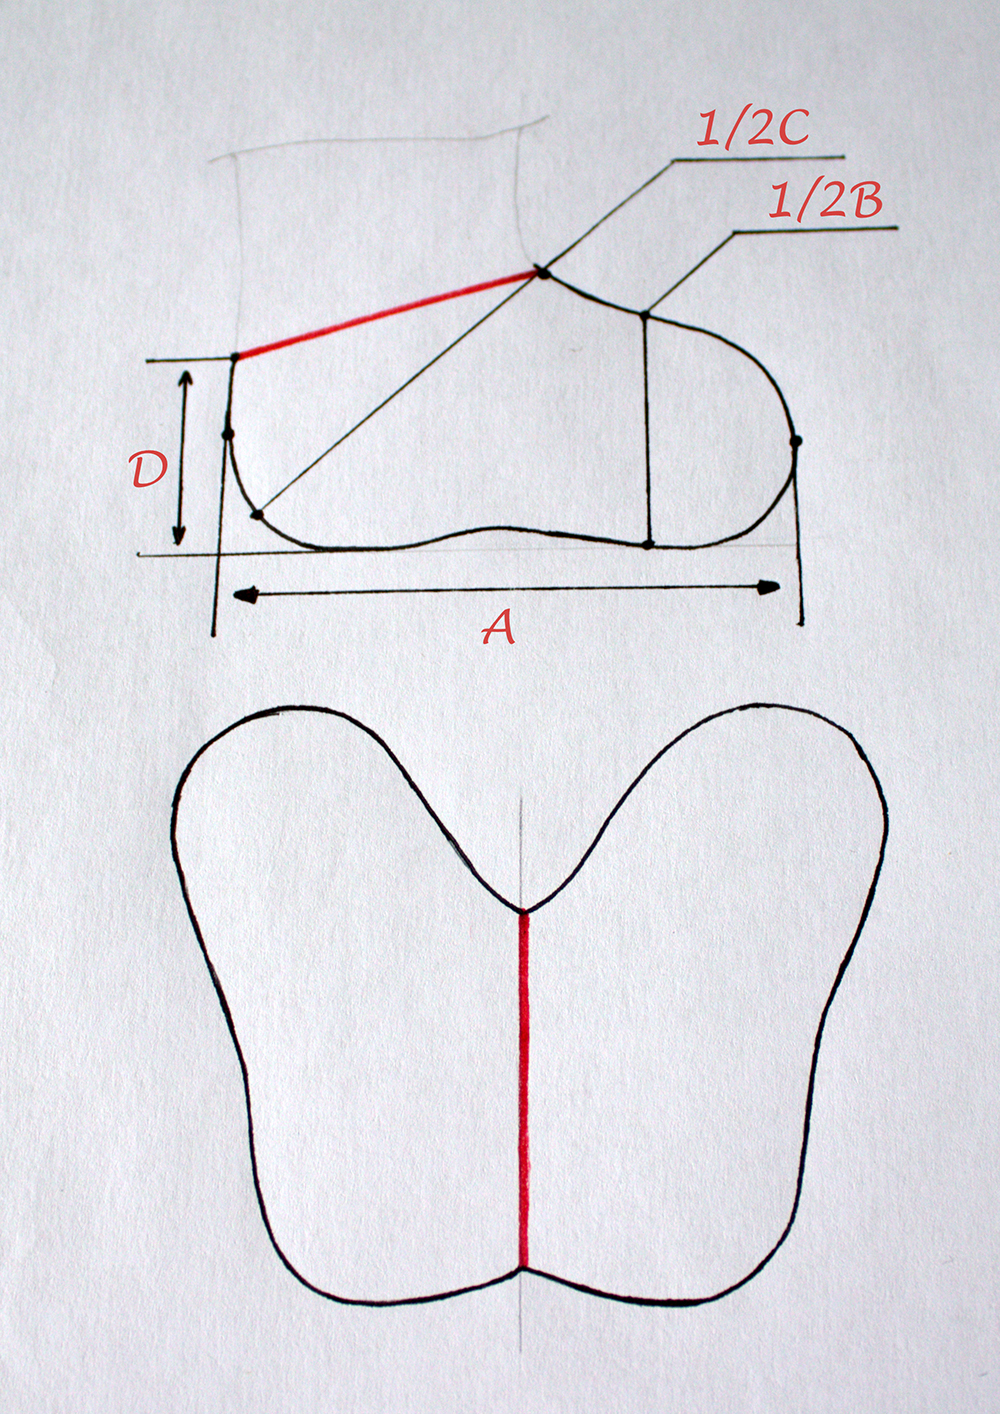
Measure your foot and enlarge the measurements by the shrinkage coefficient.
For my size:
A – Length of the foot = 32.5cm (12¾ins)
B – Circumference of the foot/2 = 16cm (6⅓ins)
C – Circumference over the heel/2 = 22.5cm
D – Height of the slipper at the heel = 9cm (3½ins)
Draw the template.
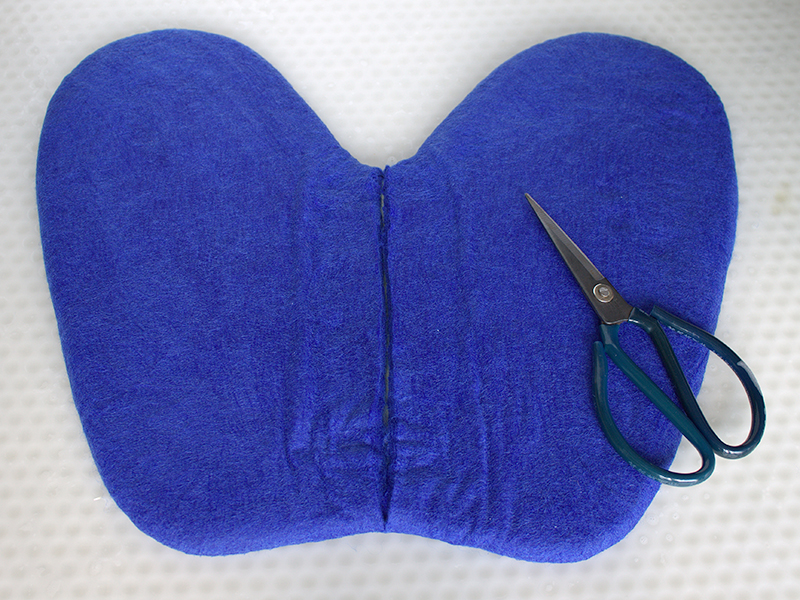
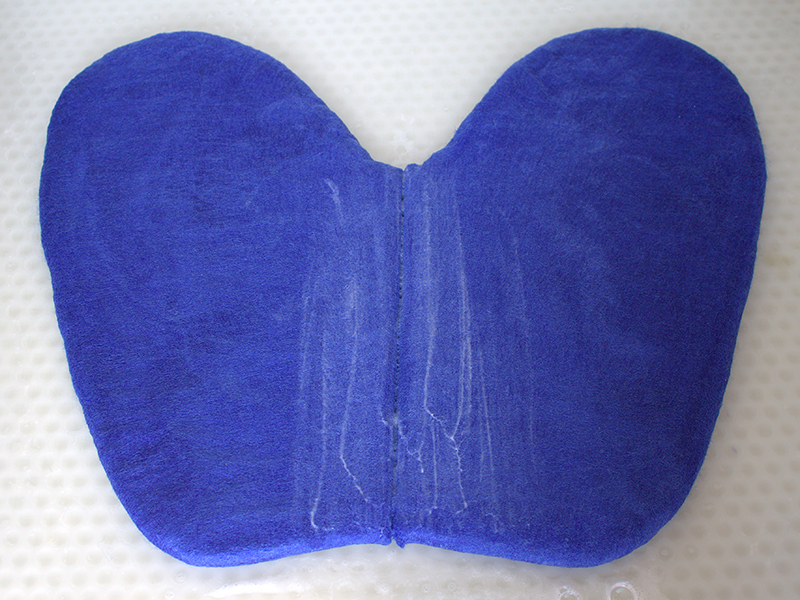
The top of the slipper (where the foot enters the slipper) is the centre of the template. The template should look like a butterfly.
Layering of the wool
First side
1. Divide the sliver into two. Work with the first half.
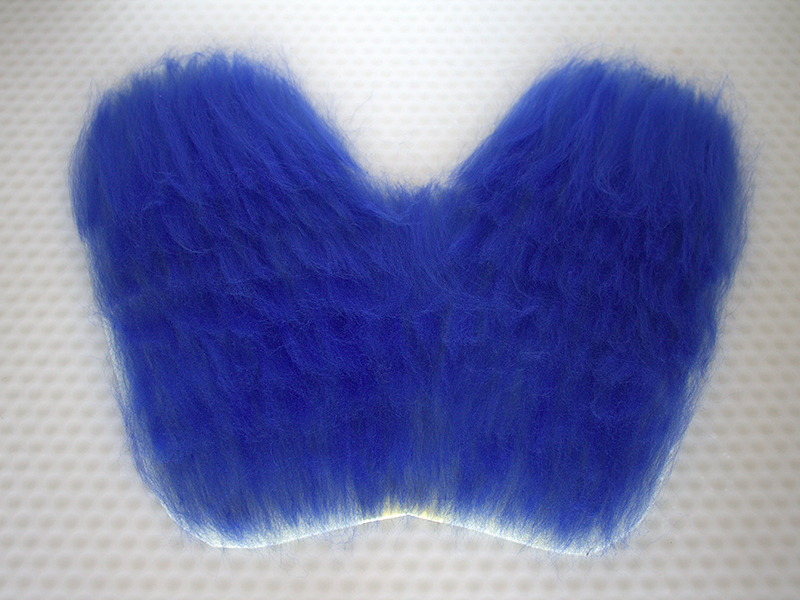
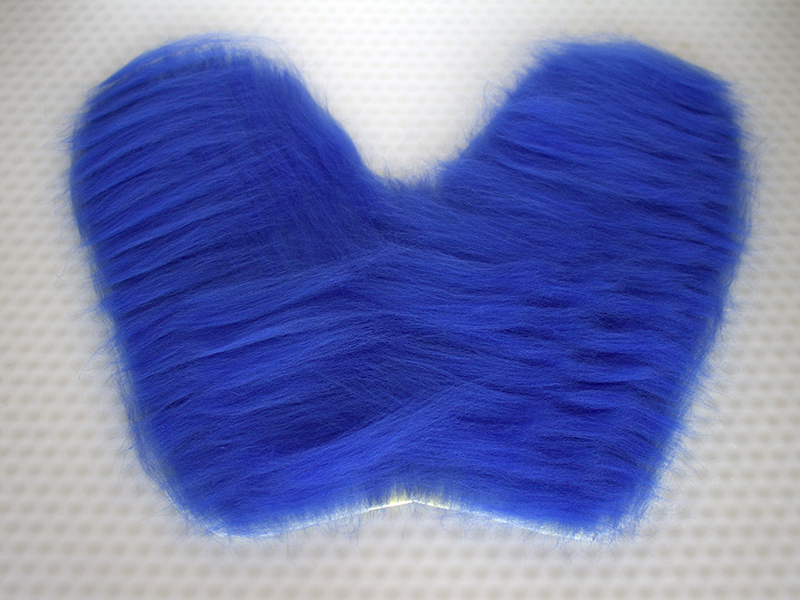
2. Cover the whole template with layers in the same way as you did with your sample.
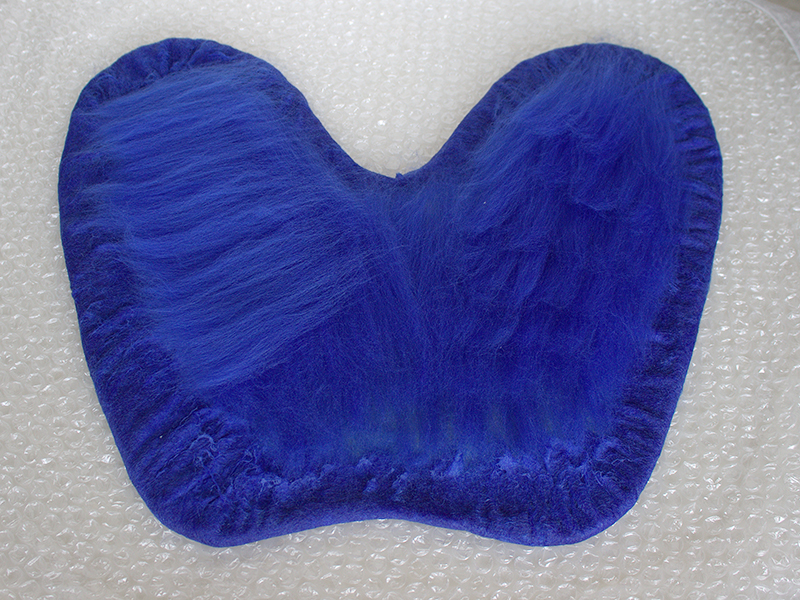
Lay the first 4 – 6 layers so the wool doesn’t extend beyond the template, the next 4 layers should extend beyond the edge by approx. 1cm (⅓”), and the rest of the layers should overlap the edge by 1.5 – 2cm (½ – ¾”). Do not make the overlaps bigger – they will get bigger after you wet the wool.
Use the same amount of layers as in your sample. If you have some left over wool, put it aside.
3. Wet the wool thoroughly with soapy water.
4. Cover with the bubble wrap and press down all over the whole surface so the water gets through all the layers. If you feel a bubble under the wrap, the wool underneath is dry – lift the wrap carefully and pour some more water on the dry spot. Cover again and press down so the wrap adheres to the wool. Using a towel, keep mopping up the excess water as you go.
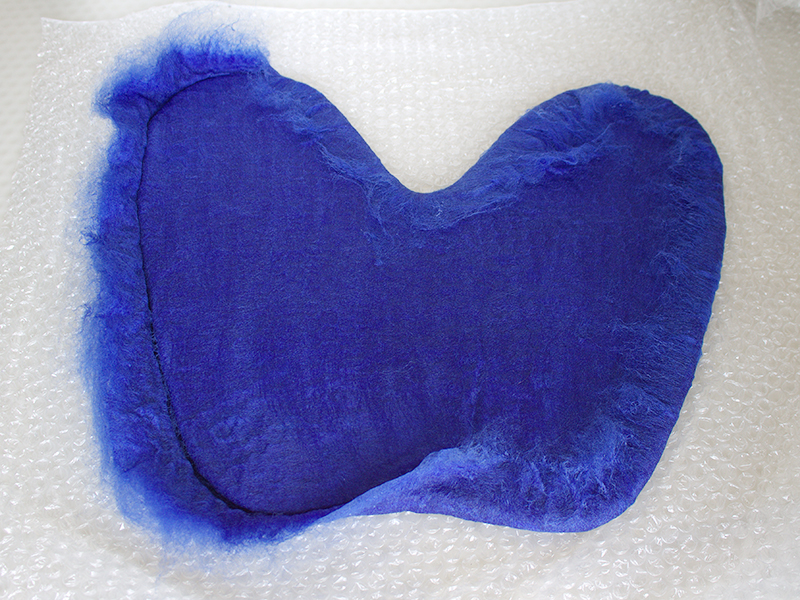
5. Carefully but firmly pick up the template with everything on it and turn quickly upside down.
Second side
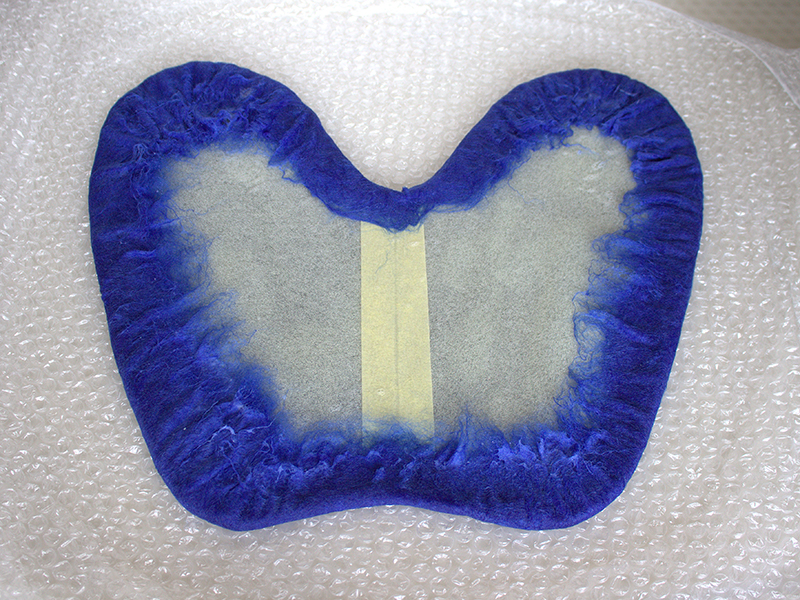
6. Fold the overlapping wool onto the template.
Felting
1. Gently start rubbing the wool as if you are stroking a baby. Don’t press too hard. The direction of the movement is from the edges towards the centre. There should be a soapy froth under your hands. If there isn’t add more soap.
2. Keep checking the surface: pinch the wool – if the fibres lift up, carry on rubbing (it does take a while). If only few strands lift up and the rest sticks to the surface, it is the right time to turn the work upside down and repeat the process.
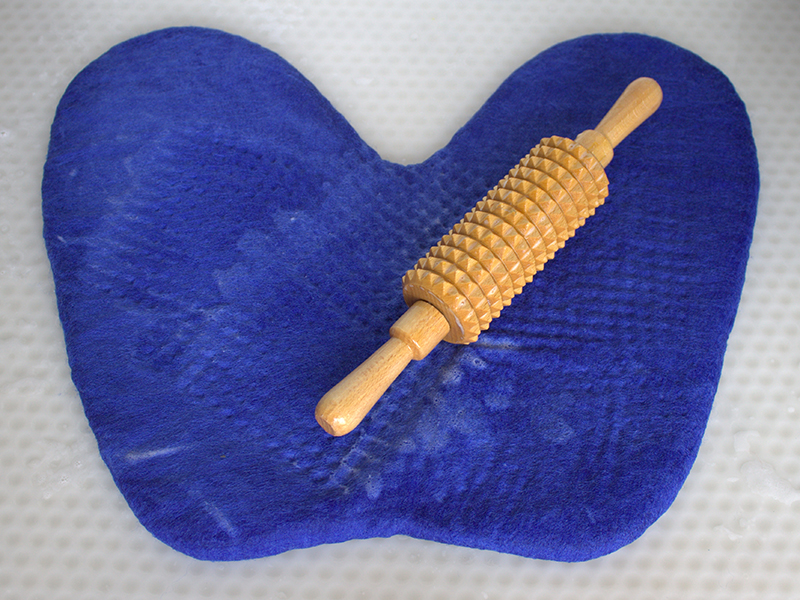
3. When both sides are flattened and the surface has the consistency of felt with the fibres sticking together, gradually increase the pressure. You can even use the roller. At this stage we don’t need the bubble wrap any more. With your hands you are gradually creating a dense material.
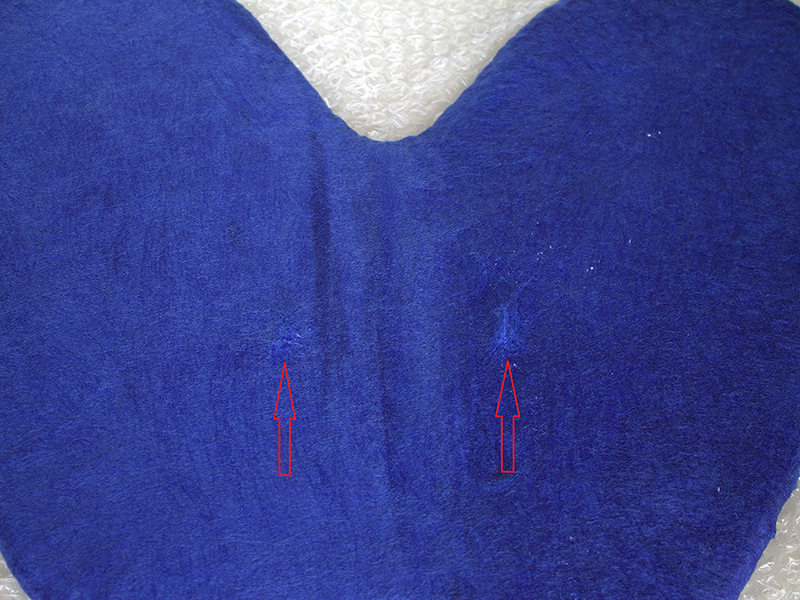
4. Now we cut apart the joined slippers and lather the cut edges. Pick up the layer of wool from the template, you may be surprised that nothing happened inside -the wool has not yet felted. That is ok – you are working with a thick layer of the wool and it does need more effort.
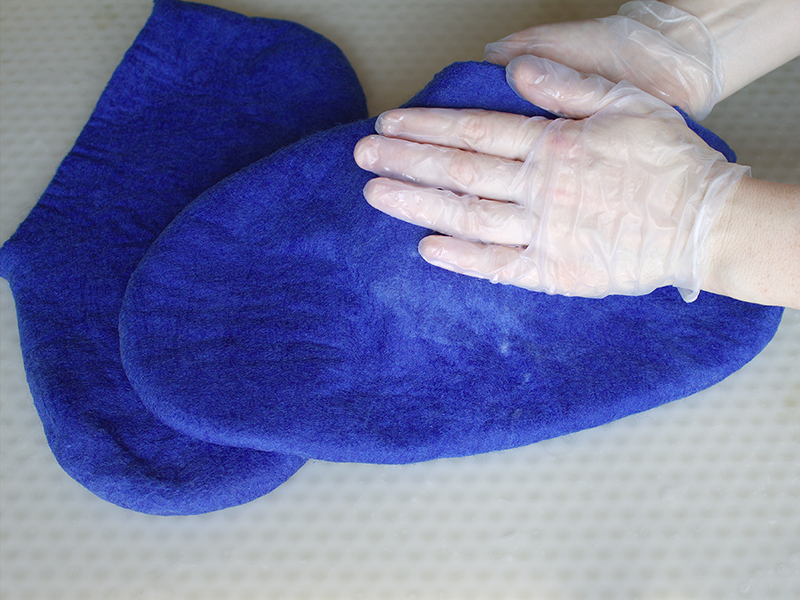
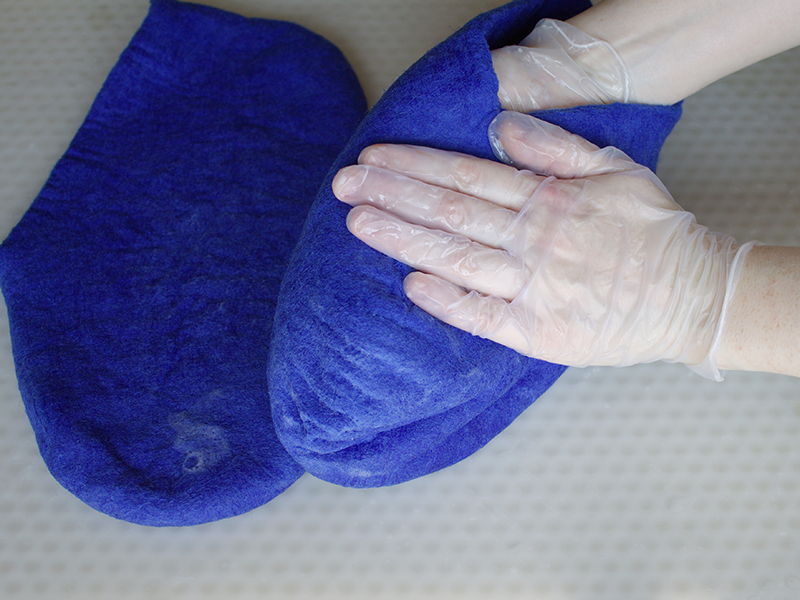
Put a lot of soap on your hands and with one hand rub the slipper inside. You have to work on the entire inside surface. Then you can remove the template.
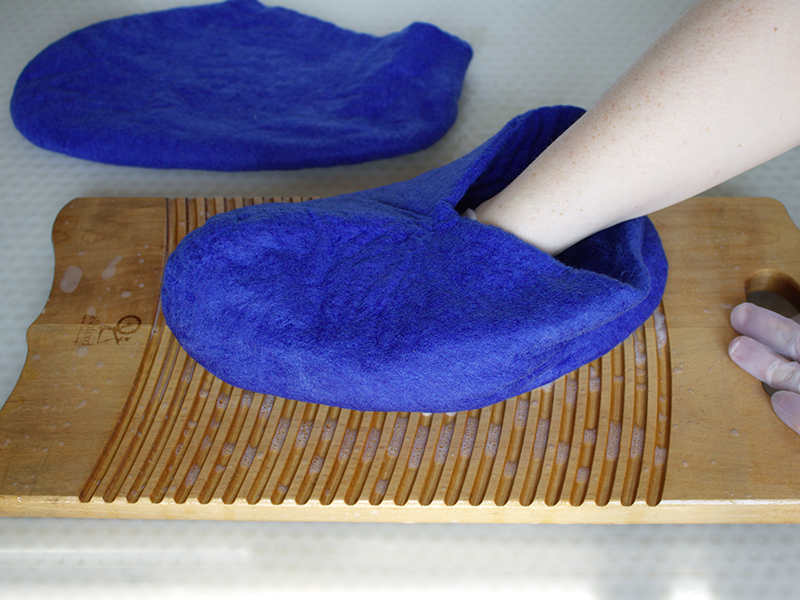
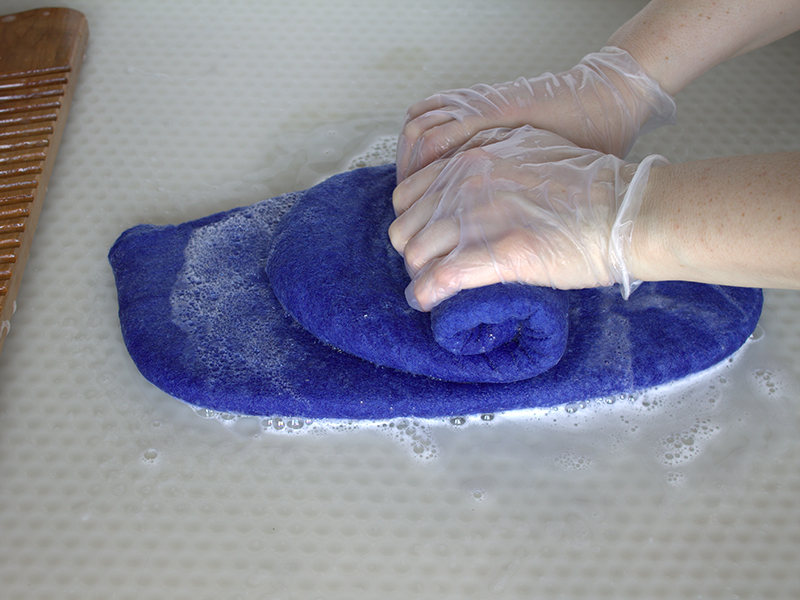
5. Now we can be more forceful: roll it, knead it as dough, and rub against the felting board. Be careful not to stretch the opening of the slipper. Use warm water to speed up the felting process.
This work is quite physically demanding and takes time. We can interrupt the process. But if you want to leave it for longer than the next day, let the wool dry out.
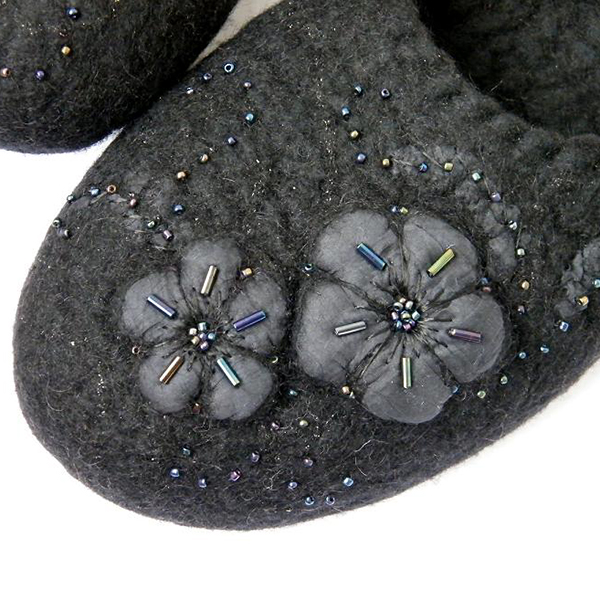
6. Try the slippers on your feet: if they are 1 – 2 sizes larger, this is the time to decorate them. Rinse the slippers and leave them to dry. Use your creativity to create a pattern on the surface, using the felting needle and your coloured Merino sliver.
7. When you have finished your decoration wet the slippers in tepid water, lather and gently rub so the new wool adheres to the felt. After that you can use more force to finish felting the slippers into the right size.
8. Now rinse the slippers, squeeze out the water, put them on your feet or on a last and leave to dry.
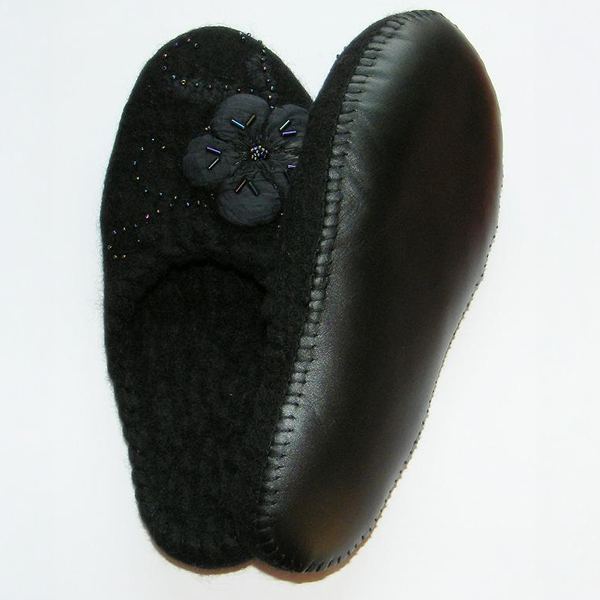
9. Cut the right size sole from the leather and sew on.
Choose your colours, have fun with the felting process, and create a pair of cosy slippers that are uniquely yours.